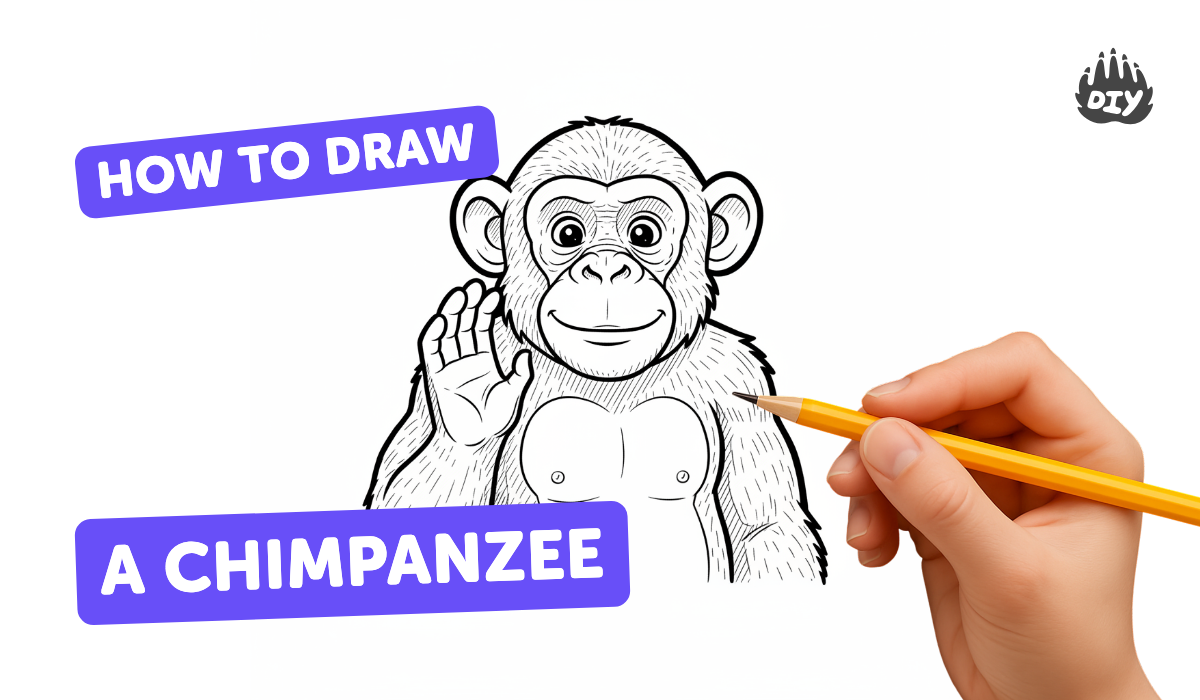
How to draw a chimpanzee - a free chimpanzee drawing guide
Learn to draw a chimpanzee step by step using simple shapes, pencil, and eraser; practice proportions, facial features, and shading to create a friendly sketch.

Step-by-step guide to draw a chimpanzee
How To Draw A Chimpanzee
Step 1
Draw a large light circle near the top center of your paper for the chimpanzee's head.
Step 2
Draw a light vertical line down the middle of the head to help you place the face features evenly.
Step 3
Draw a light horizontal line across the lower half of the head to mark the eye level.
Step 4
Draw a slightly oval shape overlapping the lower center of the head for the muzzle (snout).
Step 5
Draw two rounded ears on each side of the head aligned with the horizontal eye line.
Step 6
Draw two small circles on the horizontal guideline for the chimpanzee's eyes.
Step 7
Draw a small rounded triangle or oval inside the top of the muzzle for the nose.
Step 8
Draw a curved smiling line under the nose inside the muzzle for the mouth.
Step 9
Draw a medium oval under the head for the chimpanzee's body.
Step 10
Draw two long curved lines from the sides of the body to make the arms.
Step 11
Draw simple mitten-shaped hands at the ends of each arm with three fingers.
Step 12
Draw two short legs with rounded feet under the body.
Step 13
Lightly erase the extra guidelines and overlapping sketch marks so your chimp looks neat.
Step 14
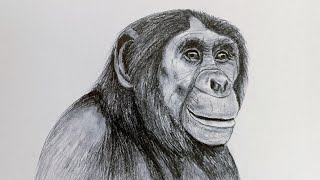
Shade gently around the edges of the face and body with your pencil to add depth.
Step 15
Share your finished chimpanzee drawing on DIY.org
Help!?
What can we use if we don't have a pencil, eraser, or drawing paper?
Use a light-colored colored pencil or soft charcoal to sketch the head and guidelines (Steps 1–3) on scrap paper or cardstock, and lift marks with a kneaded eraser or a clean folded cloth if you don't have a regular eraser.
My chimp's features look uneven — how do I fix that?
Keep the vertical and horizontal guidelines from Steps 2–3 faint and adjust the oval muzzle in Step 4 so its center aligns with the vertical line, then erase and re-draw lightly until the eyes (Step 6), nose (Step 7), and mouth (Step 8) sit symmetrically.
How can I change the activity for different ages?
For toddlers, pre-draw the large head circle and muzzle (Steps 1 & 4) for them to trace and add stickers for eyes, for early elementary have them follow all steps with mitten hands (Step 12), and for older kids challenge them to add fur texture and pencil shading (Steps 14–15) and pose variations.
How can we make the drawing more creative or challenging?
Personalize the chimp by changing facial expressions in Steps 7–8, experimenting with arm poses from Step 11, adding a leafy background and color/shading from Steps 14–15, or turning it into a scene with baby chimps before sharing on DIY.org.
Watch videos on how to draw a chimpanzee
How to Draw a Chimpanzee Step by Step 🐒 #ChimpanzeeDrawing #EasyDrawing #howtodraw
4 Videos
How to Draw a Chimpanzee Step by Step 🐒 #ChimpanzeeDrawing #EasyDrawing #howtodraw
How To Draw a Chimpanzee | Step By Step
How to Draw a Super Cute Chimpanzee! Easy Drawing for Kids
How to draw a Chimpanzee -step by step | Pencil sketch | Animal drawing | Drawing tutorial
Facts about animal drawing and sketching for kids
🐒 Chimpanzees share about 98–99% of their DNA with humans, which is why their faces and expressions can look so familiar!
✏️ Most artists start animal sketches with 4–7 simple shapes (circles and ovals) to get proportions right before adding details.
👀 Placing the eyes lower on the head and closer together helps a chimp sketch look more realistic and friendly.
🧠 Chimps are super expressive — studying photos of their facial muscles helps you capture emotion in your drawing.
🎨 Short, curved pencil strokes and light cross-hatching create the look of soft fur and gentle shading for a friendly sketch.
How do I teach my child to draw a chimpanzee step by step?
What materials do I need to draw a chimpanzee with my child?
What ages is drawing a chimpanzee suitable for?
What are the benefits and fun variations of drawing a chimpanzee?
