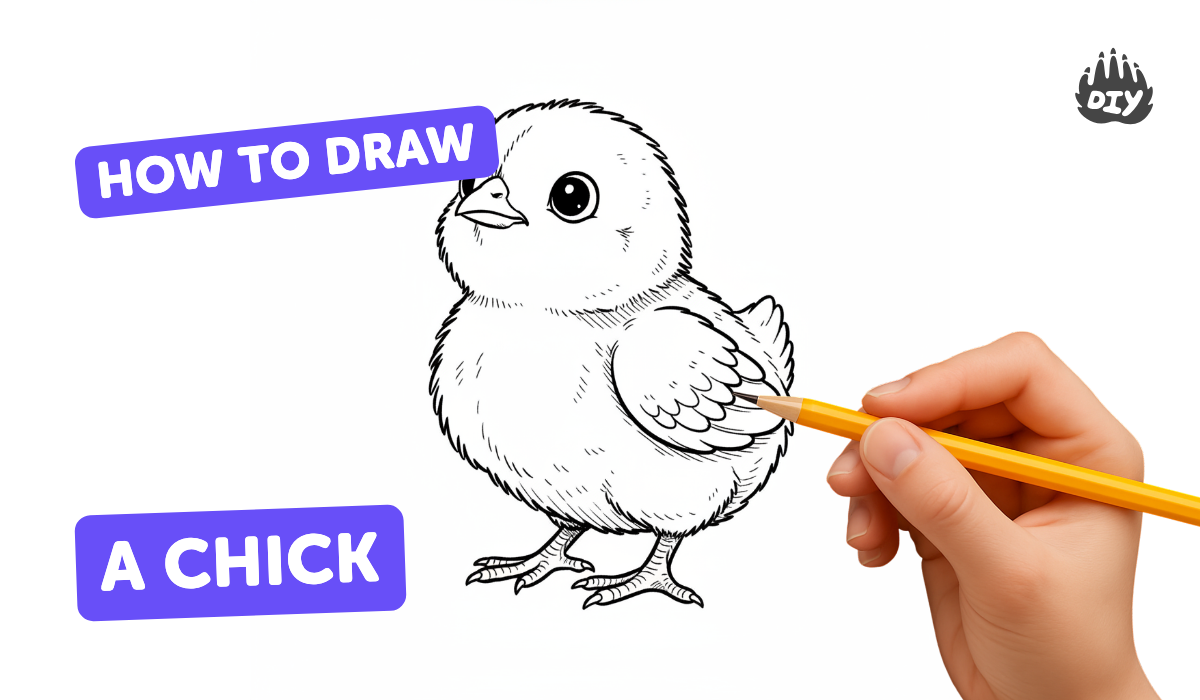
How to draw a chick - a free chick drawing guide
Draw a simple chick step by step using basic shapes, lines, and shading. Practice observation, shape recognition, and fine motor drawing skills.

Drawing Apps
Photos of chick drawing examples


Step-by-step guide to draw a chick
🛑🔥How to draw a chick step by step easy drawing for kids💛🐥
Step 1
Sit at a table and lay out your paper and drawing tools so they are easy to reach.
Step 2
Draw a large oval in the middle of the paper for the chick’s body.
Step 3
Draw a smaller circle that touches the top of the oval for the chick’s head.
Step 4
Sketch a small triangle in the middle of the head for the beak.
Step 5
Draw two small circles above the beak for the eyes.
Step 6
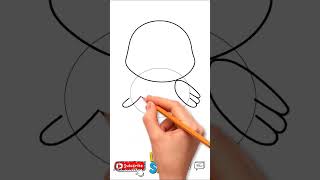
Add a curved teardrop shape on one side of the body for a wing.
Step 7
Draw two short straight lines under the body for the legs.
Step 8
Add three tiny toes at the end of each leg using short curved lines.
Step 9
Draw a little zigzag on top of the head for a fluffy tuft.
Step 10
Trace over your final outlines with the black marker or press harder with your pencil to make them bold.
Step 11
Erase any extra sketch lines gently so only the clean chick lines remain.
Step 12
Add light pencil shading under the wing and along the belly with soft strokes to make the chick look round.
Step 13
Color the chick yellow and color the beak and feet orange using your coloring materials.
Step 14
Take a photo of your finished chick and share your creation on DIY.org.
Help!?
What can we use if we don't have a black marker or orange crayons for the chick?
If you don't have a black marker, trace your final outlines with a dark-colored pen or press harder with your pencil, and if you lack orange, color the beak and feet by mixing red and yellow crayons or using a red crayon alone.
My chick looks uneven—how do I fix the head and body not lining up or the wing in the wrong place?
Gently erase the small circle and redraw it so it touches the top of the large oval, and if the wing looks off, erase it and sketch the curved teardrop shape again on one side of the body to match the instructions.
How can I change this activity for younger or older kids?
For toddlers, simplify by guiding their hand to draw one big oval and circle with chunky crayons, while older kids can add light pencil shading under the wing and along the belly and then trace details with a black marker for a sharper finish.
How can we make the chick more special or extend the project after coloring?
Personalize the chick by gluing small yellow tissue-paper pieces onto the body, drawing a nest and colored eggs around the legs, and then take a photo of your finished chick to share on DIY.org.
Watch videos on how to draw a chick
Chick drawing step by step easy
4 Videos

Chick drawing step by step easy
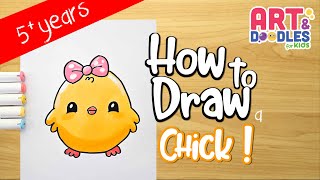
How to draw a baby CHICK | Art and doodles for kids
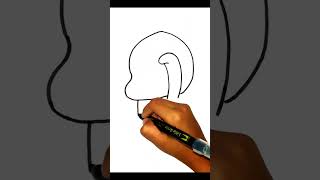
How to Draw a Cute Little Chick #howtodraw #drawingforkids #drawing #stepbystep #easydrawing
Easy Little Chick Drawing Fun Art for School Kids
Facts about drawing basics for kids
🐥 Chicks can stand and walk within a few hours after hatching.
🥚 Most chicken eggs take about 21 days to hatch — that's three weeks!
☁️ Baby chicks are covered in soft down feathers before their adult feathers grow in.
🐤 Chicks peep to call their mother and siblings; peeping helps them find warmth and food.
✏️ Drawing tip: start with a circle for the head, an oval for the body, and a tiny triangle for the beak.
How do I draw a simple chick step by step?
What materials do I need to draw a chick with my child?
What ages is drawing a simple chick suitable for?
What are the benefits of drawing a chick and fun variations to try?
