How to Draw a Cheerleader
Draw a cheerleader step by step using basic shapes, simple proportions, poses, and colored pencils; practice sketching, erasing, and adding cheerful details.
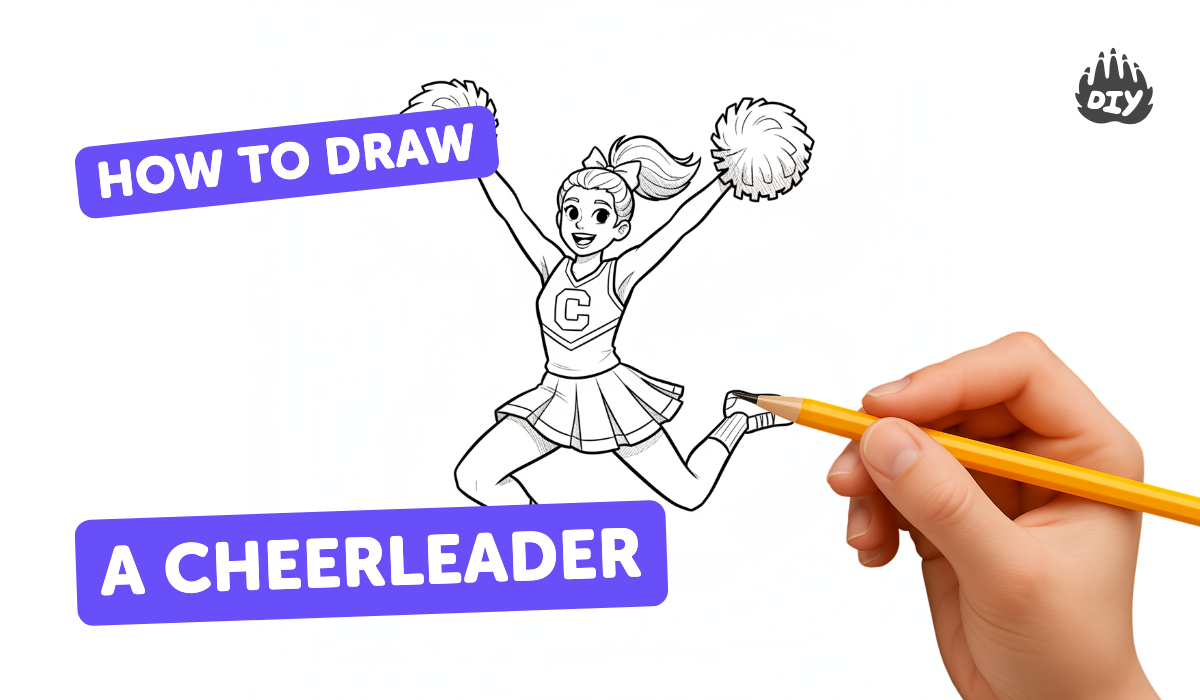
About this tutorial
Draw a cheerleader step by step using basic shapes, simple proportions, poses, and colored pencils; practice sketching, erasing, and adding cheerful details.
What you need
Instructions
- 1
Step 1
Lightly sketch a simple stick figure to set the cheerleader's action pose.
- 2
Step 2
Draw a circle at the top of the stick figure for the head.
- 3
Step 3
Draw an oval under the head for the torso.
- 4
Step 4
Mark the shoulders and hips with small circles to keep proportions right.
- 5
Step 5
Draw straight lines from the shoulder and hip markers to make the arms and legs in a cheering pose.
- 6
Step 6
Thicken the arms and legs by drawing simple tube shapes around the stick lines.
- 7
Step 7
Sketch a V-shaped top and a flared short skirt on the torso to make the cheer uniform.
- 8
Step 8
Draw the eyes on the face to give your cheerleader expression.
- 9
Step 9
Draw a smiling mouth and a small nose to finish the face.
- 10
Step 10
Add hair and a headband or ponytail to give your cheerleader personality.
- 11
Step 11
Draw round pom-poms in each hand and add short motion lines so they look lively.
- 12
Step 12
Erase the light guidelines and extra sketch marks carefully to clean your drawing.
- 13
Step 13
Color the uniform hair skin and pom-poms using your colouring materials and add cheerful details like stripes stars or sparkles.
- 14
Step 14
Share your finished cheerleader on DIY.org
Fun facts
How do I draw a cheerleader step by step?
Start with light pencil guidelines: draw a circle for the head and a vertical line for posture. Add a simple torso oval and a smaller oval for hips, then sketch limb lines and basic cylinders for arms and legs in a cheering pose. Block in hands and pom-poms as simple shapes. Refine the outline, add facial features, hair, and uniform details. Erase extra guidelines, then color with colored pencils, layering and blending for shading and highlights.
What materials do I need to draw a cheerleader?
Gather drawing paper, a light pencil (HB) for sketching and a softer pencil (2B) for darker lines, a kneaded eraser and a regular eraser, a sharpener, and a small ruler for proportions. For color, use a set of colored pencils and a blending stump or cotton swab for smooth shading. Optional items: reference photos, fine liners for outlines, and tracing paper to practice poses before committing to the final drawing.
What ages is drawing a cheerleader suitable for?
This activity suits children about 5–14 years, with adjustments: ages 5–7 can use very simple shapes and tracing to build confidence; ages 8–11 can practice proportions, basic poses, and erasing for corrections; ages 12–14 can refine anatomy, dynamic poses, and shading. Young kids should have adult supervision with sharp tools. Tailor complexity to each child’s attention span and skill level to keep it fun and encouraging.
What are the benefits of drawing a cheerleader step by step?
Step-by-step drawing builds fine motor skills, hand–eye coordination, and visual-spatial reasoning. It teaches children to break complex images into simple shapes, improving problem-solving and confidence. Repeated sketching and erasing encourages patience and resilience. Coloring adds creativity and color theory practice. Working on poses and expressions also fosters storytelling and imagination, making this a fun, low-pressure way for kids to develop both artistic and cognitive skills.
Watch & Learn
Need help?
What can we use instead of markers or colored pencils if we don't have them?
If you don't have markers or colored pencils to color the uniform, hair, skin, and pom-poms, use crayons, watercolor paints, or cut colored paper to glue onto the drawing.
My cheerleader's arms look stiff—how do I fix the pose?
Redo the stick figure step, reposition the small shoulder and hip circles and redraw the straight arm and leg lines in a more expressive cheering pose before thickening them into tubes.
How can I adapt this drawing for different ages?
For younger kids simplify by keeping the stick figure and round pom-poms and letting them color with big crayons, while older kids can add facial detail, hair styles, shading, and the V-shaped top and flared skirt patterns.
How can we personalize or make the drawing more advanced?
Personalize by adding a team name or stripes on the V-shaped top, changing the hair or headband, drawing motion lines around the round pom-poms, and sharing the finished cheerleader on DIY.org.