How to Draw a Catfish
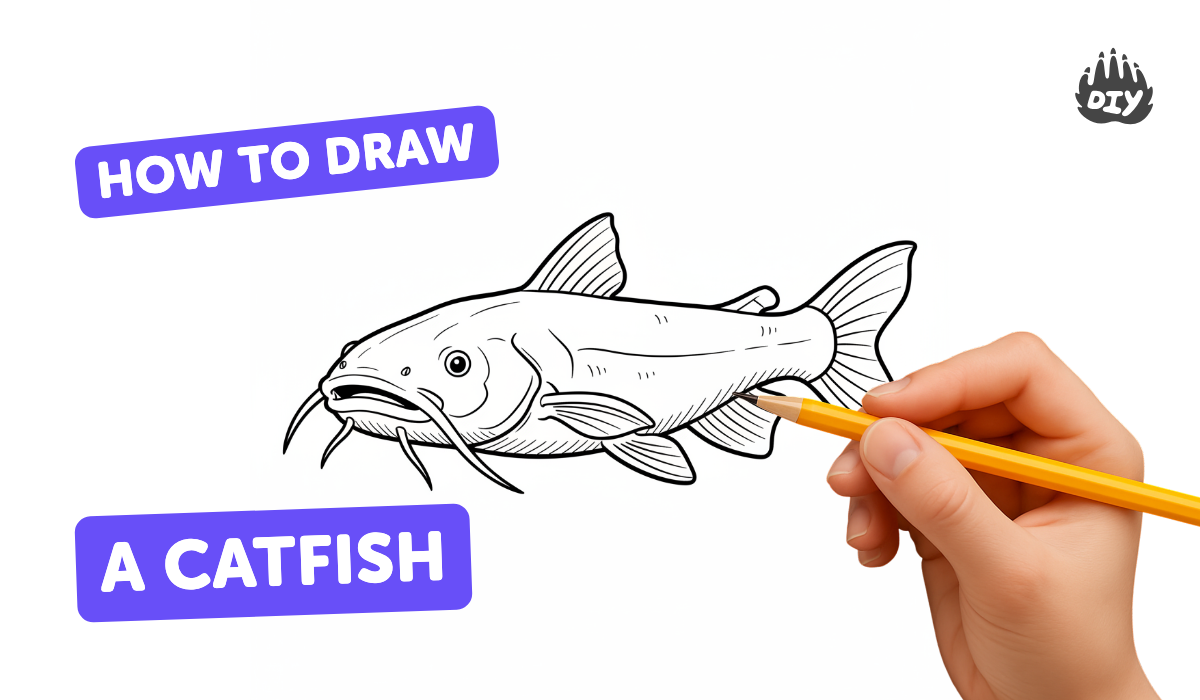
Draw a friendly catfish step by step using pencil, eraser, and colors, learning shapes, whiskers, fins, and simple shading to create an underwater scene.
About this tutorial
Draw a friendly catfish step by step using pencil, eraser, and colors, learning shapes, whiskers, fins, and simple shading to create an underwater scene.
What you need
Instructions
- 1
Step 1
Lightly draw a big horizontal oval in the middle of your paper for the catfish body.
- 2
Step 2
Add a rounded curved shape at the left end of the oval to make the catfish head and connect it to the body.
- 3
Step 3
Draw a forked tail fin at the right end of the oval by sketching two curved triangles that meet in the middle.
- 4
Step 4
Draw the fins by adding a curved dorsal fin on top and a pair of side fins under the body.
- 5
Step 5
Draw two round eyes near the front of the head and add small circles inside for pupils.
- 6
Step 6
Draw four long curved whiskers from the front underside of the head to make the barbels.
- 7
Step 7
Draw a small curved smile under the eyes for the mouth.
- 8
Step 8
Add two short curved lines behind the head for gill details.
- 9
Step 9
Gently erase any extra sketch lines so your catfish looks clean.
- 10
Step 10
Trace the main outlines with a black marker or a dark colored pencil to make the drawing bold.
- 11
Step 11
Color the whole body with a light base color using your coloring materials.
- 12
Step 12
Add darker shading along the belly and near the fins to make the fish look rounded.
- 13
Step 13
Color the fins and tail with a different shade and add a few stripes or spots for fun.
- 14
Step 14
Draw simple underwater details like wavy seaweed and round bubbles around your catfish.
- 15
Step 15
Take a picture of your finished catfish and share your creation on DIY.org
Fun facts
How do you draw a friendly catfish step by step?
Start by lightly sketching a long oval for the catfish body and a small triangle or crescent for the tail. Add a rounded head, large oval eye, and two curved whiskers (barbels) from the mouth. Sketch simple pectoral and dorsal fins with curved lines. Erase construction lines, refine shapes, and add simple shading under the belly and near fins for depth. Draw bubbles and seaweed for an underwater scene. Finish by coloring with pencils or crayons, layering light to dark for gentle shading.
What materials do I need to draw a catfish?
You’ll need a pencil for sketching, a good eraser to clean lines, and drawing paper or a sketchbook. Add colored pencils, crayons, or markers for color; watercolors can work if the paper is thick. A pencil sharpener and a blending stump or cotton swab help with shading. Optional: reference photo of a catfish, a smock or table cover, and paper towels for cleanup.
What ages is drawing a catfish suitable for?
Suitable for children about 5 to 12 years old. Younger kids (ages 3–5) can join with simplified shapes and adult help, focusing on basic lines and coloring. Older kids and preteens can practice proportions, whisker placement, and simple shading. Adapt complexity: toddlers use finger paints, while older children try finer details and layering color. Supervise scissors or wet media for safety and help as needed.
What are the benefits of drawing a catfish with kids?
Drawing catfish helps fine motor skills, shape recognition, and observational drawing. Following steps teaches sequencing and patience while practicing pencil control, line work, and light-to-dark shading. Coloring encourages color mixing and creativity, and adding an underwater scene builds storytelling. This activity supports focus, self-expression, and confidence as kids complete a recognizable creature. It's calming and inexpensive—great for quiet time or group art sessions.
Watch & Learn
Need help?
What can we use instead of a black marker, dark colored pencil, or special coloring materials?
If you don't have a black marker or dark colored pencil for tracing the main outlines, use a dark ballpoint pen or fine-tip felt pen, and substitute crayons, colored pencils, or watered-down poster paint for the light base color.
My catfish looks smudged or messy after erasing and tracing — how do I fix that?
If your drawing smudges when you trace or erase, let marker ink dry fully, gently erase extra sketch lines before tracing the main outlines, and if whiskers or fins look uneven, lightly redraw them in pencil and then retrace.
How can I adapt the steps for younger children or make it harder for older kids?
For younger kids simplify by having them color a large horizontal oval body and stick to basic fins and bubbles, while older kids can add detailed gill lines, darker shading along the belly, and patterns or textures on the fins.
How can we extend or personalize the catfish drawing after finishing the basic steps?
To personalize the finished catfish, add textured scales with tissue paper or colored-pencil strokes, create extra seaweed and bubble details around the fish, or take a picture and share your creation on DIY.org.