How to Draw a Caterpillar
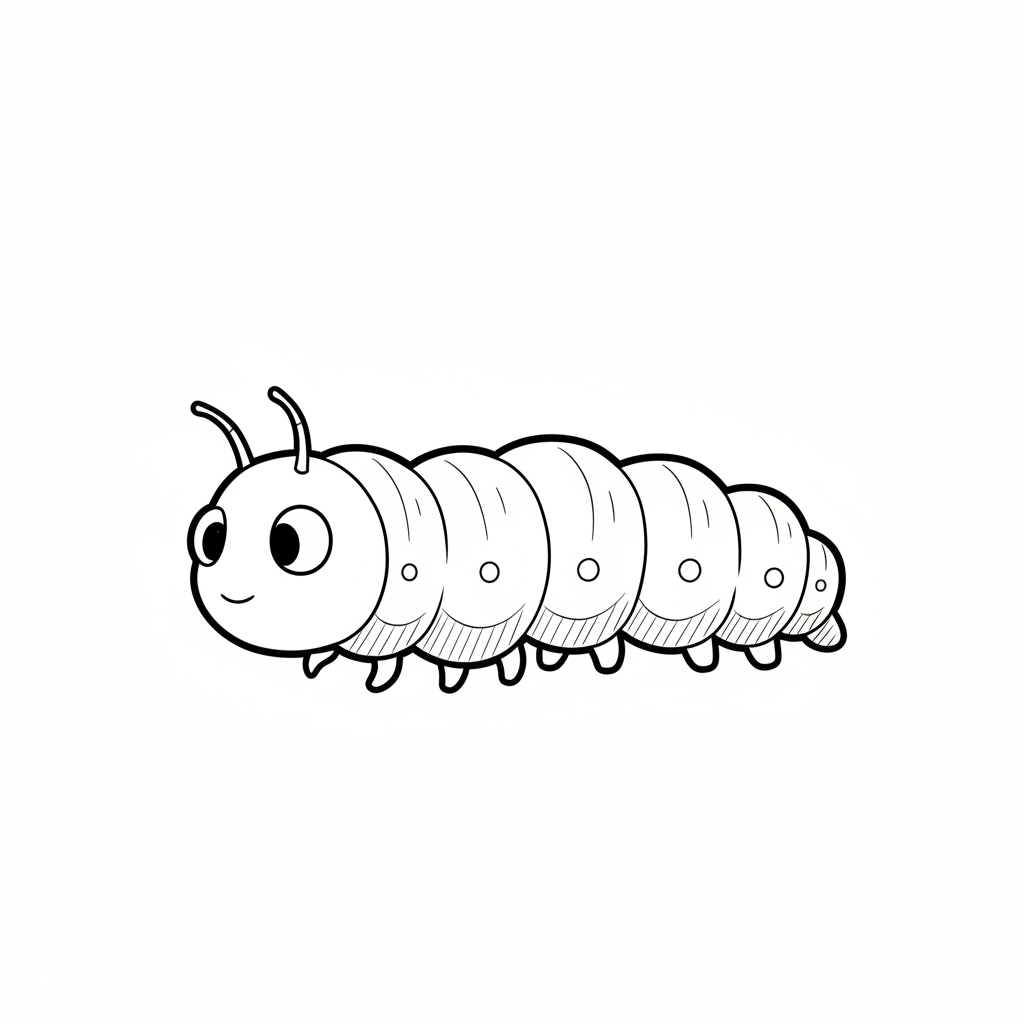
Draw a friendly caterpillar using simple shapes, color segments, and add eyes and antennae. Practice observation, symmetry, and fine motor skills.
About this tutorial
Draw a friendly caterpillar using simple shapes, color segments, and add eyes and antennae. Practice observation, symmetry, and fine motor skills.
What you need
Instructions
- 1
Step 1
Gather your materials and place them on a clean flat surface so everything is easy to reach.
- 2
Step 2
Turn your paper to landscape (wide) orientation so the caterpillar has room to crawl across the page.
- 3
Step 3
Lightly draw one circle near the left side of the paper to make the caterpillar's head.
- 4
Step 4
Draw five or six overlapping circles to the right of the head to form the body segments.
- 5
Step 5
Lightly draw a faint center line through the head and body to help you place symmetrical features.
- 6
Step 6
Draw two curved antennae on top of the head and add a small circle at the tip of each antenna.
- 7
Step 7
Draw two round eyes and a smiling mouth on the head using the center line to help keep them even.
- 8
Step 8
Draw three small legs under each body segment as little curved lines or U shapes.
- 9
Step 9
Trace over the final lines of your caterpillar with a black marker to make it bold and clear.
- 10
Step 10
Color each body segment a different bright color to make a cheerful striped caterpillar.
- 11
Step 11
Add fun patterns like spots or stripes on some segments and tiny highlights in the eyes to make it lively.
- 12
Step 12
Share your finished caterpillar drawing on DIY.org so others can see your colorful creation.
Get inspired
Fun facts
How do I draw a friendly caterpillar step by step with my child?
Start by sketching a row of overlapping circles for the body, making the front circle slightly larger for the head. Add two small circles for eyes, a curved smile, and two thin antennae with tiny dots at the tips. Draw short curved lines under some segments for legs. Trace outlines with a marker, erase pencil lines, then color each body segment in bright alternating hues. Encourage symmetry and observation while they work.
What materials do I need to draw a caterpillar with my child?
For this activity you need plain paper or a sketchbook, a pencil and eraser, a black fineliner or washable marker for outlining, and crayons, colored pencils, or markers for filling in color. Optional helpers: a circular template or coin for tracing neat circles, stickers or googly eyes for decoration, and a ruler to practice even spacing. Keep wet wipes nearby for marker messes.
What ages is drawing a friendly caterpillar suitable for?
This simple caterpillar drawing suits toddlers through early elementary children. Ages 2–3 can practice scribbling and tracing circles with help; ages 3–5 can draw hooked circles and color segments independently; ages 6–8 can focus on symmetry, patterning, and adding details like legs and backgrounds. Adjust complexity and supervision to the child’s fine motor skill level and attention span.
What are the benefits and fun variations of drawing a caterpillar?
Drawing caterpillars builds fine motor control, observation, symmetry recognition, color and pattern skills, and patience. It also encourages storytelling and creativity when kids invent caterpillar names. Variations: use thumbprints for segments, make a mirror-symmetric caterpillar folded on paper, create a 3D caterpillar from pom-poms glued to a strip, or paint with cotton swabs for sensory input. Supervise small parts like googly eyes for young children.
Watch & Learn
Need help?
What can we substitute if we don't have a black marker, landscape paper, or bright coloring supplies?
If you don't have a black marker or landscape paper, trace your final lines with a dark pencil or fine-tip pen and rotate any regular paper to landscape, then use crayons, colored pencils, or washable paint to color each body segment.
My circles don't overlap evenly or the caterpillar looks lopsided — how can I fix it?
If the circles don't overlap or the caterpillar is lopsided, lightly redraw the faint center line from the head through the body, erase and reposition the overlapping circles starting from the head so segments sit evenly, and only trace with the black marker after you're happy with placement.
How can this activity be adapted for different age groups?
For preschoolers, have an adult pre-draw the head and a few overlapping circles for them to trace and color with thick washable markers, while older kids can add extra segments, tiny legs, detailed spots or stripes, and shading before tracing with the black marker.
What are simple ways to enhance or personalize the finished caterpillar?
To personalize your caterpillar, give each segment a different bright color or fun pattern, glue on googly eyes over the two round eyes, draw leaves or a branch as a background, or invent a short story about where the caterpillar is crawling before sharing it on DIY.org.