How to draw a cat - a free cat drawing guide
Learn to draw a friendly cat step by step using simple shapes, pencil, eraser, and color; practice proportions, textures, and adding personality.

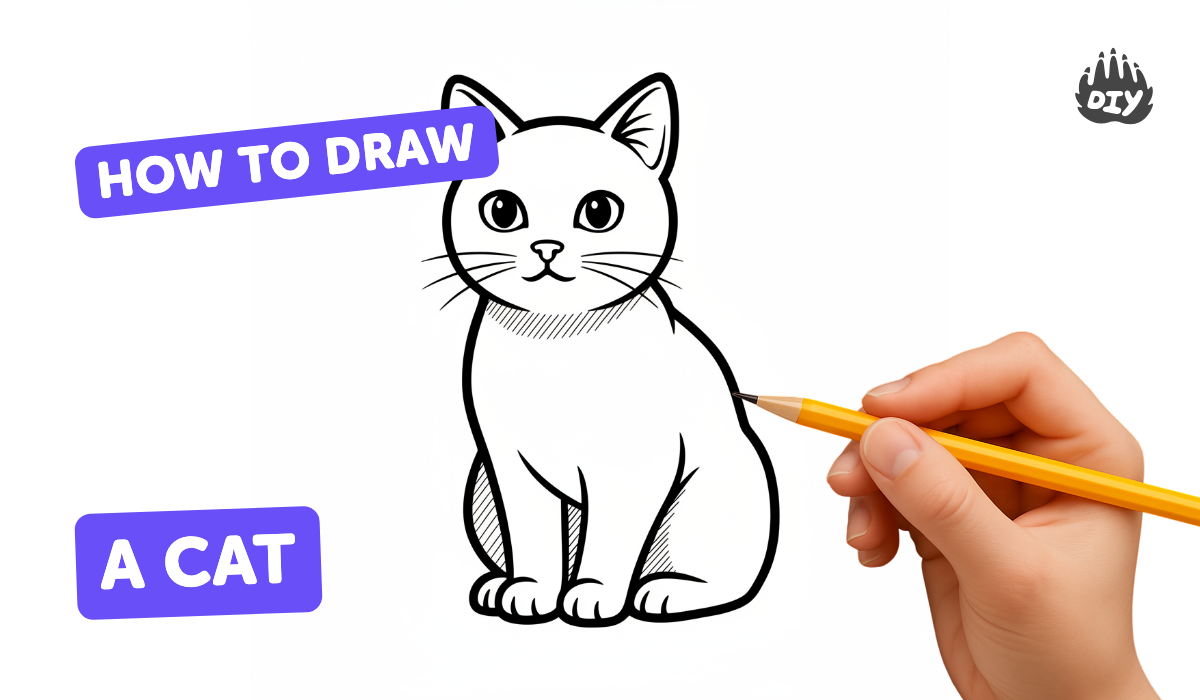
Step-by-step guide to draw a friendly cat
How to Draw a Cat | Easy Step-by-Step Drawing for Kids
Step 1
Gather your pencil eraser paper and coloring materials and find a comfy place to draw.
Step 2
Draw a big circle near the top of your paper to make the cat's head.
Step 3
Lightly draw one vertical line and one horizontal line across the circle to help place the face.
Step 4
Draw two triangle ears on top of the circle connecting to the head.
Step 5
Draw a rounded oval under the head for the cat's body.
Step 6
Draw four simple leg shapes under the body using long ovals or rectangles.
Step 7
Draw a long curved tail coming from one side of the body.
Step 8
Erase any extra guideline lines inside the head so the face looks clean.
Step 9
Go over your favorite outline lines with your pencil to make the cat look bold and neat.
Step 10
Draw two round eyes on the horizontal guideline inside the head.
Step 11
Draw a small triangle nose on the vertical guideline just below the eyes.
Step 12
Draw a smiling mouth and three whiskers on each side coming from the nose.
Step 13
Add fur texture or stripes with short gentle strokes on the body ears and tail.
Step 14
Color your cat with your coloring materials and add light shading for depth.
Step 15
Take a photo or scan your finished cat and share your creation on DIY.org
Help!?
What can we use if we don't have a pencil, eraser, paper, or coloring materials?
If you don't have a pencil, eraser, paper, or coloring materials, draw with a ballpoint pen or marker on scrap paper or a notebook, use a tablet drawing app as a digital substitute, and color with any crayons, markers, or colored pencils you have.
My cat's face looks uneven — how do I fix it?
Keep the big circle near the top and draw the vertical and horizontal guidelines lightly to place the two round eyes and small triangle nose symmetrically, then erase extra guideline lines inside the head gently before darkening your favorite outline lines.
How can I make this activity easier or harder for different ages?
For younger kids, pre-draw the circle head and rounded oval body so they can add triangle ears, sticker eyes, and color inside bold outlines, while older kids can refine the leg ovals into realistic paws, add fur texture with short gentle strokes, and practice light shading for depth.
How can we extend or personalize our cat drawing?
Personalize your cat by trying different fur patterns or stripes with short gentle strokes on the body, ears, and tail, adding a background scene before you color, experimenting with tail shapes, and then scan or photograph your finished shaded cat to share on DIY.org.
Watch videos on how to draw a friendly cat
How To Draw A Cat - Preschool
4 Videos
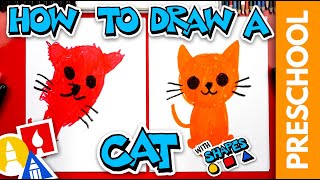
How To Draw A Cat - Preschool

How to Draw a Cat Easy

How to Draw a Cat - Cute and Simple
How To Draw A Cat
Photos of friendly cat drawings


Facts about drawing for kids
🐱 A cat's whiskers are roughly as wide as its body and help it judge whether it can fit through small spaces.
✏️ In many countries the No. 2 (HB) pencil is the go-to sketching pencil because it balances darkness and ease of erasing.
🧽 The first people to use rubber to erase pencil marks were 18th-century experimenters after Joseph Priestley noted rubber's rubbing power.
🎨 Artists often start drawings using simple shapes like circles, ovals, and triangles to get proportions right fast.
😺 Tiny changes — a tilted ear, a sparkle in the eye, or a smudged whisker — can make a drawn cat look playful, shy, or curious.
How do I teach my child to draw a friendly cat step by step?
What materials do I need to draw a simple cat with my child?
What ages is learning to draw a cat suitable for?
What are the benefits of teaching kids to draw cats?
