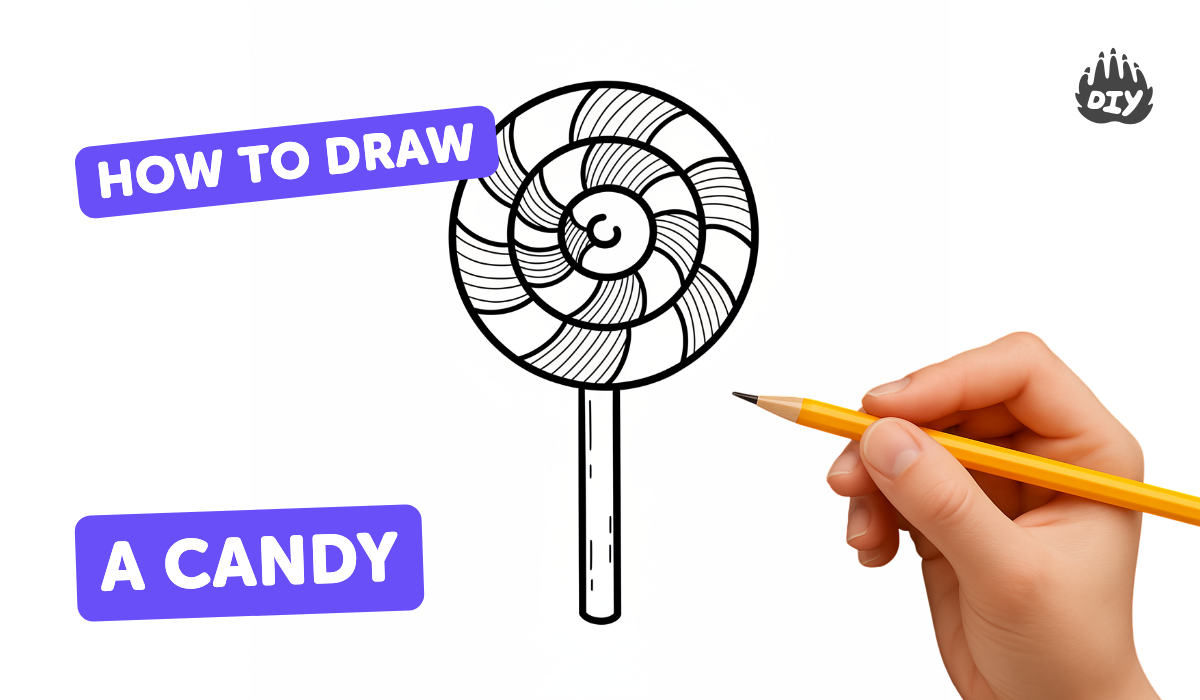
How to draw a candy - a free candy drawing guide
Draw a wrapped candy using simple shapes, line art, and color. Practice proportions and shading to improve drawing skills today.

Drawing Apps
Photos of wrapped candy drawings


Step-by-step guide to draw a wrapped candy
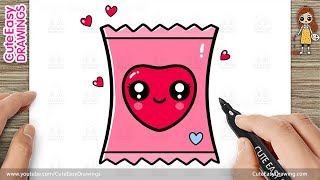
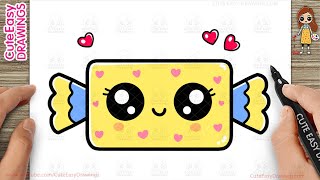
How to Draw a Cute Easy Chocolate Candy / Toffee for Kids Step by Step
Step 1
Place a sheet of paper flat in front of you.
Step 2
Lightly draw a horizontal oval near the center of the page for the candy's main body.
Step 3
Use your pencil to mark how far the wrapper ends should reach by placing it against one side of the oval and making a small tick.
Step 4
On each side of the oval draw a triangular or ruffled wrapper shape that reaches your tick marks.
Step 5
Draw a short curved line across the middle of the oval to show the candy seam.
Step 6
Add a few small curved lines on each wrapper end to show folded paper or twists.
Step 7
Go over your main outline carefully with a black marker or pen.
Step 8
Wait for the ink to dry then gently erase the pencil guide lines.
Step 9
Choose a base color and fill the oval evenly with your coloring materials.
Step 10
Use a slightly darker shade to add shading along the bottom and edges of the oval to make it look round.
Step 11
Add a small white highlight near the top of the oval with a white crayon or gel pen to show shine.
Step 12
Share your finished wrapped candy drawing on DIY.org
Help!?
I don't have a white crayon or gel pen—what can I use for the highlight?
Use a tiny dab of white acrylic paint or glue a small cut piece of white paper to create the 'small white highlight near the top of the oval' and show shine.
My black pen smudged when I tried to erase the pencil—what should I do?
If the black marker smudges or the ink isn't dry before erasing (step: 'Wait for the ink to dry then gently erase the pencil guide lines'), switch to a fine-tip waterproof pen or wait longer and use a soft kneaded eraser to avoid smudges.
How can I adapt this activity for different age groups?
For preschoolers, have a pre-drawn oval to color with washable crayons and skip detailed tick marks, for elementary kids follow all steps including marking wrapper ends and erasing, and for older kids add more detailed ruffles, layered shading with a darker shade, and a gel pen highlight.
How can we make the candy drawing more creative or advanced?
After you go over the outline with a black marker and erase pencil lines, personalize the wrapper with patterns, metallic or glitter pens, draw multiple candies at different sizes with stronger shading, and photograph your finished piece to share on DIY.org.
Watch videos on how to draw a wrapped candy
How to Draw a Cute Candy with Heart Face - Easy Kawaii Chocolate Drawing for Kids Step by Step
4 Videos
How to Draw a Cute Candy with Heart Face - Easy Kawaii Chocolate Drawing for Kids Step by Step
How to Draw a Cute Chocolate Candy Simple & Easy for Kids
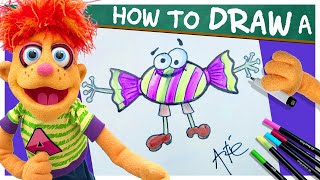
How To Draw A Candy | Art Tutorial for Kids | Artie's Show
HOW TO DRAW A CUTE CANDY EASY STEP BY STEP || CARTOON DRAWING
Facts about drawing and shading for kids
🍬 The word “candy” traces back to Arabic/Persian roots (qand/qandi) meaning sugar — sweet history!
🎨 Line art uses only lines and no shading — a bold, kid-friendly style perfect for candy drawings.
✏️ Many artists start with simple shapes (ovals, triangles, rectangles); a wrapped candy is just an oval plus two twisted ends.
🧠 Practicing proportions (making the candy bigger or smaller) trains your eye to judge size relationships more quickly.
🌈 A tiny white highlight and one light source can make a flat candy look glossy and three-dimensional.
How do I draw a wrapped candy step by step?
What materials do I need to draw a wrapped candy?
What ages is drawing a wrapped candy suitable for?
What are the benefits and fun variations of drawing wrapped candy?
