How to draw a camera - a free camera drawing guide
Learn to draw a simple camera using basic shapes, shading, and perspective. Practice tracing, sketching details, and labeling parts to understand how cameras work.

Drawing Apps
Photos of camera drawing examples


Step-by-step guide to draw a camera
How to Draw a Simple Camera Step By Step || Camera Drawing for Kids
Step 1
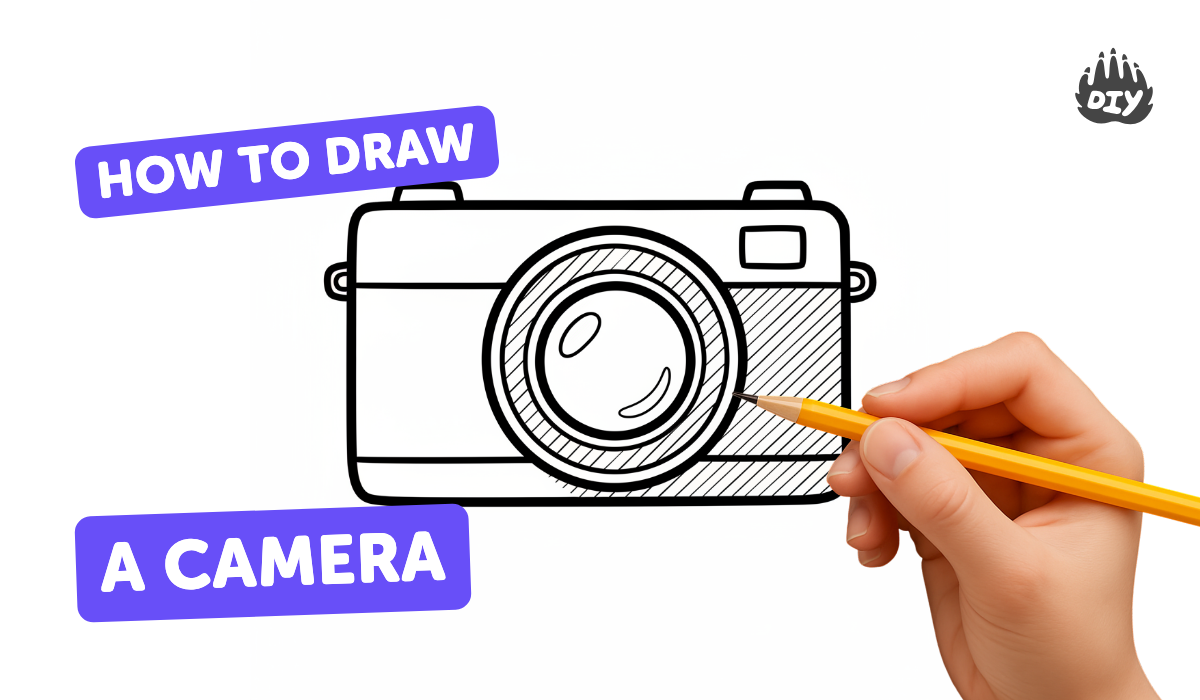
Place your paper horizontally and use your pencil and ruler to lightly draw a wide rectangle for the camera body.
Step 2
Draw a smaller rectangle on the top left or center of the body for the viewfinder or flash.
Step 3
Add a large circle that overlaps the front center of the body to make the camera lens.
Step 4
Inside the large circle draw a smaller concentric circle and a tiny circle to show the glass and shine.
Step 5
Draw small circles or short lines on top of the body to make buttons and a shutter button.
Step 6
Add short diagonal lines on the body edges to give the camera a slight 3D perspective.
Step 7
Trace the final pencil outlines with a black marker to make your drawing bold and clear.
Step 8
Erase the leftover pencil guide lines to clean up the picture.
Step 9
Shade the lens with soft circular pencil strokes and darken the outer ring to make it look deep.
Step 10
Color the camera body with your coloring materials and leave tiny areas lighter for highlights.
Step 11
Draw straight lines from parts to small labels and write the names like lens shutter button and viewfinder.
Step 12
Share your finished camera drawing on DIY.org
Help!?
What can we use if we don't have a ruler or a black marker?
Use a straight edge like a book, cereal box, or cardboard to draw the wide rectangle for the camera body and substitute a dark pencil or pen to trace the final outlines instead of a black marker.
My lens circles look uneven or the concentric circles won't line up—how do I fix that?
Lightly draw the large lens circle using a coin, bottle cap, or compass so it overlaps the front center cleanly, then erase extra guide lines before tracing so the smaller concentric and tiny shine circles stay neat.
How can I adapt this activity for different ages?
Give preschoolers the pre-drawn wide rectangle and large lens to color, offer early-elementary kids the steps to add buttons and labels, and challenge older children to refine the diagonal 3D lines, shade the lens with soft circular pencil strokes, and use a ruler for precise edges.
What are some fun ways to extend or personalize the camera drawing?
Add a strap, a branded name or patterned coloring on the camera body, glue a small piece of foil or clear plastic over the lens for shine, include labeled straight-line callouts, and then photograph or share your finished camera drawing on DIY.org.
Watch videos on how to draw a camera
Easy Camera Drawing Tutorial | Learn to Draw a Camera for Kids
4 Videos
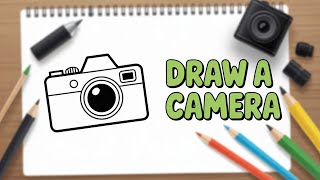
Easy Camera Drawing Tutorial | Learn to Draw a Camera for Kids
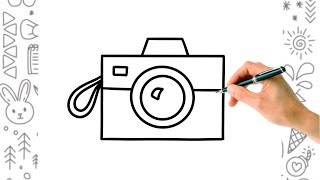
How to draw a camera 📸 VERY EASY tutorial for kids ✍🏼 | Small Artists

How to draw a Camera Drawing and Coloring for Kids | Step by Step Art Tutorial #cameradrawing
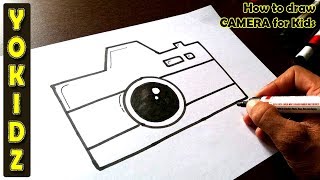
How to draw CAMERA for Kids
Facts about basic drawing and perspective for kids
📷 The word "camera" comes from the Latin for "room" — because early cameras (camera obscura) were like small rooms that projected images.
🕰️ The oldest surviving camera photograph was made in 1826 by Nicéphore Niépce and needed about 8 hours of exposure time.
🔲 You can draw most cameras by combining simple shapes: rectangles for the body, circles for lenses, and small rectangles for buttons.
🎯 Using one-point or two-point perspective makes a flat camera sketch look three-dimensional and realistic.
🖤 Shading with just three values — light, mid-tone, and dark — can turn a flat outline into a believable camera drawing.
How do I teach my child to draw a simple camera step-by-step?
What materials do I need to draw a simple camera with kids?
What ages is learning to draw a simple camera suitable for?
What are the benefits of drawing a camera and fun variations?
