How to draw a burger - a free burger drawing guide
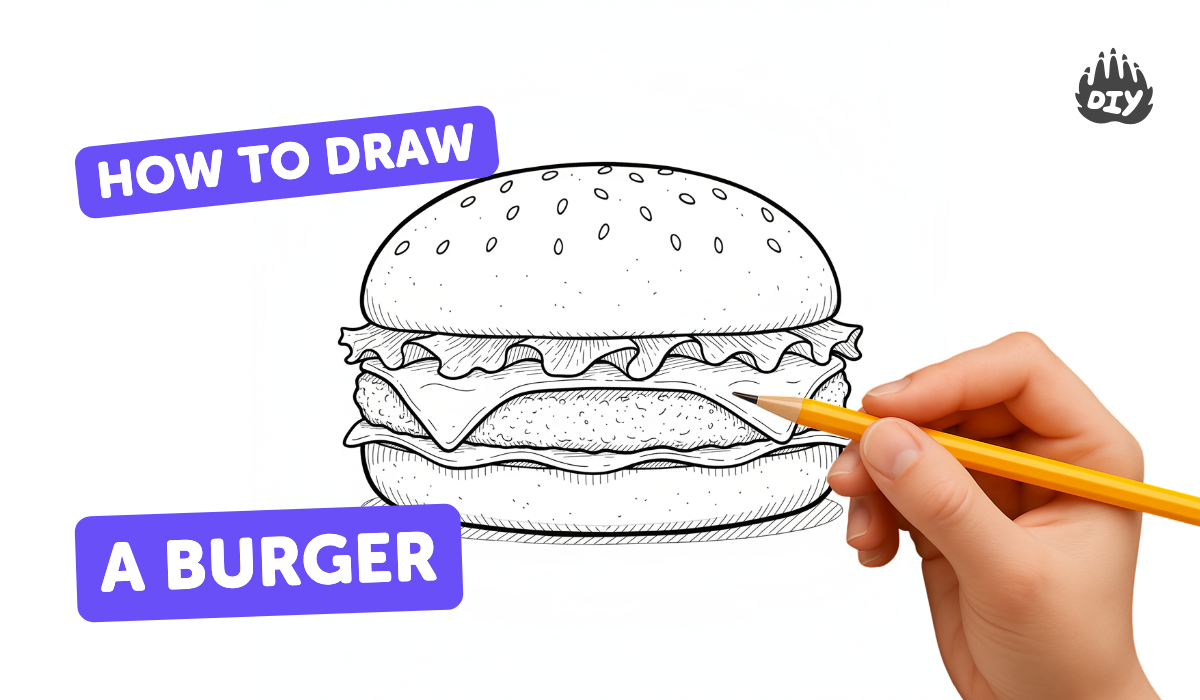
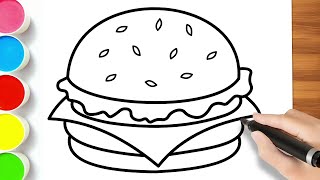
Draw a detailed burger with bun, lettuce, tomato, cheese, and patty. Practice layering, proportions, shading, and adding sesame seeds for realistic texture.

Drawing Apps
Photos of detailed burger drawings


Step-by-step guide to draw a detailed burger
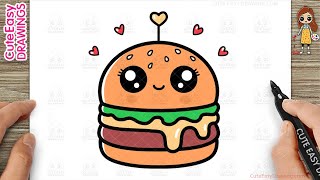
How to Draw a Cute Burger Easy Step by Step for Kids
Step 1
Gather your materials and sit at a comfortable table with good light.
Step 2
Lightly draw a wide slightly flattened oval near the top of the page for the top bun.
Step 3
Draw a faint horizontal curved guide line under the top bun to mark where the fillings will start.
Step 4
Draw a wavy zigzag line under the guide line to make the lettuce layer.
Step 5
Draw two or three thin rounded semi-circles under the lettuce to show tomato slices.
Step 6
Draw a cheese slice under the tomatoes as a rectangle with one corner drooping over the edge.
Step 7
Draw a thick rounded patty shape under the cheese and add a few short rough lines on it for texture.
Step 8
Draw the bottom bun under the patty as a rounded oval with a thin curved line near its top to show the bun edge.
Step 9
Add sesame seeds by drawing small oval or teardrop shapes scattered across the top bun.
Step 10
Add small texture dots or short lines on the patty and bun to make them look more realistic.
Step 11
Shade lightly under the top bun and under each layer with soft pencil strokes to show depth.
Step 12
Trace your best outline lines with a black pen or a darker pencil to make the burger stand out.
Step 13
Gently erase any extra pencil guide lines so your burger looks neat.
Step 14
Color the burger using your coloring materials choosing golden browns for the buns red for tomatoes green for lettuce yellow for cheese and brown for the patty.
Step 15
Share your finished burger drawing on DIY.org.
Help!?
What can I use if I don't have a black pen or specific coloring materials listed in the steps?
If you don't have a black pen, use a darker pencil, fine-tipped marker, or sharpened crayon to trace your best outline lines and substitute colored markers, watercolors, or torn colored paper for the coloring materials when filling the buns, lettuce, cheese, tomatoes, and patty.
My shading or layers look messy—how can I fix or avoid this while following the steps?
If the light shading under the top bun and each layer becomes too dark or blotchy, lighten your pressure, use short soft pencil strokes to rebuild tone, and gently lift excess graphite with your eraser before you trace with a pen.
How can I adjust the drawing activity for different age groups?
For younger kids simplify shapes to big ovals and single-layer toppings and skip small texture dots, while older kids can add detailed sesame seeds, realistic shading under each layer, and color blending with colored pencils as described in the steps.
How can we extend or personalize the burger drawing once it's finished?
To enhance and personalize the project, glue cut-outs of colored paper for the lettuce, tomato, and cheese over your penciled shapes, add a custom sesame seed pattern on the top bun, and then photograph or upload the final colored burger to DIY.org as the instructions suggest.
Watch videos on how to draw a detailed burger
How to Draw a Cute Burger Simple & Easy for Kids
4 Videos
How to Draw a Cute Burger Simple & Easy for Kids
How to Draw a Burger Step by Step | Fun Food Drawing for beginners from Doodle with Dotty
How to Draw a Burger in 5 Minutes - Easy Tutorial for Kids
How to Draw Burger - Easy Drawings for Beginners
Facts about drawing and sketching for kids
🍔 Burgers are 'layered' foods — placing the patty or cheese next to the bun helps block moisture so the bun stays less soggy.
🧀 Different cheeses melt and shine in unique ways — drawing a few bright highlights makes melted cheese look deliciously glossy.
🥬 Lettuce gives a burger its leafy texture — sketching wavy edges and light/dark shading makes it look crunchy on paper.
✏️ Proportion tip: drawing the bun slightly bigger than the patty creates depth and makes the burger feel three-dimensional.
🌾 Sesame seeds are never perfectly spaced — varying their size, angle, and adding tiny shadows makes the bun look realistic.
How do I draw a detailed burger with bun, lettuce, tomato, cheese, patty, and sesame seeds?
What materials do I need to draw a realistic burger?
What ages is drawing a layered, shaded burger suitable for?
What are the benefits of practicing drawing a realistic burger?
