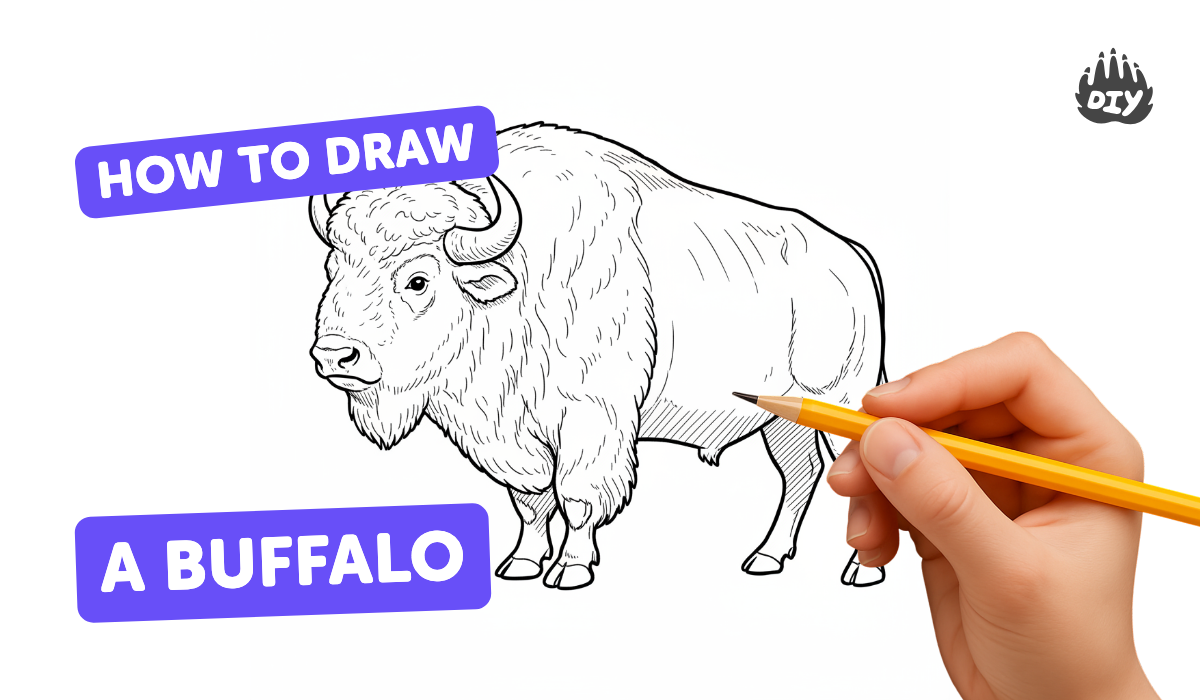
How to draw a buffalo - a free buffalo drawing guide
Draw a realistic buffalo step by step using basic shapes, measuring proportions, adding texture and shading. Practice observation and improving pencil drawing skills.

Drawing Apps
Photos of realistic buffalo drawing examples


Step-by-step guide to draw a realistic buffalo
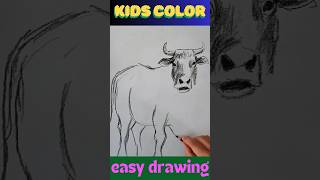
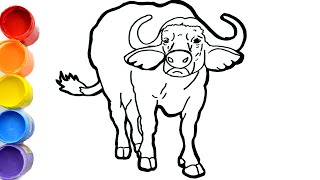
"Easy Buffalo Drawing for Kids | Step by Step Animal Drawing Tutorial |
Step 1
Lay your paper flat on a table so you have lots of room to draw.
Step 2
Place your reference photo of a buffalo where you can see it clearly while you draw.
Step 3
Lightly sketch a large oval for the body and a smaller oval for the head to block in the main shapes.
Step 4
Draw a short curved line between the head and body to mark the neck and the general posture.
Step 5
Use light straight lines to mark the positions of the four legs so they line up with the body.
Step 6
Sketch the buffalo’s horns as two curved shapes coming out from the top sides of the head.
Step 7
Refine the animal’s outline by turning the ovals into the buffalo’s real silhouette with a hump shoulder round belly and jawline.
Step 8
Erase extra construction lines inside the refined outline so the buffalo shape looks clean.
Step 9
Add facial details like the eye ear nostrils and mouth using small simple marks while looking at your reference.
Step 10
Create fur texture with short directional pencil strokes following the body curves and make strokes denser around the neck and hump.
Step 11
Choose a light source then shade shadows with softer pencils and blend gently with a stump or tissue to make smooth tones.
Step 12
Share your finished buffalo drawing on DIY.org
Help!?
What can we use instead of a blending stump or tissue for the shading step?
If you don't have a blending stump or tissue, use a cotton swab, a rolled piece of tissue, or gently rub with your fingertip to blend the shadows in the shading step.
My buffalo's legs look crooked — how can I fix them?
If the legs look crooked, erase the heavy marks and re-check the light straight guide lines you drew for the four legs, using your pencil to measure their alignment against the large body oval before you refine the silhouette.
How can I adapt this drawing activity for very young children or older kids?
For younger children, simplify the lesson to two big ovals and horns colored with crayons and skip the fur strokes and shading, while older kids can add the short directional pencil fur strokes and blended shadows from the fur and shading steps for more realism.
How can we make the drawing more creative or longer-lasting after finishing the buffalo?
To extend the activity, add a background like grass and sky, color the buffalo with colored pencils or watercolor after erasing construction lines, create a herd by repeating the ovals at different sizes, and photograph the result to share on DIY.org.
Watch videos on how to draw a realistic buffalo
How to draw a buffalo🐃 - step by step easy!
4 Videos
How to draw a buffalo🐃 - step by step easy!
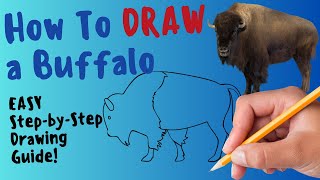
How To Draw A Buffalo - Fun and Easy Step By Step Drawing and Coloring Tutorial
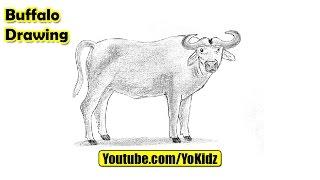
How to draw a BUFFALO for kids
🔴How to Draw a Buffalo Easy Step by Step | Wild animals drawings
Facts about pencil drawing for kids
🦬 American bison (often called buffalo) can weigh up to 2,000 pounds — that big hump helps give them a chunky, powerful shape to study when drawing!
🐃 Water buffalo have wide, curved horns that make great practice for drawing smooth, symmetrical curves and reflections.
✍️ Pencils come in grades from hard (H) to soft (B); artists often use H for light construction lines and 2B–6B for rich shading.
🖊️ Shading techniques like hatching and cross-hatching create texture and volume — short strokes help show fur direction on a buffalo.
📏 Measuring with your pencil (thumb-knuckle method) is a simple way to keep the buffalo's proportions accurate as you sketch.
How do I teach my child to draw a realistic buffalo step by step?
What materials do I need to draw a realistic buffalo with my child?
What ages is drawing a realistic buffalo suitable for?
What are the benefits of having kids draw realistic animals like a buffalo?
