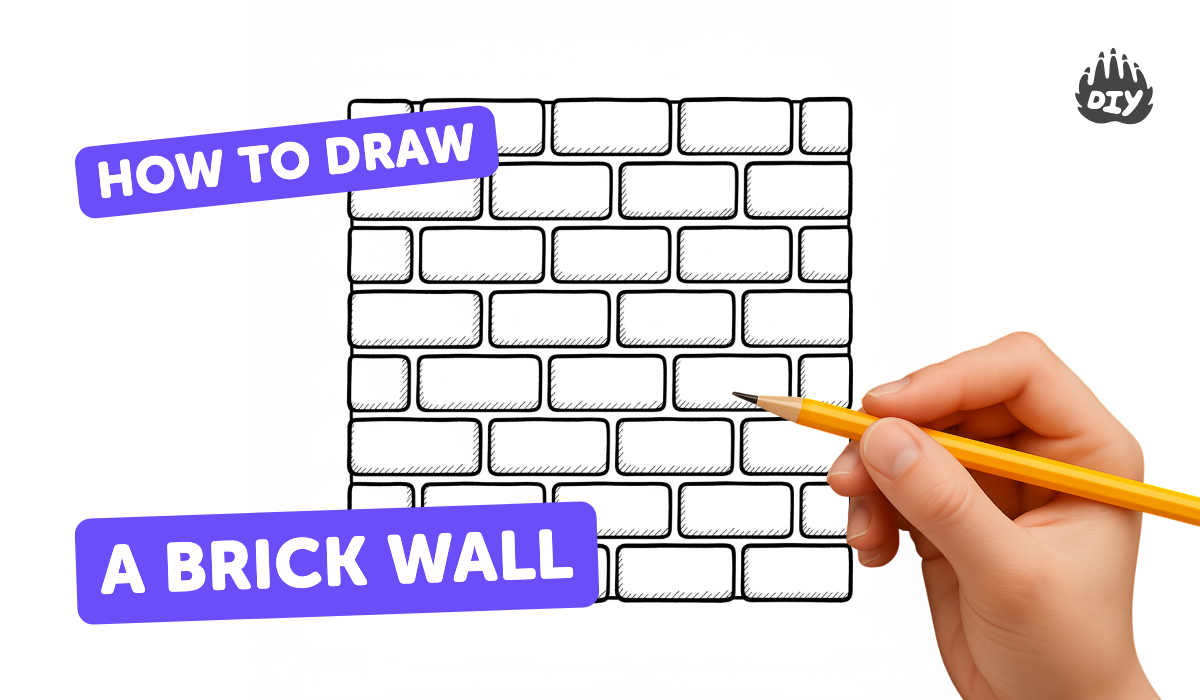
How to draw a brick wall - a free brick wall drawing guide
Draw a realistic brick wall using ruler, pencil, and shading techniques. Learn spacing, perspective, and texture to make bricks look three-dimensional.

Drawing Apps
Photos of brick wall drawing examples


Step-by-step guide to draw a realistic brick wall
🧱 Broken Wall Drawing | Easy Brick Wall Art with Hanging Hearts | Kids Creative Drawing Tutorial
Step 1
Choose a landscape page and place your paper flat on the table with your pencil and ruler beside it.
Step 2
Lightly draw a horizontal baseline about one inch from the bottom of the paper to mark the ground.
Step 3
Put a small dot near the top center of the paper to mark your vanishing point for perspective.
Step 4
Draw a tall rectangle in the middle of the page to be the front face of your wall using the ruler.
Step 5
From the top-right and bottom-right corners of the rectangle draw two straight lines toward the vanishing point to show the wall’s depth.
Step 6
Close the side of the wall by drawing a vertical line where the two lines toward the vanishing point meet, making a 3D wall shape.
Step 7
Use the ruler to draw evenly spaced horizontal lines across the front face to make straight rows of bricks.
Step 8
Draw vertical mortar lines so each row is staggered by about half a brick from the row above to create the brick pattern.
Step 9
Erase any extra construction lines outside the wall so only the neat brick shapes remain.
Step 10
Decide where the light is coming from and draw a small sun or arrow to show the light direction.
Step 11
Shade each brick by darkening the side facing away from the light and blending with your stump or tissue to make them look three-dimensional.
Step 12
Add small texture marks and roughen the mortar lines lightly to make the bricks look realistic.
Step 13
Take a photo or scan of your finished brick wall and share your creation on DIY.org
Help!?
What can we use if we don't have a ruler, blending stump, or a scanner/phone to share our wall?
Use a straight-edged book or the edge of a cereal box to draw straight lines, a folded tissue or cotton swab instead of a blending stump for shading, and take a photo with any camera or ask to borrow a phone instead of scanning.
My side lines toward the vanishing point don't meet cleanly — how do I fix the 3D wall shape?
Lightly redraw the lines from the rectangle's top-right and bottom-right corners using your ruler to mark where they intersect, then draw the closing vertical line there and erase extra construction lines as the instructions say.
How can I adapt this activity for different ages or skill levels?
For younger kids, simplify by drawing a flat rectangle with pre-drawn horizontal lines to color bricks, while older kids should keep the vanishing point, add more staggered rows, texture marks, and detailed shading with a stump or tissue for realism.
What are some creative ways to enhance or personalize the finished brick wall?
Add graffiti, climbing ivy, or a doorway on the brick faces, change the light arrow and re-shade bricks to match, then photograph your finished wall to share on DIY.org as suggested in the instructions.
Watch videos on how to draw a realistic brick wall
How To Draw Bricks For Beginners
4 Videos
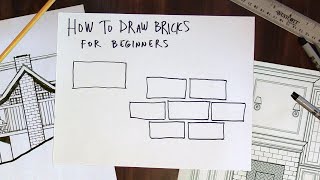
How To Draw Bricks For Beginners
How to draw a Brick Wall

#612 How to Draw a Brick Wall - Easy Drawing Tutorial
Brick drawing | Eit draw | Bricks drawing ideas | Bricks drawing process | How to draw brick easily.
Facts about pencil drawing and perspective for kids
🧱 Bricks were used as early as 7000 BC — some of the oldest fired bricks come from southern Turkey and Mesopotamia.
📏 Linear perspective was demonstrated in the 1400s by Filippo Brunelleschi and transformed realistic drawing in the Renaissance.
✏️ Shading techniques like hatching, cross-hatching, and stippling let artists show depth and texture without color.
🔲 The running bond (staggered joints) is the most common brick pattern because it helps spread weight and prevent cracks.
🎨 Trompe-l'œil (French for "deceive the eye") uses painted light and shadow to make flat surfaces look three-dimensional.
How do I draw a realistic brick wall step-by-step?
What materials do I need to draw a realistic brick wall?
What ages is drawing a realistic brick wall suitable for?
What are the benefits of drawing a brick wall for kids?
