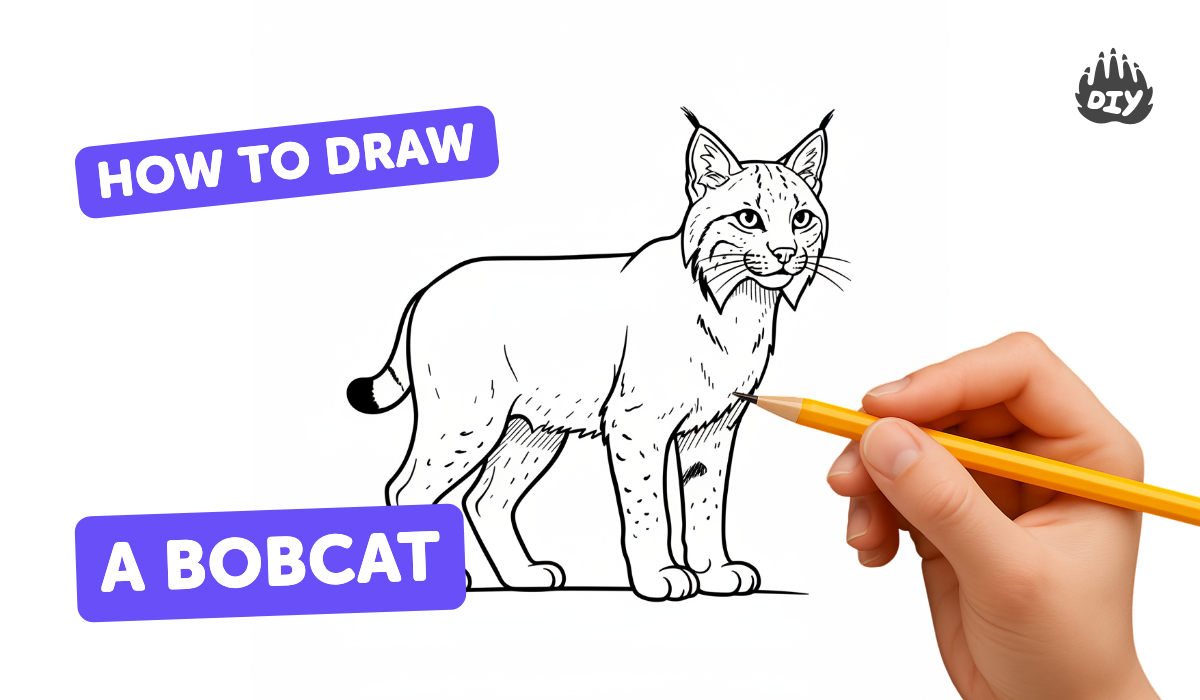
How to draw a bobcat - a free bobcat drawing guide
Draw a bobcat step-by-step using simple shapes, adding fur texture, whiskers, and facial details. Practice proportions, shading, and observation skills.

Drawing Apps
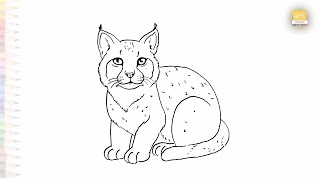
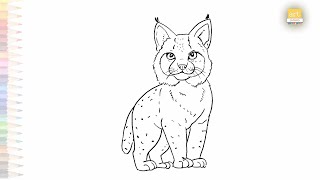
Photos of bobcat drawing examples


Step-by-step guide to draw a bobcat
How to Draw a Bobcat Step by Step for Kids
Step 1
Draw a light oval in the middle of your paper for the bobcat’s head.
Step 2
Add a smaller rounded oval overlapping the bottom of the head to mark the snout.
Step 3
Lightly draw a guiding cross (one vertical and one horizontal line) across the head to place the eyes and nose.
Step 4
Sketch two pointy ears on top of the head and add little tufts at the tips.
Step 5
Draw a larger oval below the head for the bobcat’s body.
Step 6
Draw two short neck lines to connect the head and the body.
Step 7
Draw four tapered legs under the body to make the bobcat stand.
Step 8
Draw two almond-shaped eyes on the horizontal guideline to place the gaze.
Step 9
Draw a small triangle nose at the front of the snout and a short line down for the mouth.
Step 10
Put three tiny whisker dots on each side of the snout and draw three curved whiskers from each set of dots.
Step 11
Add short directional pencil strokes around the head ears and body to create fur texture following how the hair grows.
Step 12
Choose where the light comes from and lightly shade the opposite areas like under the chin inside the ears and under the belly.
Step 13
Trace your best outer lines with a black marker and let it dry if needed.
Step 14
Erase extra pencil guidelines and lightly blend any shaded areas with your finger or a tissue if you like.
Step 15
Color your bobcat using darker tones in the shaded areas to show depth and then share your finished creation on DIY.org.
Help!?
What can I substitute if I don't have a black marker or blending tissue?
If you don't have a black marker for tracing in step 15, use a dark ballpoint pen or fine-tip crayon, and if you lack a tissue for step 17, lightly blend shaded areas with a clean fingertip or a cotton ball.
My bobcat's features look off—what should I do if the eyes or snout are uneven?
If the almond-shaped eyes or small triangle nose end up uneven after using the guiding cross in step 3, lightly erase only the horizontal or vertical guideline, reposition the eyes and nose to line up with the cross, then proceed to trace with the marker in step 15.
How can I adapt this drawing activity for different age groups?
For preschoolers, have them trace pre-drawn head and body ovals from steps 1 and 5 with chunky crayons, while older kids can add detailed fur strokes and shading from steps 13–14 and refine whisker dots in step 12 before tracing in step 15.
How can we extend or personalize the bobcat drawing once it's finished?
To personalize the bobcat, adjust the body oval and leg placement in steps 5 and 7 for a new pose, add a background and darker shaded tones as in step 14 and 17, and then share your unique scene on DIY.org.
Watch videos on how to draw a bobcat
How to Draw a Bobcat in a Few Easy Steps: Drawing Tutorial for Beginner Artists
4 Videos
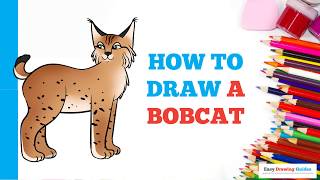
How to Draw a Bobcat in a Few Easy Steps: Drawing Tutorial for Beginner Artists
Bobcat drawing easy | Art tutorial | How to draw A Bobcat step by step easily | #artjanag

How To Draw A Cartoon Bobcat
Bobcat easy drawing | Art tutorial | How to draw A Cute bobcat step by step easily | #artjanag
Facts about drawing animals
🐾 Bobcats are native to North America and get their name from their short, 'bobbed' tail.
🐱 Bobcats often have tufted ears and spotted fur that help them hide while hunting.
✏️ Many artists start drawings with simple shapes (circles, ovals, triangles) to block in correct proportions.
🧭 Whiskers (vibrissae) are super-sensitive and help cats sense nearby objects and navigate in the dark.
🎨 To mimic fur, use short, directional pencil strokes and light shading to build texture and depth.
How do I teach my child to draw a bobcat step-by-step?
What materials do I need to draw a bobcat with my child?
What ages is drawing a bobcat suitable for?
What are some variations and tips to make drawing a bobcat more fun?
