How to draw a blueberry - a free blueberry drawing guide
Draw a detailed blueberry using simple shapes, shading, and highlights. Practice observation, step-by-step drawing, and blending to create realistic texture.

Drawing Apps
Photos of blueberry drawing examples


Step-by-step guide to draw a blueberry
How To Draw Blueberries! (Art For Kids!) - Easy Step By Step Beginner Art/Drawing Lesson!
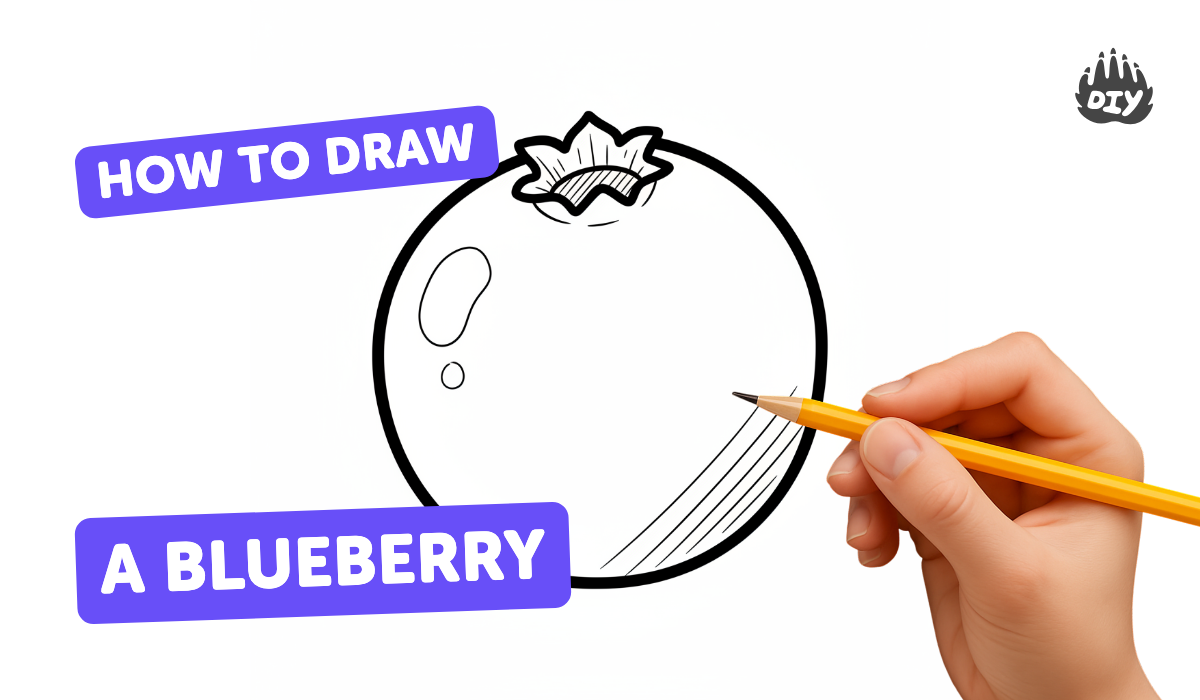
Step 1
Look carefully at your reference photo and notice the blueberry's round shape the darker side and where the light hits it.
Step 2
Lightly draw a circle in the middle of your paper with soft pencil strokes to make the blueberry's basic shape.
Step 3
Sketch a small crown shaped calyx at the top with short curved lines to show the leafy part.
Step 4
Lightly mark a small oval on the berry where the brightest highlight will be so you can keep it clean.
Step 5
Draw a faint arrow or line outside the berry to show the direction the light is coming from.
Step 6
Shade the middle tones across most of the berry using gentle even pencil strokes and avoid the highlight area.
Step 7
Darken the side opposite the light with stronger pencil strokes to create a smooth gradient to the shadow.
Step 8
Blend the shaded area from dark to light using a cotton swab or tissue to make the skin look soft and round.
Step 9
Add tiny soft dots and a few faint lines with a darker pencil to recreate the blueberry's surface texture.
Step 10
Layer colour gently using blue then add purple for depth and use black very lightly for the deepest areas while keeping the highlight clear.
Step 11
Draw a soft cast shadow beneath the blueberry to anchor it to the paper and make it look real.
Step 12
Take a photo of your finished blueberry and share your creation on DIY.org
Help!?
I don't have a cotton swab or tissue for blending—what can I use instead?
Use a blending stump, a rolled piece of scrap paper, a clean fingertip, or a soft paper towel to blend the shaded area from dark to light as instructed in the step to 'Blend the shaded area from dark to light using a cotton swab or tissue.'
My blueberry's shadow and gradient look patchy—how can I fix it?
Soften your middle tones with gentle even pencil strokes, erase and relighten the highlight oval to keep it clean, then re-blend the dark side toward the light using a cotton swab, tissue, or blending stump to create a smooth gradient as in the shading steps.
How can I make this activity easier for a toddler or more challenging for an older child?
For younger kids, enlarge the circle and calyx and use crayons with fingertip blending and skip fine texture dots, while older kids can layer blue then purple and a touch of black for depth, add tiny soft dots for texture, and refine the cast shadow following the instructions.
What are some ways to extend or personalize the blueberry drawing once it's finished?
Change the 'faint arrow' light direction to alter the cast shadow, add a stem or group of berries, experiment with watercolor wash under layered colored pencils (blue, purple, black) for richer color, or vary the tiny soft dots to create different surface textures before photographing to share on DIY.org.
Watch videos on how to draw a blueberry
How to Draw a Blueberry for Kids 🫐 | Simple Fruit Art Tutorial
3 Videos
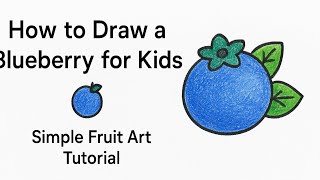
How to Draw a Blueberry for Kids 🫐 | Simple Fruit Art Tutorial
How to draw and color BLUEBERRY for kids EASY and STEP BY STEP? 😍🌹
How to draw a Blueberry, step by step tutorial!
Facts about drawing and shading for kids
🫐 Blueberries get their deep blue–purple color from anthocyanins — natural pigments that also protect the fruit from sun damage.
🎨 Chiaroscuro is an art technique that uses strong light and shadow to make flat shapes appear rounded and three-dimensional.
🔍 The little star-shaped mark on the blossom end of a blueberry is called the calyx and helps botanists identify the fruit.
✏️ Many artists start complex drawings by sketching simple shapes (circles, ovals, and lines) before adding details and texture.
🖌️ Blending with a stump, tissue, or soft brush is a quick trick artists use to create the smooth, velvety skin of a realistic blueberry.
How do I draw a detailed blueberry step by step?
What materials do I need to draw a realistic blueberry?
What ages is drawing a detailed blueberry suitable for?
What are the benefits of practicing detailed blueberry drawings?
