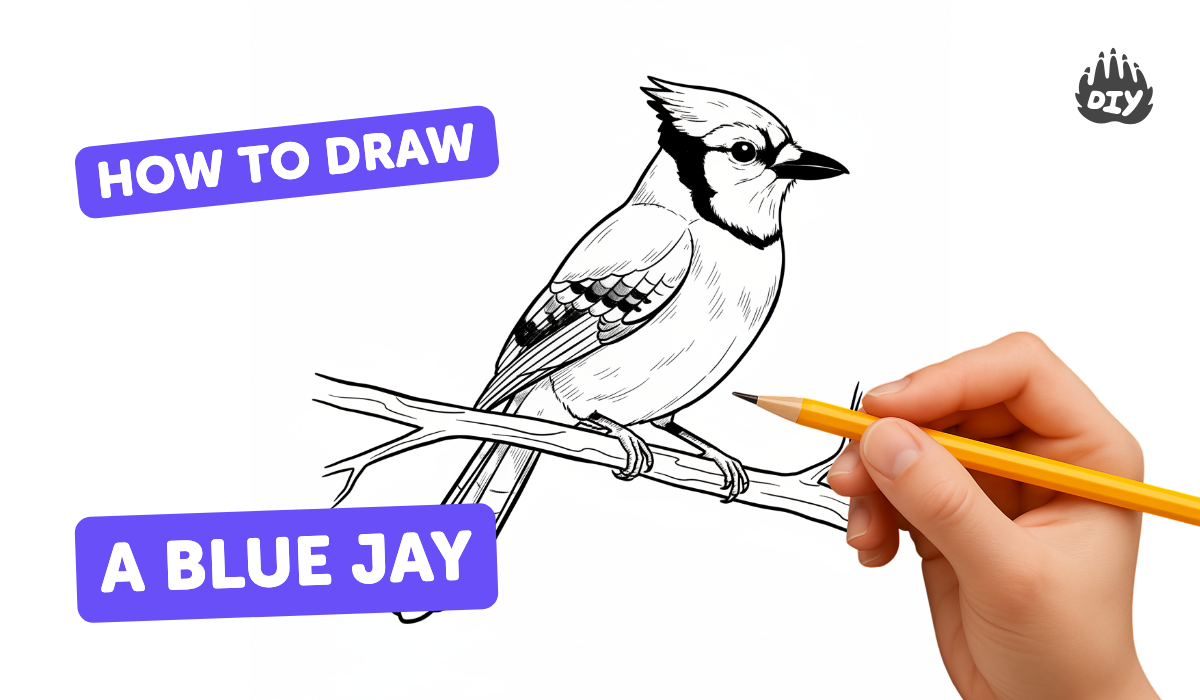
How to draw a blue jay - a free blue jay drawing guide
Draw a detailed blue jay using pencil and colored pencils. Practice observation, proportions, and feather texture to improve realistic bird drawing skills.

Drawing Apps
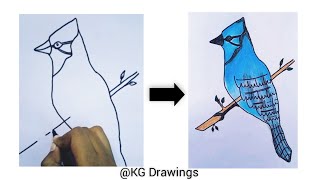
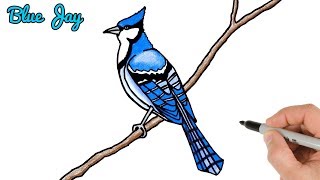
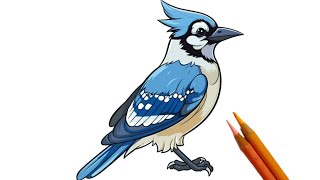
Photos of blue jay drawing examples


Step-by-step guide to draw a blue jay
How To Draw A Blue Jay
Step 1
Gather your materials and clear a comfy workspace to draw.
Step 2
Put the reference photo next to your paper and look at it closely for one minute.
Step 3
Lightly draw a circle for the head and an oval for the body to map size and placement.
Step 4
Draw a light guideline from the head through the oval to set the bird’s posture and tail direction.
Step 5
Mark the eye and beak positions with tiny dots to check proportions.
Step 6
Sketch the head outline and beak shape with smooth light lines.
Step 7
Draw the wing and tail outlines and connect them to the body shape.
Step 8
Add rows of feather groups on the wing and tail using short curved strokes for texture.
Step 9
Draw the eye detail and leave a tiny white spot for a highlight.
Step 10
Erase extra construction lines and gently darken the final outlines you want to keep.
Step 11
Color the main blue areas with light layers of blue colored pencil to build up color.
Step 12
Add the black markings on the face wing and tail to match your reference.
Step 13
Apply gray shading where the bird has shadows to add depth.
Step 14
Use a white colored pencil or leave small uncolored spots to add bright highlights on feathers.
Step 15
Share your finished blue jay on DIY.org.
Help!?
What can we use if we don't have a blue colored pencil or a white colored pencil?
If you don’t have a blue or white colored pencil, build the main blue areas with light layers of blue marker or watercolor and add highlights with a white gel pen or by leaving tiny uncolored spots as the instructions suggest.
My head and body look out of proportion after mapping the circle and oval—how can I fix that?
If proportions look off after lightly drawing the circle and oval, compare sizes using the reference photo and your pencil to remeasure, lightly adjust the shapes, and use the guideline from the head through the oval to realign posture before darkening outlines.
How can I adapt this drawing activity for younger or older kids?
For younger children, simplify by tracing or using a big circle and oval and coloring broad blue areas without detailed feather rows, while older kids can add the rows of feather groups, black face/wing markings, and layered gray shading for more depth.
What are easy ways to extend or personalize the blue jay drawing?
To extend and personalize the activity, add a painted sky or branch background before erasing construction lines, experiment with mixed media and extra white highlights on feathers, and then share your finished blue jay on DIY.org.
Watch videos on how to draw a blue jay
How to draw a Blue Jay bird !!🐦/ Easy and simple steps for kids 🤩✨/How to draw a bird step by step
4 Videos
How to draw a Blue Jay bird !!🐦/ Easy and simple steps for kids 🤩✨/How to draw a bird step by step
How to draw Blue Jay Bird Easy | Drawing and Coloring Art Tutorial
How to Draw a Beautiful Blue Jay | Easy Step-by-Step Tutorial

Beginner Pencil Drawing: How to Sketch a Blue Jay
Facts about drawing birds
🟦 Blue jays aren’t blue from pigment—the microscopic structure of their feathers scatters light to make them look blue.
🐦 Blue jays can mimic hawk calls and other sounds, a trick they sometimes use to warn or trick other birds.
🪶 Feathers are made of tiny barbs and barbules—drawing these with short, layered strokes gives realistic texture.
📏 Artists often use a pencil at arm’s length to measure and compare proportions when drawing from life.
🎨 Colored pencils can be layered and burnished to create smooth, realistic feather shading and highlights.
How do I teach my child to draw a detailed blue jay step-by-step?
What materials do I need to draw a realistic blue jay with pencil and colored pencils?
What ages is drawing a detailed blue jay suitable for?
What are the benefits of drawing a realistic blue jay and simple variations to try?
