How to draw a black cat - a free black cat drawing guide
Draw a black cat step-by-step using simple shapes, pencil, and black marker to add fur texture, facial details, and shadows. Practice proportion and shading.


Drawing Apps
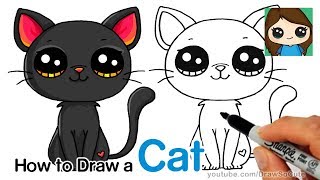
Photos of black cat drawing examples


Step-by-step guide to draw a black cat
How to Draw a Black Cat - Easy Step by Step Guide for Kids
Step 1
Sit at a flat table and place your paper and tools in front of you so you can reach them easily.
Step 2
Lightly draw a medium circle in the upper center of the paper for the cat's head.
Step 3
Lightly draw a larger oval below and slightly overlapping the head circle for the cat's body.
Step 4
Draw two triangle ears on top of the head circle pointing slightly outward.
Step 5
Lightly draw a vertical line down the middle of the head and a horizontal line across the middle to make face guidelines.
Step 6
Sketch two almond-shaped eyes on the horizontal guideline so they sit evenly on each side of the vertical line.
Step 7
Draw a small triangle for the nose on the vertical guideline just below the eyes.
Step 8
Draw a small curved line under the nose to make the mouth.
Step 9
Add three short whisker lines on each side of the face starting from the cheek area.
Step 10
Draw the cat's legs and tail using simple rounded rectangles or ovals for the front and back legs and a long curved shape for the tail.
Step 11
Gently erase the extra guidelines and any stray sketch lines to clean up your drawing.
Step 12
Carefully trace the final outline and facial details with your black marker to make the cat bold.
Step 13
Use short quick strokes with the marker across the body to create fur texture and darker patches for contrast.
Step 14
Lightly shade under the belly and near the legs with your pencil and softly blend the pencil with a tissue for smooth shadows.
Step 15
Take a picture of your finished black cat and share your creation on DIY.org
Help!?
What can I use if I don't have a black marker or a tissue for blending?
Use a black crayon, colored pencil, or fine-tip pen to trace the final outline instead of the black marker, and substitute a cotton ball, Q‑tip, or your fingertip to softly blend the pencil shading under the belly and near the legs.
My marker smudged or bled — how do I fix it?
To avoid and fix smudging, gently erase extra guidelines before tracing, test the black marker on scrap paper or pick a fine‑tip pen for thin paper, let the ink dry fully, then add the short quick strokes for fur texture and the pencil shading afterward.
How can I adapt this drawing for younger or older kids?
For preschoolers simplify to one big circle for the head and two triangle ears and let them fill it with a black crayon, for elementary kids follow the full lightly drawn guidelines and tracing steps, and for teens add detailed short quick strokes, darker patches with the marker, and blended pencil shadows under the belly.
How can we extend or personalize the black cat after finishing it?
Personalize the cat by adding a colorful collar or name tag, drawing a moonlit background, creating fur patterns with the black marker's short quick strokes, or turning the finished drawing into a card and then taking a photo to share on DIY.org.
Watch videos on how to draw a black cat
How to Draw a Black Cat Easy
4 Videos
How to Draw a Black Cat Easy

How To Draw A Black Cat With Candy Corn
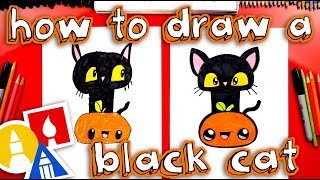
How To Draw A Black Cat And Pumpkin For Halloween

Easy Cute Halloween Black Cat Drawing for Kids | Step by Step Tutorial
Facts about drawing and shading for kids
🐱 Cats have about 230 bones, which helps them twist into adorable, flexible poses while you draw them.
🖤 A black cat's color usually comes from extra melanin (melanism) — it's the same species, just darker fur.
✏️ Pencil grades go from H (hard, light) to B (soft, dark) — artists often use B pencils for shadows and texture.
🖋️ Short, slightly curved strokes that follow the fur direction instantly make a sketch look fluffy and alive.
🎨 Chiaroscuro is an art technique that uses strong contrasts of light and dark to make shapes look three-dimensional.
How do I teach my child to draw a black cat step by step?
What materials do I need to draw a black cat?
What ages is drawing a black cat suitable for?
What are the benefits of drawing a black cat?
