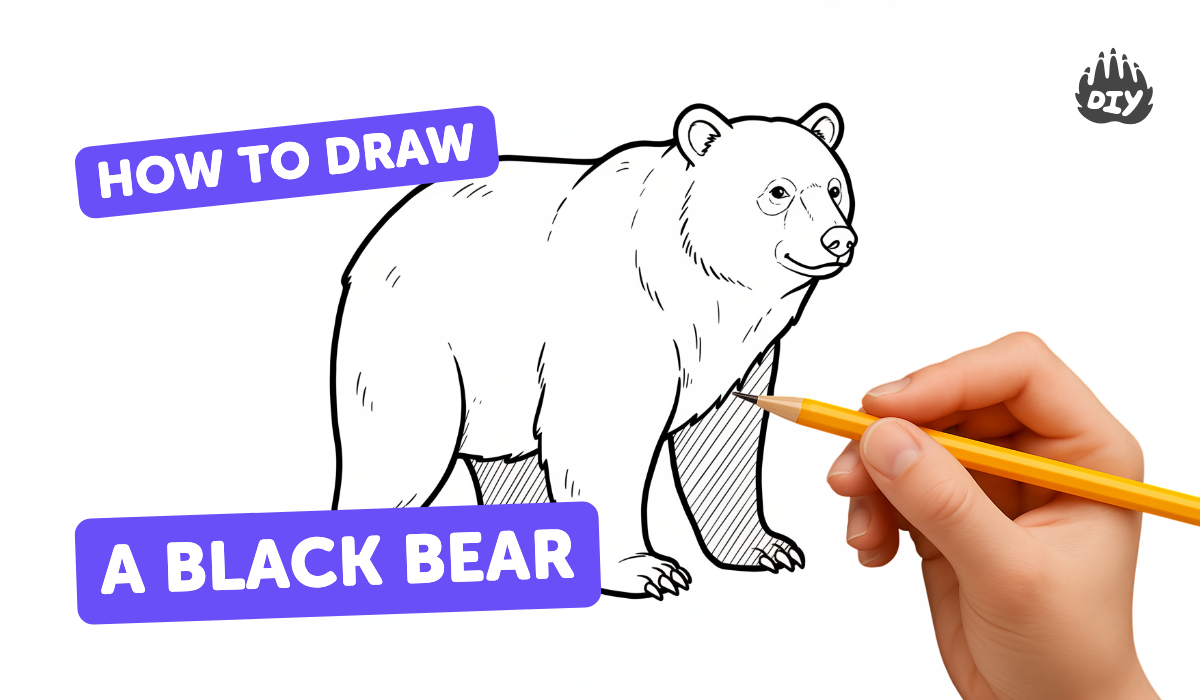
How to draw a black bear - a free black bear drawing guide
Draw a realistic black bear using pencil, shading, and simple shapes. Practice proportions, fur texture, and facial features to complete your finished drawing.

Drawing Apps
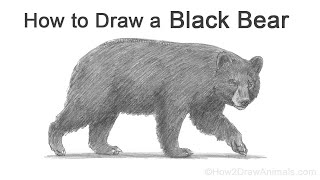
Photos of black bear drawing examples


Step-by-step guide to draw a black bear
How to Draw a Black Bear In 8 EASY Steps - GREAT for Kids & Beginners
Step 1
Gather your materials and set them on a flat table where you can reach everything.
Step 2
Put your photo of a black bear where you can look at it while you draw.
Step 3
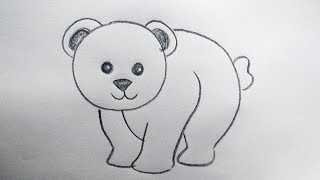
Lightly draw simple shapes to map the bear: a circle for the head a large oval for the body and small circles for the paws.
Step 4
Draw a vertical center line and a horizontal eye line on the head circle to place the face.
Step 5
Connect the head and body shapes with neck lines and mark where the legs will go.
Step 6
Sketch the snout shape and two round ears on the head circle.
Step 7
Draw the nose on the snout the eyes on the eye line and a simple mouth below the nose.
Step 8
Outline the legs and paws over the paw circles and add short claw shapes at the paw tips.
Step 9
Erase extra construction lines gently so the bear outline is clean.
Step 10
Decide where the light is coming from and remember that side will be lighter.
Step 11
Use the HB pencil to add light even shading to the areas away from the light source.
Step 12
Use the 2B or 4B pencil to darken the deepest shadows like under the belly and behind the legs.
Step 13
Add fur texture with short directional pencil strokes that follow the curves of the body.
Step 14
Use the eraser to lift tiny highlights on the nose eyes and fur and add any final small details.
Step 15
Take a photo of your finished drawing and share your creation on DIY.org
Help!?
What can we use if we don't have a 2B/4B pencil, an eraser, or a printed photo of a black bear?
If you don't have a 2B or 4B use a softer 6B or charcoal for the deep shadows, substitute a kneaded or clean white eraser for lifting highlights, and view your black bear reference on a tablet or phone instead of a print.
My bear's face looks lopsided after drawing the construction shapes—how do I fix it?
If the head or features look off, go back to the light construction step, resize the head circle and body oval as needed, and use the vertical center line and horizontal eye line on the head to correctly reposition the snout, eyes, and ears before outlining.
How can I change the activity for younger or older kids?
For younger kids simplify to just the circle-for-head, oval-for-body, and paw-circles mapping and let them color with crayons, while older kids can complete the full process including HB light shading, 2B/4B darkening of shadows, and short directional fur strokes for texture.
What are some ways to make the finished bear drawing more interesting or personal?
To enhance the drawing, pick a dramatic light direction as in the instructions, add a colored background like a forest or snow with colored pencils or watercolor, invent unique fur markings, and lift tiny highlights on the nose and eyes with the eraser before photographing to share on DIY.org.
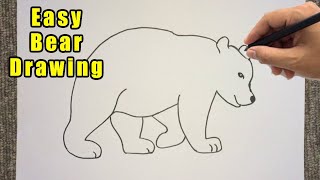
Watch videos on how to draw a black bear
How to Draw a Bear (American Black Bear)
4 Videos
How to Draw a Bear (American Black Bear)
how to draw bear drawing easy step by step@DrawingTalent
How to Draw a Bear Outline Drawing | Easy Bear Sketch Step by Step for Beginners to Follow
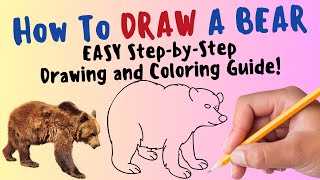
How To Draw A Bear - EASY Step By Step Drawing and Coloring Guide
Facts about animal drawing for kids
🐻 American black bears can come in many colors — black, brown, cinnamon, and even white in the rare Kermode (spirit) bear.
✏️ Graphite pencils are graded from H (hard, light) to B (soft, dark); artists combine grades to get smooth shading and deep darks.
🎨 Hatching and cross-hatching use lines to build up tone and texture — perfect for suggesting fur with a pencil.
🐾 Adult American black bears typically weigh from about 100 to 600 pounds (45–275 kg), so practicing proportions helps make your drawing look realistic.
✨ To draw believable fur, follow the direction the hair grows and use short, varied strokes to suggest layers and depth.
How do I draw a realistic black bear using pencil and shading?
What materials do I need to draw a realistic black bear?
What ages is drawing a realistic black bear suitable for?
What are the benefits of drawing realistic animals like a black bear for children?
