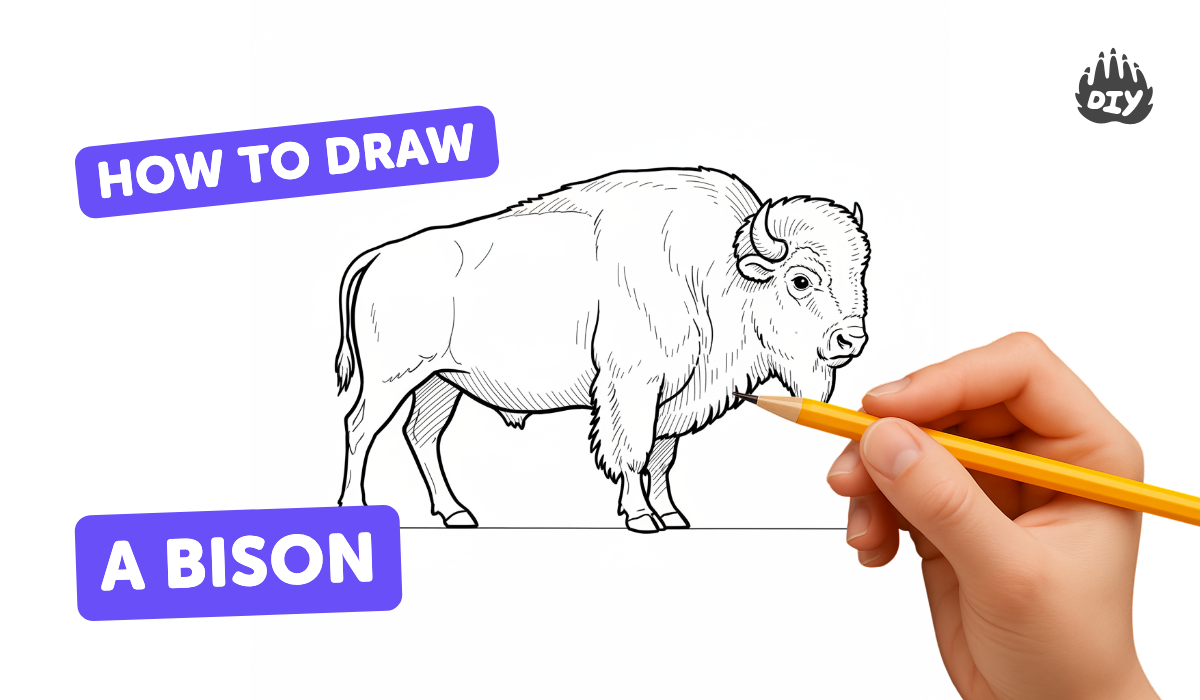
How to draw a bison - a free bison drawing guide
Draw a bison step by step using simple shapes, add fur texture and shading, and learn about its proportions to make realistic art.

Drawing Apps
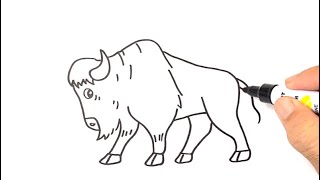
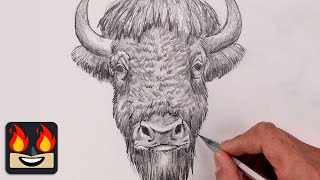
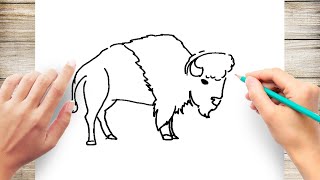
Photos of bison drawing examples


Step-by-step guide to draw a bison
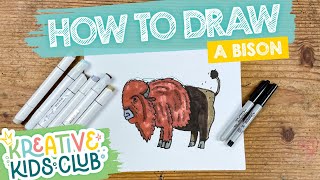
"How to Draw a Giant Bison - Step-by-Step for Kids and Beginners"
Step 1
Lightly draw a large horizontal oval in the middle of the paper for the bison's body.
Step 2
Draw a smaller circle overlapping the front of the oval for the bison's head.
Step 3
Sketch a short curved line connecting the head circle to the body to form the neck.
Step 4
Add a big rounded hump on top of the front part of the body oval to show the bison's shoulder hump.
Step 5
Draw two short curved horns one on each side of the head near the top.
Step 6
Draw two small ears behind the horns.
Step 7
Add simple facial features by drawing a round eye a small nostril and a short curved line for the mouth.
Step 8
Sketch four strong legs under the body as slightly tapered rectangles with small hooves.
Step 9
Draw a short tail with a small tuft at the end at the back of the body.
Step 10
Erase extra overlapping construction lines so the bison shape looks clean.
Step 11
Use many short curved strokes around the head neck hump and chest to add fur texture.
Step 12
Shade under the hump along the belly and the sides with light pencil strokes and gently blend with a tissue or stump to show roundness.
Step 13
Color the bison with brown tones and add darker shades where you shaded to make it look realistic.
Step 14
Share your finished bison on DIY.org.
Help!?
I don't have a blending stump or tissue—what can I use instead to blend the light pencil strokes under the hump and belly?
Use a clean fingertip, a cotton swab, or a small piece of tissue to gently blend the light pencil strokes under the hump and along the belly as a substitute for a stump.
My head circle doesn't line up with the body oval—how can I fix the neck and overlap so the bison looks natural?
Lightly erase and adjust the small head circle and the short curved neck line so the head overlaps the front of the large horizontal oval correctly, then redraw the hump and erase extra construction lines to clean the shape.
How can I change this activity for a 4-year-old versus a 10-year-old?
For a 4-year-old pre-draw the large horizontal oval and head circle for them to trace and let them color with crayons, while for a 10-year-old encourage adding many short curved fur strokes, careful shading with pencil and blending, and richer brown tones.
What are simple ways to personalize or make the finished bison more interesting before sharing on DIY.org?
Add a background prairie with grasses using green and yellow pencils, give the bison unique markings or a name tag, and deepen the darker shaded areas on the hump and chest with extra brown tones for a more personal and realistic finish.
Watch videos on how to draw a bison
How to DRAW a EASY BISON step by step Learn Wild Animals
4 Videos
How to DRAW a EASY BISON step by step Learn Wild Animals
How To Draw a Bison | Sketch Tutorial
How to Draw Bison Step by Step Easy for Kids
Learn to Draw an AMERICAN BISON | Educational Step-by-Step Drawing Tutorial for Kids!
Facts about bison anatomy and proportions
🦬 An adult American bison can weigh as much as 2,000 pounds (about 900 kg) — heavier than a small car!
✏️ Many artists build animal drawings from simple shapes (circles, ovals, rectangles) to lock in correct proportions first.
🧥 A bison's thick shaggy coat can be several inches long and they shed big chunks of fur every spring.
🎨 Shading one side darker and adding light highlights makes flat sketches look round and furry on paper.
📐 The bison's prominent shoulder hump is mostly muscle — drawing a larger oval there helps make your bison look realistic.
How do I teach my child to draw a bison step by step?
What materials do we need to draw a bison with kids?
What ages is drawing a bison suitable for?
What are the benefits of drawing a bison?
