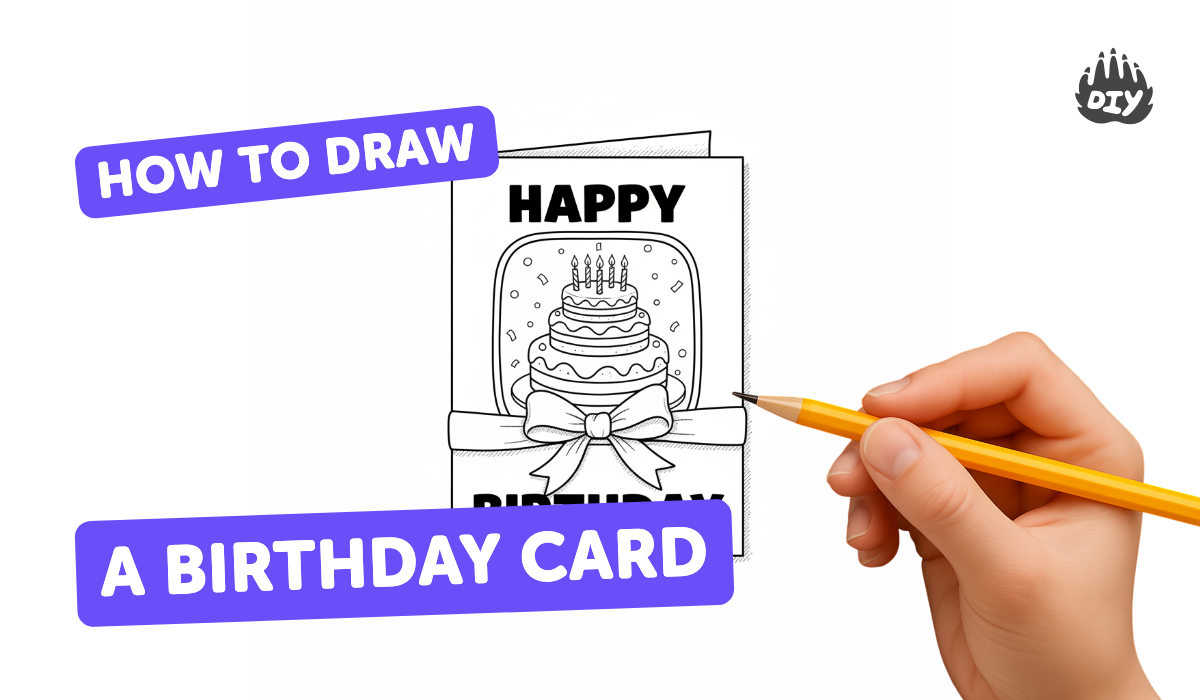
How to draw a birthday card - a free birthday card drawing guide
Draw and decorate a handmade birthday card with a colorful front illustration, folded interior message, and simple pop-up element to practice creativity.

Step-by-step guide to draw a birthday card
HOW TO DRAW BIRTHDAY CARD EASY
Step 1
Gather all the materials listed and place them on your workspace so you can reach them easily.
Step 2
Take a sheet of paper or cardstock and fold it in half to make the card base.
Step 3
Open the folded card so the inside faces up on your table.
Step 4
Use a ruler and pencil to draw a short horizontal center line inside the card where you want the pop-up to be.
Step 5
Cut two small parallel slits about 2 to 3 cm apart along the line you drew to make the pop-up tab.
Step 6
Push the cut section inward so a pop-up tab folds out from the center of the card.
Step 7
Close the card slowly so the pop-up tab makes a clean crease and then reopen the card.
Step 8
Cut a small shape from colored paper to become the pop-up piece.
Step 9
Glue the cut shape onto the front face of the folded pop-up tab so it stands up when the card opens.
Step 10
Lightly sketch a colorful illustration on the front of the card with your pencil.
Step 11
Color in your front illustration using your coloring materials.
Step 12
Write a short birthday message on the inside of the card near the pop-up.
Step 13
Add stickers glitter or extra drawings to decorate the front and inside of your card.
Step 14
Let any glue or wet decorations dry completely before closing the card.
Step 15
Share your finished creation on DIY.org
Help!?
What can I use instead of cardstock or glitter if I don't have them?
If you don't have cardstock, fold regular paper twice or glue plain paper onto a cereal-box piece for a sturdy card base, and substitute glitter with stickers or small pieces of colored paper for the decoration step.
My pop-up tab won't fold cleanly or it keeps tearing—how do I fix it?
Make sure the two parallel slits are about 2–3 cm apart as the instructions say, use a craft knife for neat cuts, and reinforce the popped tab with a small piece of clear tape or scrap paper glued behind it before attaching the colored pop-up shape.
How can I adapt this card activity for different ages?
For younger children, use pre-folded cardstock, pre-cut shapes and have an adult do the slit-and-push pop-up step, while older kids can use a ruler and pencil to draw precise center lines, add multiple pop-up layers, and create more detailed pencil and coloring work.
What are easy ways to personalize or extend the birthday card?
Personalize by gluing a small photograph or several colored paper shapes onto additional pop-up tabs (repeat the slit and fold step for each), write a hand-lettered birthday message near the pop-up, and finish with stickers or glitter as described in the decoration step.
Watch videos on how to draw a birthday card
BIRTHDAY CARD DRAWING EASY - Part 2
4 Videos
BIRTHDAY CARD DRAWING EASY - Part 2

BIRTHDAY CARD DRAWING EASY
BIRTHDAY CARD DRAWING EASY
"How to Draw a Happy Birthday Card for Kids | Fun Step-by-Step Tutorial for Easy Birthday Drawings!"
Photos of birthday card examples


Facts about card making and paper crafts
🎉 Around 6.5 billion greeting cards are sold each year in the U.S., and birthday cards are among the top sellers.
✂️ Kirigami (the art of paper cutting) is often used in pop-up cards to make 3D shapes with simple cuts and folds.
🎈 A common beginner pop-up called the “V-fold” needs only one cut and two folds and springs open when the card is opened.
🎨 Bright, contrasting colors like yellow and orange are often used to make illustrations feel cheerful and festive.
💌 Handmade cards are treasured keepsakes—people often save them for years because of the personal message inside.
How do I help my child draw and decorate a handmade birthday card with a simple pop-up element?
What materials do I need to make a colorful handmade birthday card with a simple pop-up?
What ages is making a pop-up birthday card suitable for?
What are the benefits of making a handmade pop-up birthday card and easy variations to try?
