How to draw a birthday cake - a free birthday cake drawing guide
Draw a layered birthday cake with candles, sketch shapes, add icing patterns, shading, and color to create a celebration illustration. Download the PDF for complete instructions.

Photos of birthday cake drawings
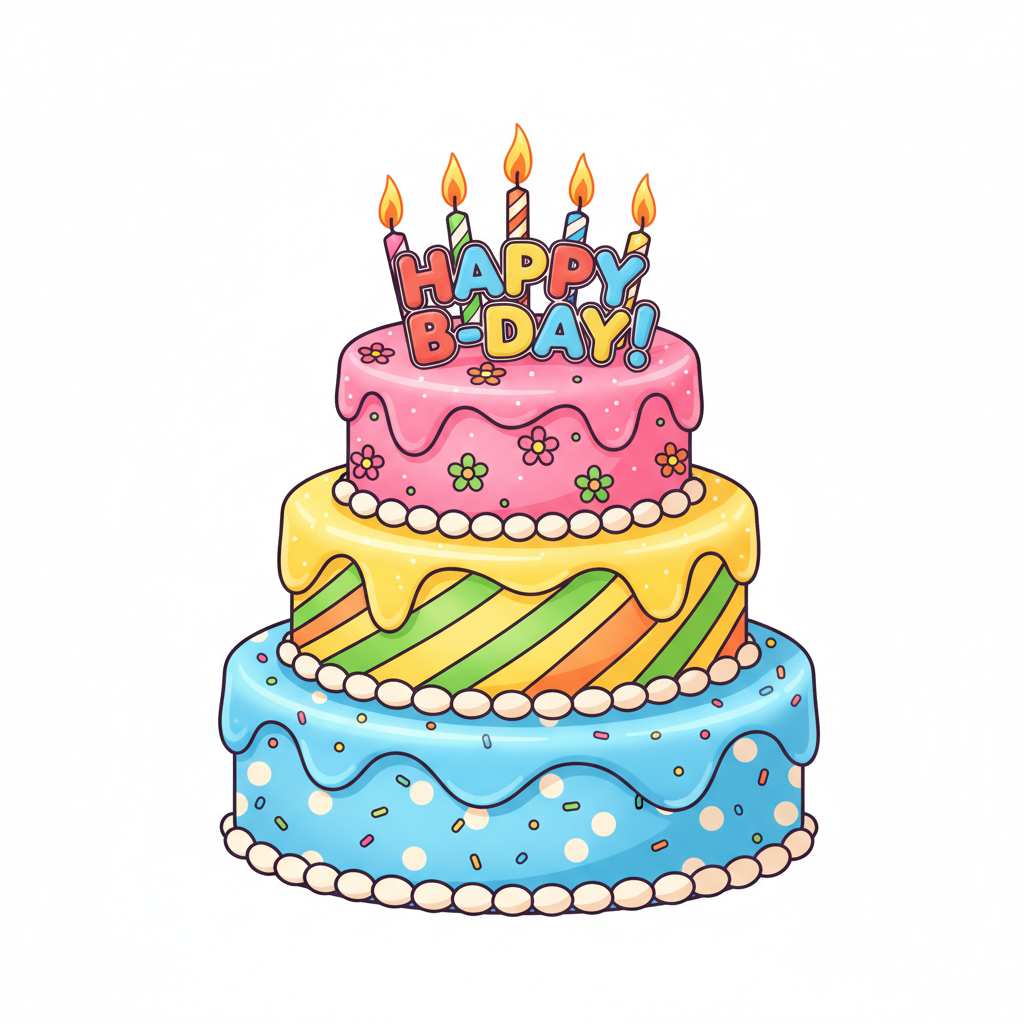
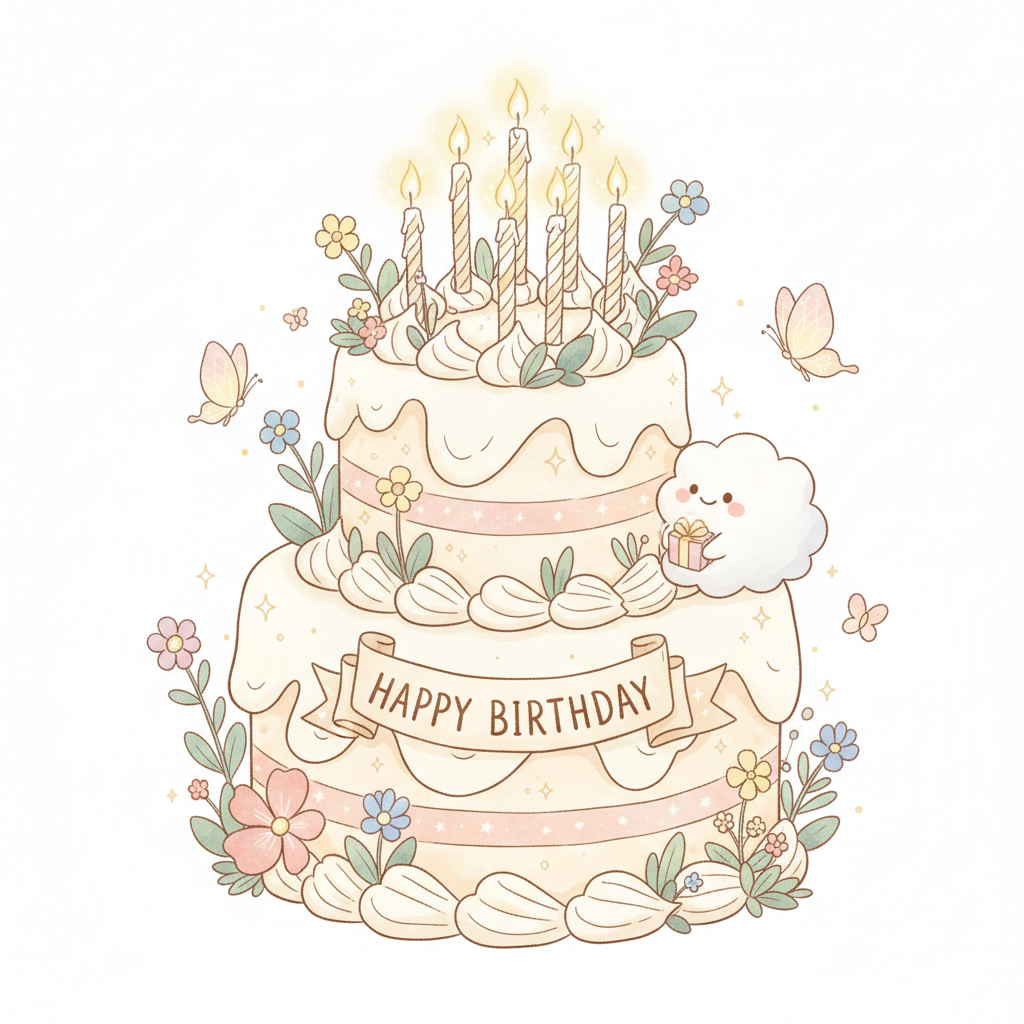
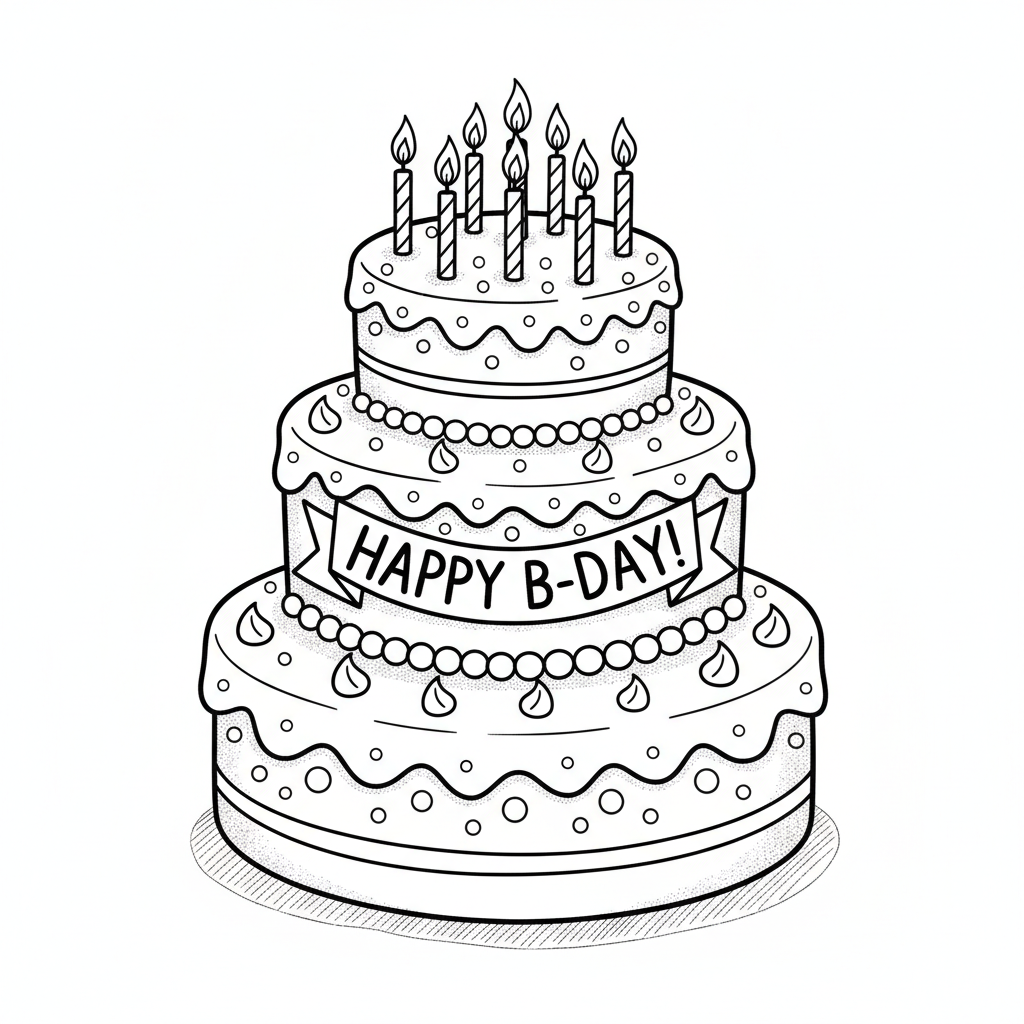
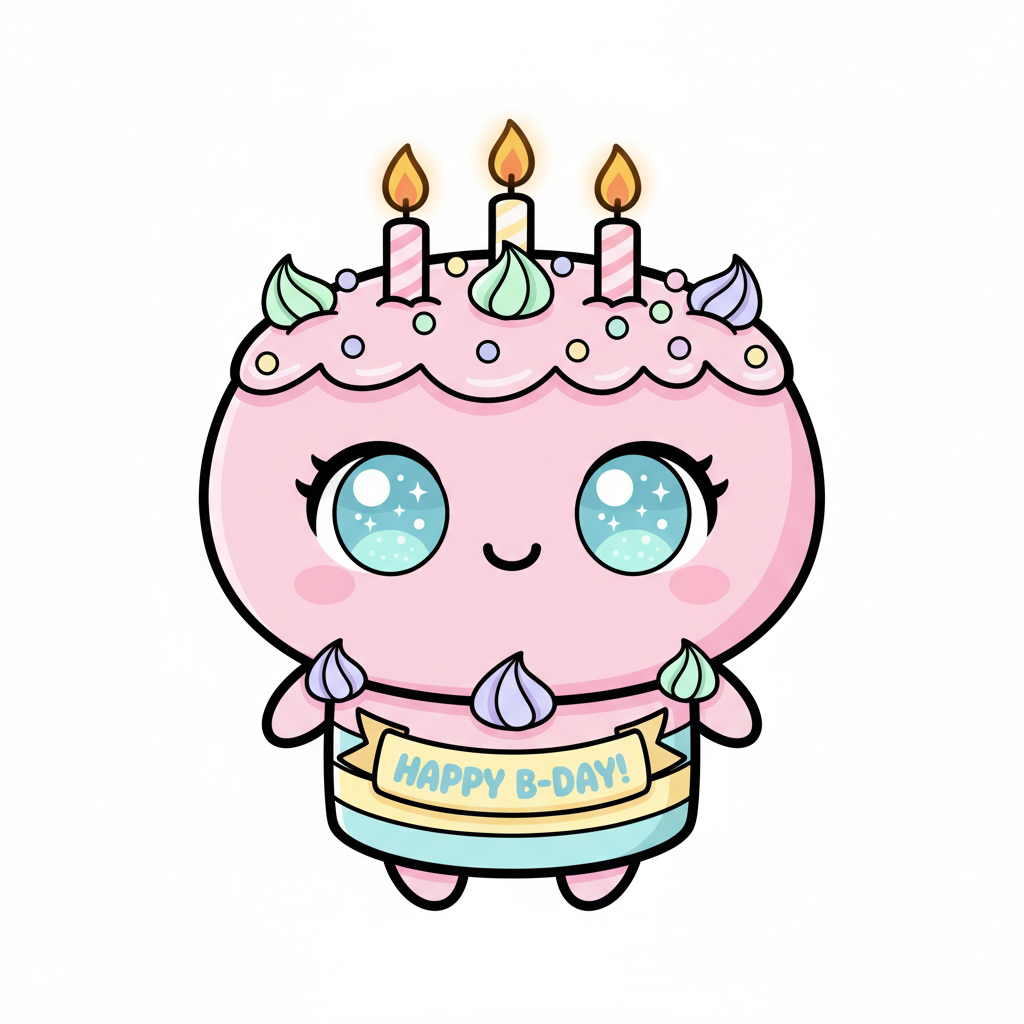
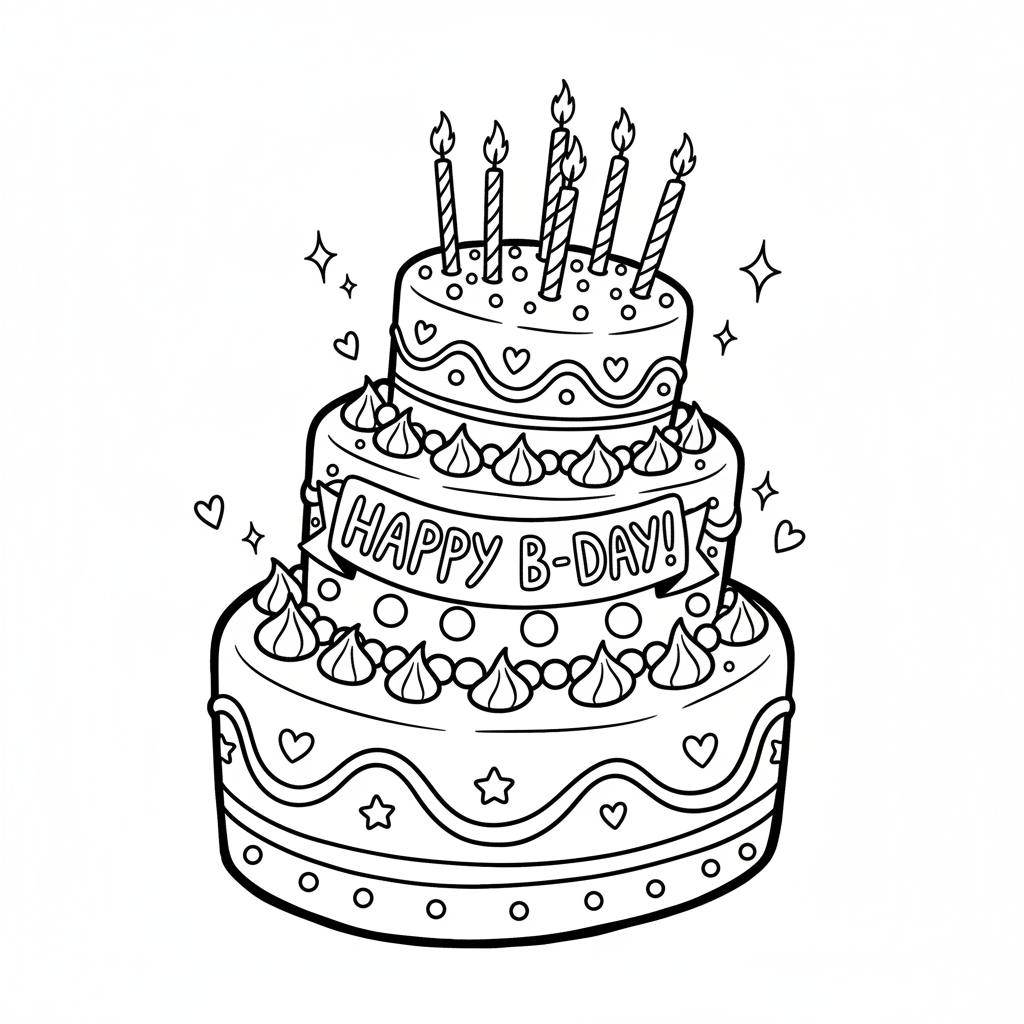
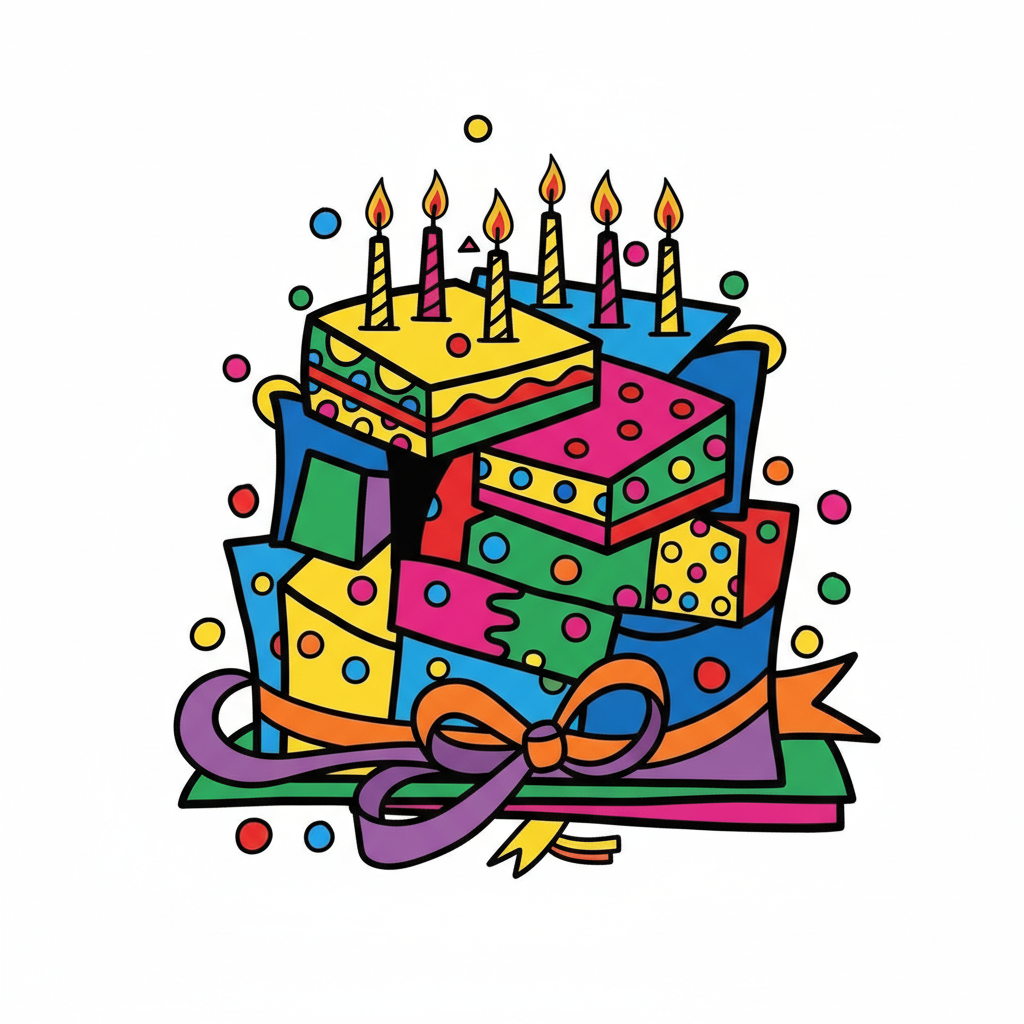
Step-by-step guide to draw a birthday cake
Step 1
Gather all your materials and find a flat table to work on so your drawing stays steady.
Step 2
Draw a light horizontal line across the bottom third of the page for the table line.
Step 3
Lightly draw a horizontal baseline near the middle of the paper to mark where the cake will sit.
Step 4
Sketch a wide light ellipse above the table line for the top of the cake.
Step 5
Sketch three stacked rounded rectangles centered on the baseline with the smallest on top and the largest on the bottom to make the cake tiers.
Step 6
Draw an ellipse on top of each tier to show the curved top surface of each layer.
Step 7
Draw two slightly curved vertical lines down from the sides of the top ellipse to form the cake sides.
Step 8
Add several evenly spaced small vertical rectangles on the top ellipse to create candles.
Step 9
Draw a larger ellipse that connects the bottoms of the side lines to make the cake base.
Step 10
Draw a wavy horizontal line about one third down the cake to mark the top of the second layer.
Step 11
Draw tiny teardrop shapes or flicks above each candle to make the flames.
Step 12
Draw another wavy horizontal line lower on the cake to mark the top of the third layer.
Step 13
Draw wavy drip lines along the front edge of each tier to create icing that hangs down.
Step 14
Add fun decoration shapes like sprinkles dots stripes or little hearts on each tier to decorate the cake.
Step 15
Lightly mark even spots along the top ellipse where you want candles to stand.
Step 16
Draw thin rectangles on each marked spot to make the candles.
Step 17
Erase extra sketch lines and any overlapping marks so the cake looks neat and clear.
Step 18
Add small teardrop shapes on top of each candle to make flames.
Step 19
Carefully trace the final outlines with a black marker or fineliner to make your drawing pop.
Step 20
Add soft pencil shading under each tier and beneath drips to give the cake depth and roundness.
Step 21
Shade the side of the cake opposite your imagined light source with light pencil strokes.
Step 22
Color each tier the candles and the decorations with your coloring materials to make a bright celebration illustration.
Step 23
Gently blend the shaded side with a tissue or blending stump to soften the shadow.
Step 24
Share your finished birthday cake creation on DIY.org
Step 25
Trace the clean outlines of your cake candles and decorations with a black pen.
Step 26
Color the cake layers candles and decorations using your coloring materials.
Step 27
Share your finished cake illustration on DIY.org.
Final steps
You're almost there! Complete all the steps, bring your creation to life, post it, and conquer the challenge!


Help!?
I don't have a black marker or fineliner—what can I use to trace the final outlines?
Use a sharpened dark pencil, ballpoint pen, or felt-tip marker to carefully trace the final outlines in the 'Carefully trace the final outlines with a black marker or fineliner' step and let any ink dry before erasing pencil lines.
My cake tiers look crooked or the ellipses are off—how do I fix alignment and shape problems?
Use the 'Lightly draw a horizontal baseline' as a center guide, redraw the three stacked rounded rectangles lightly over that line, erase overlapping sketch lines, and keep the paper on a flat table while you adjust so the tiers and ellipses stay centered.
How can I adapt this drawing activity for different ages?
For younger kids simplify to two large tiers and let them use stickers for decorations, school-age kids can follow all steps including drawing ellipses and candles, and older kids can add soft pencil shading, detailed drips, and complex decoration patterns before tracing and coloring.
What are simple ways to enhance or personalize the finished birthday cake drawing?
Write a name or age on a tier, replace sprinkles with themed shapes or stickers, add a plate or background scene before you 'Carefully trace' and color each tier, and finish with glitter glue or a photo to share on DIY.org.
What can we use instead of a blending stump or black pen if we don't have them?
Use a clean cotton swab or folded tissue to blend the shaded side in step 12 and a fine-tip marker or dark sharpened pencil to trace outlines in step 13.
My cake looks lopsided after drawing the top ellipse and side lines—how can I fix it?
Lightly erase and realign by using the table line from step 2 as a horizontal guide, redrawing the top ellipse in step 3 and side lines in step 4 until both sides match before adding the base ellipse in step 5.
How can I adapt this activity for younger or older children?
For younger kids, pre-draw the table line (step 2), top ellipse (step 3) and candle spots (step 8) for them to color and stick simple paper candles, while older kids can focus on shading and blending in steps 11–12 and using pen in step 13 to add detailed decorations.
How can we enhance or personalize the cake drawing after finishing the basic steps?
Add extra wavy layer lines by repeating steps 6–7 for more tiers, invent unique decorations before tracing in step 13, experiment with gradients or textures when coloring in step 14, and then share your finished cake on DIY.org as suggested in the final step.
Watch videos on how to draw a birthday cake
🎂🎉🎈how to draw birthday cake drawing beautiful birthday cake colour painting step by step cake draw
Facts about drawing and illustration for kids
✏️ Artists often begin cakes with basic shapes—ovals for tiers and rectangles for sides—then refine proportions and shading.
✏️ Artists often start drawings with simple shapes—stacked ovals and rectangles make great cake layers to sketch first.
🌈 A small highlight and a shadow on opposite sides can turn a flat cake drawing into a 3D-looking celebration illustration.
🍰 Bakers often distinguish icing (thinner and shinier) from frosting (thicker and fluffier) when decorating cakes.
🎂 Birthday cakes date back to ancient Greece, where round cakes with candles were offered to the moon goddess Artemis.
🕯️ Placing candles on cakes was popularized in 18th-century Germany—some families used a candle for each year of life.
📐 Simple 1-point or 2-point perspective rules help stacked cake tiers look three-dimensional and believable.
🕯️ The custom of placing candles to represent age grew in 18th–19th century Germany as part of Kinderfeste celebrations.
🎂 The tradition of birthday cakes goes back to ancient Greece, where round cakes were baked to honor the moon goddess Artemis.
🎨 Using complementary colors (opposites on the color wheel) makes cake layers and decorations stand out visually.
How do I draw a layered birthday cake with candles step-by-step?
What materials do I need to draw a birthday cake with candles?
What ages is drawing a layered birthday cake suitable for?
What are the benefits of drawing a birthday cake with candles?
How do I draw a layered birthday cake step-by-step?
What materials do I need to draw a birthday cake?
What ages is this layered cake drawing activity suitable for?
What are the benefits of drawing a layered birthday cake?
Get 7 days of DIY for FREE!


