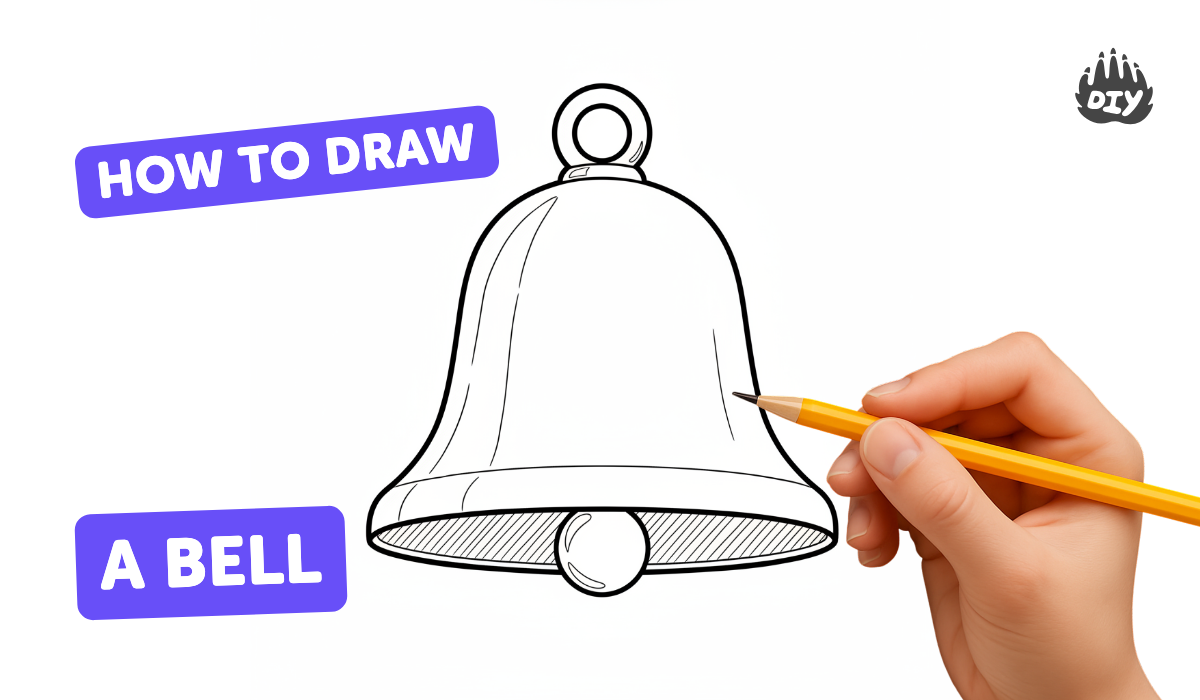
How to draw a bell - a free bell drawing guide
Draw a bell using basic shapes, outlines, and simple shading to create a clear form. Practice symmetry, proportions, and decorative pattern details.

Drawing Apps
Photos of bell drawing examples


Step-by-step guide to draw a bell
How to Draw a Bell for Kids Step by Step | Easy Bell Drawing for Kids | Cute Bell Drawing Tutorial
Step 1
Gather all your materials and find a flat surface to draw on.
Step 2
Lightly draw a straight vertical centerline down the middle of your paper to help keep your bell symmetrical.
Step 3
Sketch a wide rounded dome shape centered on the line for the main body of the bell.
Step 4
Add a short horizontal line at the bottom of the dome to mark the bell's rim.
Step 5
Draw a thin curved line just above the rim to show the bell's edge thickness.
Step 6
Inside the bell draw a small circle near the bottom center for the clapper and a short line to attach it.
Step 7
Draw a small loop or rectangle on the top center of the dome for the bell’s handle.
Step 8
Use your ruler to mark evenly spaced dots along the rim on both sides of the centerline to guide decorations.
Step 9
Draw matching decorative shapes at each dot such as tiny circles stripes or stars to keep the pattern balanced.
Step 10
Erase the centerline and any extra guide marks gently so your bell lines look clean.
Step 11
Choose which side the light will come from so your shading will look realistic.
Step 12
Shade the side of the bell opposite your chosen light source lightly with your pencil to show roundness.
Step 13
Add a darker shadow under the rim and a small shadow under the clapper to make the bell look three dimensional.
Step 14
Use a tissue or your finger to blend the shaded areas softly so the tones look smooth.
Step 15
Share your finished bell on DIY.org
Help!?
I don’t have a ruler or a tissue—what can I use instead to mark the rim dots and blend shading?
Use a straight book edge, the long side of a credit card, or a folded piece of paper to mark evenly spaced dots along the rim, and use a cotton ball, Q‑tip, blending stump, or your fingertip instead of a tissue to softly blend the shaded side.
My dome looks lopsided after erasing the centerline—how can I fix symmetry?
Redraw a very light vertical centerline, fold the paper in half to compare each side of the dome, or trace one half and flip it to match before erasing guide marks gently to clean up the bell lines.
How can I adapt this drawing for younger or older kids?
For younger children simplify to a large rounded dome, one clapper circle, and sticker decorations without the ruler dots or blended shading, while older kids can use precise ruler-measured dots, more intricate decorative shapes along the rim, and careful blended shading with a tissue or stump for realism.
What are ways to extend or personalize the bell activity after finishing the drawing?
Add color with metallic pencils or paint, develop unique patterns at each rim dot, cut and fold multiple drawn bells into a paper mobile, and photograph your finished bell to share on DIY.org.
Watch videos on how to draw a bell
How to Draw a Bell with a Bow | Step by Step Drawing for Kids
4 Videos

How to Draw a Bell with a Bow | Step by Step Drawing for Kids

🛎️ Draw a Bell | Easy Bell Drawing for Kids & Beginners 🎨|#drawing #stepbystepdrawing
How to draw Christmas bells easy🔔 Step by step drawing for kids

How to Draw a Christmas Bell Easy and Cute
Facts about drawing for kids
🔔 Bells have been used for over 4,000 years — early bronze bells were made in ancient China.
✏️ Many artists start drawings with simple shapes (circles, rectangles, triangles) to keep proportions and outlines accurate.
🎨 Chiaroscuro is the art technique of using light and shadow to make flat images look three-dimensional — great for shading a bell.
🔁 To get perfect symmetry, artists often draw one half and mirror it (by tracing or folding) to match the other side.
📏 The Tsar Bell in Moscow weighs over 200 tons — it’s the largest bell in the world but has never been rung because it cracked.
How do I draw a bell step by step with a child?
What materials do I need to draw a bell with my child?
What ages is drawing a bell suitable for?
What are the benefits of drawing a bell for kids?
