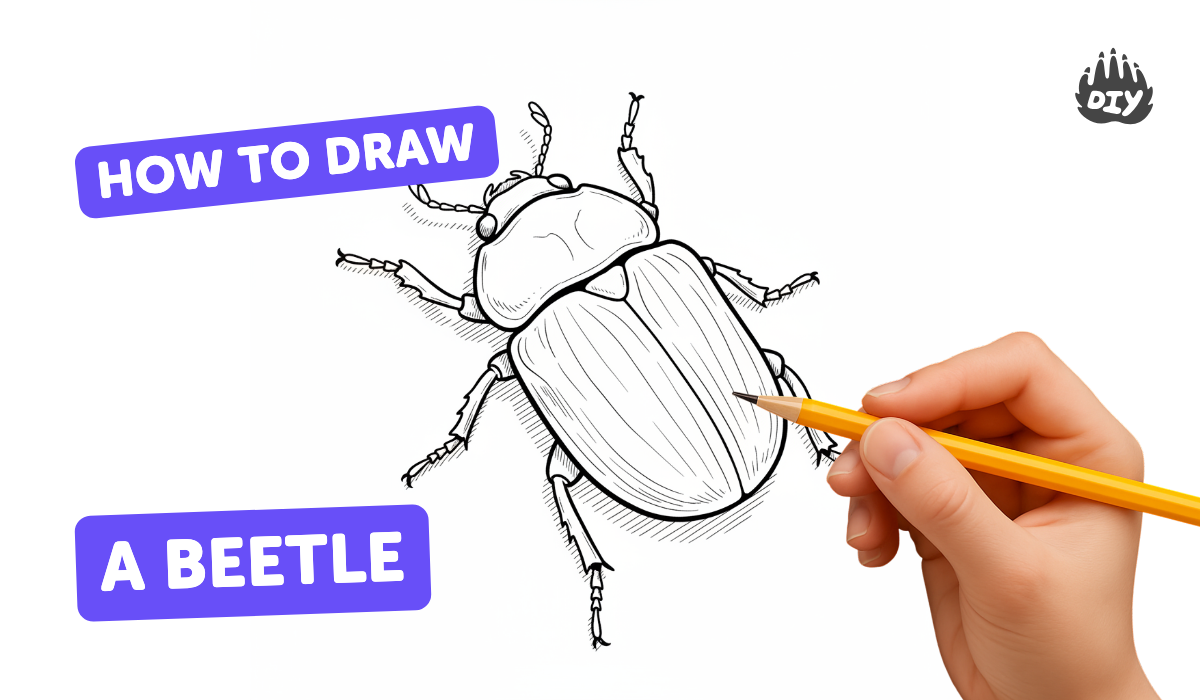
How to draw a beetle - a free beetle drawing guide
Draw a beetle step-by-step: sketch body, head, legs, antennae, add patterns and shading. Practice careful observation, proportions, and shading techniques.

Drawing Apps
Photos of beetle drawing examples


Step-by-step guide to draw a beetle
How to Draw a Beetle Step by Step | Pencil Drawing
Step 1
Gather your paper pencil eraser and coloring materials and put them on a clean flat surface.
Step 2
Find a clear picture of a beetle to study and look closely at its shape and patterns.
Step 3
Lightly draw a large rounded oval in the center of the paper for the beetle's body.
Step 4
Draw a smaller rounded shape at the front of the body for the head touching the body slightly.
Step 5
Add a small rounded segment between the head and body to show the thorax.
Step 6
Draw a faint straight line down the center of the body to mark the split between the two wing covers.
Step 7
Draw three legs on one side starting from the thorax with simple bent lines for joints.
Step 8
Draw three matching legs on the other side so both sides look balanced.
Step 9
Add two antennae on the head using thin segmented lines and small shapes at the tips.
Step 10
Look at your beetle picture and add patterns like spots stripes or tiny textures onto the wing covers.
Step 11
Shade gently along the edges and under the body with short pencil strokes to make the beetle look rounded.
Step 12
Darken the important outlines and carefully erase any extra construction lines you no longer need.
Step 13
Color your beetle using your coloring materials and leave a small white spot for a shiny highlight.
Step 14
Share your finished beetle drawing on DIY.org
Help!?
What can we use if we don't have the exact materials listed (paper, pencil, eraser, coloring materials, clear beetle picture)?
Use any plain paper or cardstock and a regular HB pencil and crayons or colored pencils in place of specialized 'coloring materials,' a kneaded eraser or soft rubber in place of the listed eraser, and a clear phone photo or a printed insect photo instead of a specific beetle picture.
My beetle's legs and wing split look uneven—what step should I redo or adjust?
Lightly re-sketch the faint straight center line down the body as a symmetry guide, measure leg placement from the thorax on one side and copy it to the other, then carefully erase construction lines so the legs and wing covers balance.
How can I change the activity for different ages so it's neither too hard nor too easy?
For preschoolers pre-draw the large rounded oval, head, and thorax and let them add simple legs and big patterns, for school-age kids follow all steps including the faint centerline and shading, and for older kids add detailed textures, realistic shading with short pencil strokes, and complex color blending.
What are some ways to extend or personalize the beetle drawing once it's finished?
Create a mini field guide by drawing several beetles with different spots or stripes, label the head, thorax, wing covers and antennae, add a watercolor background or metallic highlights for shine, and then photograph your finished beetle to share on DIY.org.
Watch videos on how to draw a beetle
How to draw a beetle easy
4 Videos
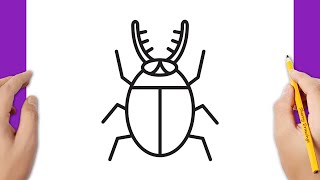
How to draw a beetle easy
How to Draw a Cute Beetle✨ | Easy Step-by-Step Art Tutorial
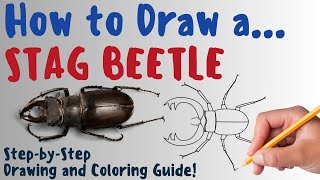
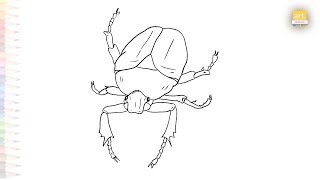
How To Draw A Stag Beetle - Fun & Easy Step-by-Step Drawing and Coloring Guide
Green Scarab Beetle drawing easy | Insect drawings | How to draw A Green Scarab Beetle step by step
Facts about insect anatomy
🪲 Beetles (order Coleoptera) are the largest animal order — scientists have described over 400,000 beetle species!
🔬 'Coleoptera' means "sheath-wing" because beetles' hard elytra protect their flying wings underneath.
✏️ Artists often start insect drawings with simple shapes (ovals and circles) to get proportions and placement right.
✨ Many beetles have shiny, reflective shells — adding small highlights and soft shading makes them look three-dimensional.
🌈 Beetle patterns vary wildly: some use bright warning colors, while others rely on camouflage to hide in nature.
How do I teach my child to draw a beetle step-by-step?
What materials do I need to draw a beetle with my child?
What ages is drawing a beetle suitable for?
What are the benefits of teaching kids to draw beetles?
