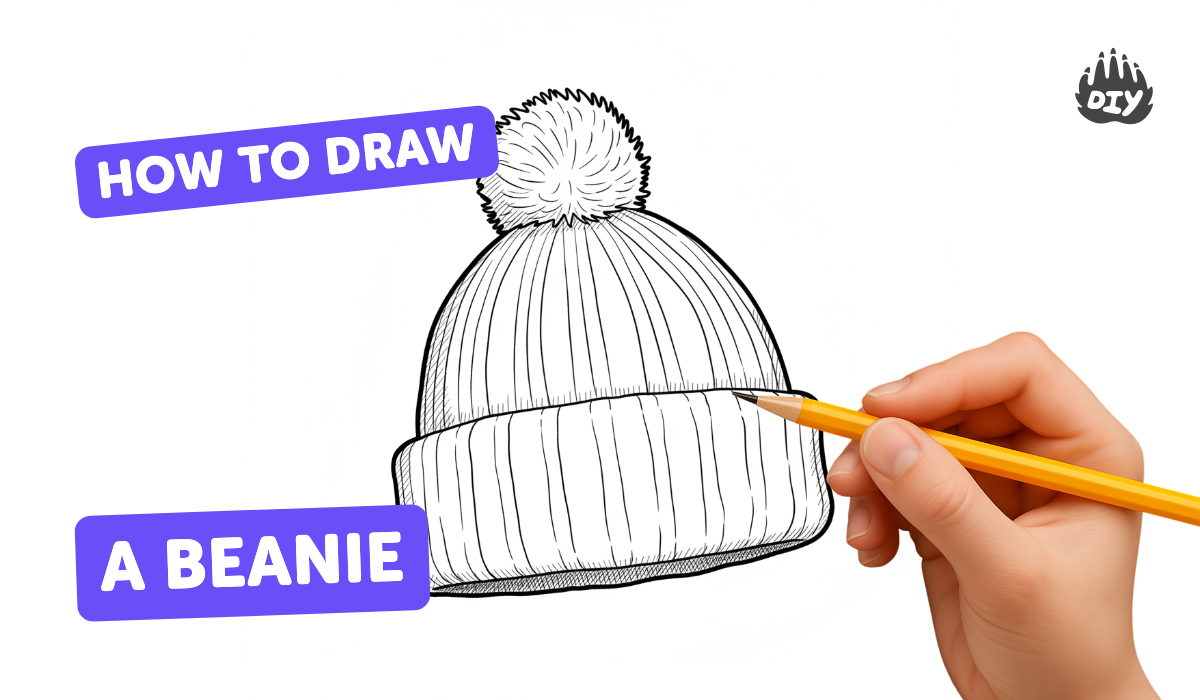
How to draw a beanie - a free beanie drawing guide
Draw a beanie hat step by step using simple shapes, lines, and shading. Practice proportions, texture, and basic pencil drawing skills.

Drawing Apps
Photos of beanie hat examples


Step-by-step guide to draw a beanie hat
How to Draw a Beanie | Step by Step
Step 1
Place your paper pencil eraser and sharpener on a flat table so everything is ready.
Step 2
Lightly draw a large oval to show the top of the head and the size of the beanie.
Step 3
Draw a gentle horizontal curve across the lower third of the oval to mark where the hat will sit.
Step 4
Sketch a rounded dome shape over the oval that reaches down to the horizontal curve to make the beanie body.
Step 5
Draw a thick curved band along the bottom edge of the dome to make the beanie cuff.
Step 6
Add two or three thin parallel lines across the cuff to show folded or ribbed fabric.
Step 7
Draw light short curved strokes on the dome to suggest knitted texture and follow the shape.
Step 8
Sketch a small fluffy cloud shape on top of the dome to add a pom-pom if you want one.
Step 9
Erase the head oval and guideline so only the beanie lines remain.
Step 10
Shade the side of the dome and the area under the cuff with soft pencil strokes to show shadow.
Step 11
Darken the crease under the cuff and the deepest shadow spots with firmer pencil lines.
Step 12
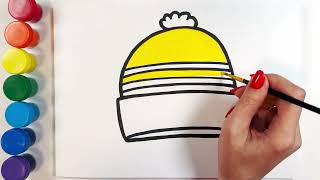
Use coloring materials if you want to add color or patterns to your beanie.
Step 13
Take a photo of your finished beanie drawing and share it on DIY.org
Help!?
What can I use if I don't have a pencil, eraser, or sharpener?
Use a mechanical pencil instead of a sharpened pencil, a kneaded or soft rubber substitute to erase the head oval and guidelines, or a fine-tip pen and draw the oval, dome, and cuff more carefully if you can't erase.
My beanie looks flat or my erasing smudges—how do I fix it?
Draw the head oval lightly at the start so it erases cleanly, erase gently with a clean or kneaded eraser, and add the instructed shading on the side of the dome and under the cuff to create volume.
How can I adapt this activity for different ages?
For younger kids keep it to a simple oval, dome, and one cuff line, while older kids can add the thin parallel cuff lines, knitted texture strokes, pom‑pom shape, and detailed shading or color patterns.
How can we make the beanie drawing more creative or shareable?
Customize your beanie with stripes, polka dots, or a character peeking from under the cuff, experiment with pom‑pom styles and coloring materials, then take a photo of the finished drawing to share on DIY.org.
Watch videos on how to draw a beanie hat
#116 How to Draw a Cute Beanie Hat - Easy Drawing Tutorial
4 Videos
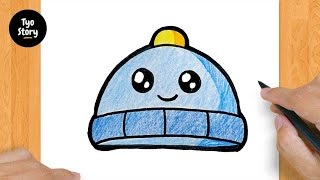
#116 How to Draw a Cute Beanie Hat - Easy Drawing Tutorial

How to Draw a Hat | Easy Step-by-Step Tutorial | Kids Drawing and Coloring
Drawing a Cute Beanie Step by Step | Cartoon Winter Hat Art for Children ❄️

Learn to Draw a Hat in 5 Minutes! 🎨✏️ (Beginner-Friendly)
Facts about pencil drawing for kids
🧢 Beanies (also called knit caps or skull caps) are worn worldwide for warmth and style.
🧶 Many beanies are made with circular knitting, so they have no side seams and stretch to fit heads.
✏️ Artists often start with simple shapes—ovals and cylinders—to map a head and the hat before adding details.
🎨 Pencil stroke direction (hatching or short curved strokes) can mimic yarn and make knit texture look real.
👀 Little details like a folded cuff or a pom-pom instantly make a drawn beanie recognizable and fun.
How do I draw a beanie step by step?
What materials do I need to draw a beanie hat?
What ages is drawing a beanie suitable for?
What are the benefits and variations of drawing a beanie?
