How to draw a basketball player - a free basketball player drawing guide
Draw a dynamic basketball player step-by-step using simple shapes, practice proportions, add motion lines and shading to learn observation and drawing skills.

Step-by-step guide to draw a basketball player
How to Draw a Basketball Player - Easy Step-by-Step Tutorial for Kids
Step 1
Clear a flat workspace and place your paper and pencil where you can draw comfortably.
Step 2
Draw a light vertical line down the middle of the paper to show the player's posture.
Step 3
Draw a circle at the top of the line for the head.
Step 4
Draw a larger oval below the head for the chest area.
Step 5
Draw a smaller oval or circle below the chest for the hips.
Step 6
Draw a short slanted line across the chest for the shoulders and a short slanted line across the hips to set the body angle.
Step 7
Draw straight lines for the arms and legs and place small circles at the shoulder elbow knee and ankle joints.
Step 8
Draw a circle near one hand to mark the basketball.
Step 9
Connect the head chest and hips with smooth curved lines to form the neck torso and waist.
Step 10
Draw simple hand shapes with fingers around the ball and simple shoe shapes on the feet.
Step 11
Erase the extra construction lines so only the clean outline of the player remains.
Step 12
Add a face a jersey number and simple clothing lines to show the uniform.
Step 13
Draw short curved motion lines behind the player and around the ball to show movement.
Step 14
Add light shading with short hatch lines on one side of the player and darken the main outlines where needed.
Step 15
Share your finished basketball player drawing on DIY.org.
Help!?
What can we use if we don't have the pencil, eraser, or plain drawing paper called for in the instructions?
Use a mechanical pencil, a sharpened colored pencil, or a soft charcoal stick on recycled plain paper or the back of a drawing pad, and remove the extra construction lines with a kneaded eraser or a clean soft cloth.
My player looks stiff or the arms and legs are the wrong size — how can I fix that?
Lightly redraw the straight limb lines using the small circles at the shoulder, elbow, knee, and ankle as hinge points and check the light vertical posture line plus the short slanted shoulder and hip lines to realign proportions before erasing construction lines.
How can I adapt this drawing activity for younger or older kids?
For preschoolers, omit the vertical posture line and use three big shapes (head, chest oval, hip circle) with simple stick limbs and a round basketball, while older kids can add the short hatch shading, detailed hands around the ball, and a jersey number.
What are some ways to extend or personalize the basketball player drawing after following the steps?
Change the pose by increasing the slant of the shoulder and hip lines, add a team jersey number and pattern, color with markers or watercolor, darken main outlines, draw a gym background and motion lines, and then share the finished drawing on DIY.org.
Watch videos on how to draw a basketball player
How to Draw a Basketball Player ( Step by Step )
4 Videos
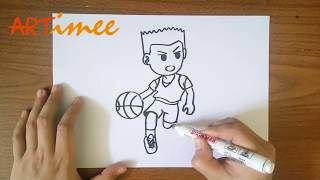
How to Draw a Basketball Player ( Step by Step )
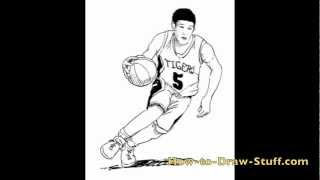
How to Draw a Basketball Player Step by Step
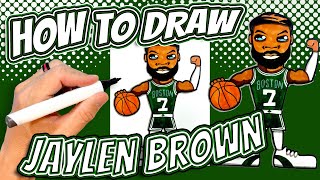
How to Draw Jaylen Brown for Kids - Boston Celtics NBA Basketball Player
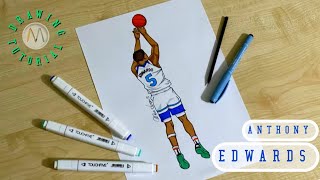
How to draw Anthony Edwards dunking / How to draw basketball players
Facts about figure drawing for kids
🏀 Some NBA players have vertical jumps over 40 inches, which makes drawing dynamic jump poses extra exciting!
✍️ Gesture drawing often uses super-short poses (about 30–60 seconds) to quickly capture movement and energy.
🧍 Artists commonly use a proportion guide of about 7.5–8 'heads' tall for an adult figure to keep poses believable.
💨 Motion lines (speed lines) are a comic-art trick that instantly make a still image feel fast and dramatic.
🧩 Many artists block the body into three main masses—head, ribcage, and pelvis—to simplify and pose complex actions.
How do I teach my child to draw a dynamic basketball player step-by-step?
What materials do we need to draw a basketball player with motion lines and shading?
What ages is this basketball drawing activity suitable for?
What are the benefits of drawing a dynamic basketball player for children?
