How to draw a basket - a free basket drawing guide
Draw a woven basket with handle using simple shapes, lines, and shading. Practice step by step sketching and adding texture.

Drawing Apps
Photos of woven basket drawings with handles


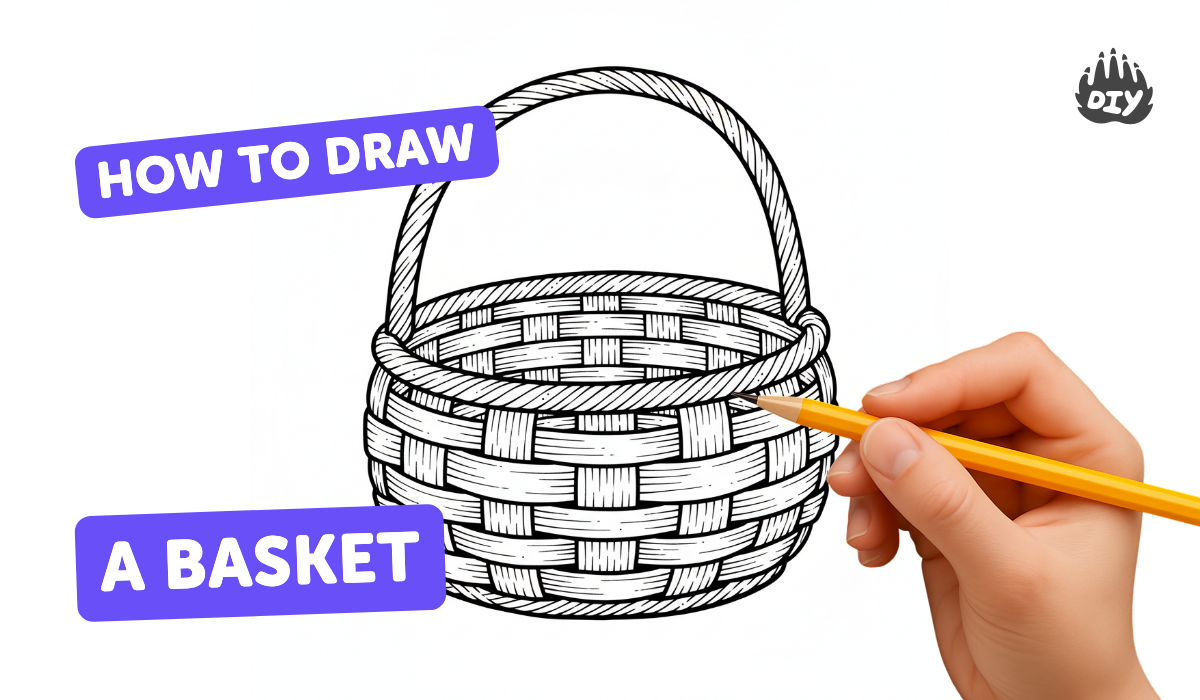
Step-by-step guide to draw a woven basket with a handle
How to Draw a Easter Basket Easy
Step 1
Place your paper on a flat surface.
Step 2
Lightly draw a horizontal oval near the top-center of the paper for the basket rim.
Step 3
Draw two gently curved vertical lines down from the sides of the oval to make the basket body.
Step 4
Draw a smaller horizontal oval at the bottom to form the basket base.
Step 5
Sketch the handle by drawing two curved parallel lines from one side of the rim to the other.
Step 6
Lightly draw several evenly spaced vertical guide lines along the basket body to mark the weave strips.
Step 7
Draw a series of horizontal curved lines that wrap around the basket and cross the vertical guides to create weave rows.
Step 8
At each crossing, draw short alternating over and under curves to show the woven texture.
Step 9
Erase any extra pencil guide lines so only the woven outlines and main shapes remain.
Step 10
Darken the main outlines of the rim the body and the handle so the basket shape pops.
Step 11
Shade under the rim inside the basket and where weave strips overlap to add depth and shadow.
Step 12
Smooth shaded areas gently with a blending tool if you want softer shadows.
Step 13
Colour your basket with colouring materials and leave small spots lighter for highlights.
Step 14
Share your finished basket on DIY.org.
Help!?
What can we use instead of a blending tool if we don't have one?
Use a clean tissue, a cotton swab, or your fingertip to gently smooth shaded areas under the rim and where weave strips overlap as instructed in the 'Smooth shaded areas' step.
My basket weave doesn't look woven—how do I fix the over-and-under crossings?
If the woven texture looks messy, lightly mark or number which horizontal curved lines should go 'over' or 'under' on the vertical guide lines before drawing the short alternating over-and-under curves, then erase the marks.
How can I adapt this drawing activity for different ages?
For younger kids, pre-draw the rim, base, and vertical guide lines and have them trace a few wide horizontal curves and color with markers, while older kids should follow all steps and add tighter weave rows, blended shading under the rim, and highlights.
How can we extend or personalize the finished basket?
After erasing guides and darkening the rim, body, and handle, personalize by adding patterns or colors to individual weave strips, drawing fruit or flowers inside, or photographing the finished basket to share on DIY.org.
Watch videos on how to draw a woven basket with a handle
Fun & Easy Drawing Tutorial For Beginners
4 Videos
Fun & Easy Drawing Tutorial For Beginners
How To Draw An Easter Basket
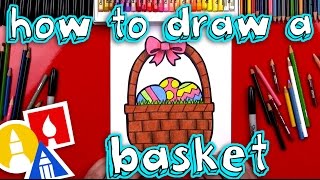
How To Draw An Easter Basket
Drawing for kids easy #3 - Drawing tutorial easy - Drawing animals for kids
Facts about drawing and shading for kids
🧺 Some of the oldest woven baskets ever discovered are over 10,000 years old — people have been weaving containers since prehistoric times!
🌾 Basket weavers use materials like willow, reed, bamboo, and grasses — each material makes a different weave texture you can copy in your drawing.
✏️ Cross-hatching and parallel lines are quick shading tricks artists use to show the weave pattern and make a basket look rounded.
🎨 Baskets are a favorite still-life subject because their repeating patterns help artists practice shapes, perspective, and texture.
🖼️ Drawing a shadow where the handle meets the rim instantly makes the handle look like it sits above the basket — small shading details add big depth.
How do you draw a woven basket with a handle step by step?
What materials do I need to draw a woven basket?
What ages is drawing a woven basket suitable for?
What are some fun variations for a woven basket drawing?
