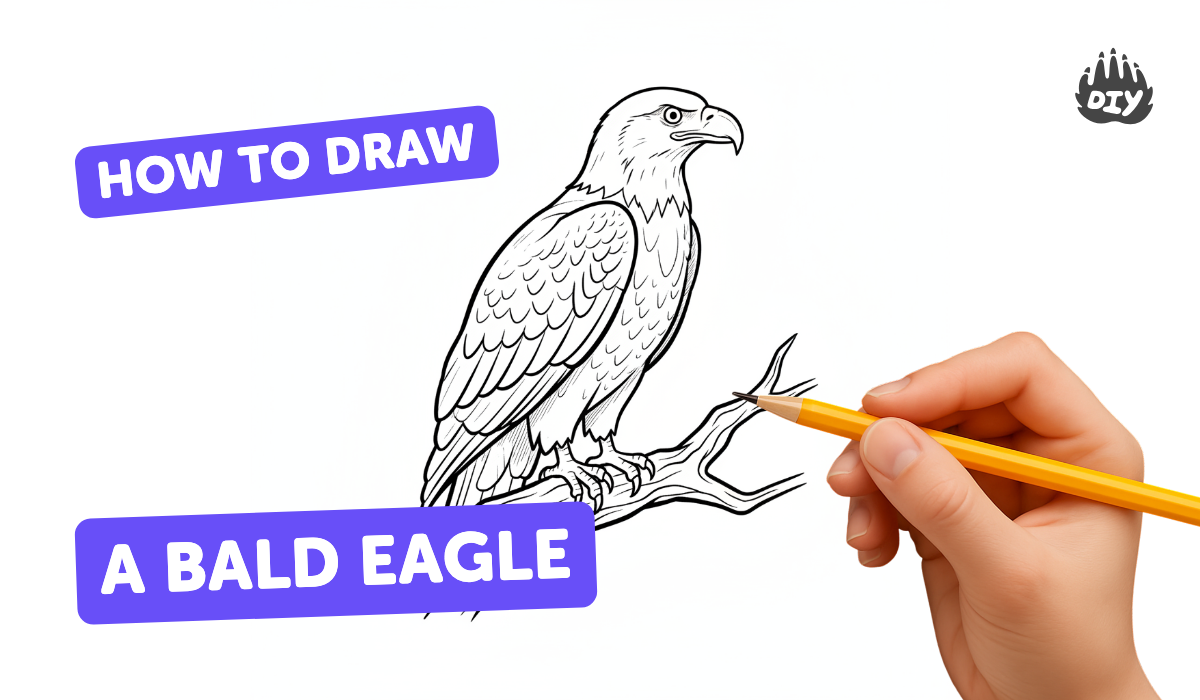
How to draw a bald eagle - a free bald eagle drawing guide
Draw a detailed bald eagle using pencil and colored markers. Practice proportions, shading, and feather textures step-by-step to create a lifelike bird.

Drawing Apps
Get inspired with these


Instructions
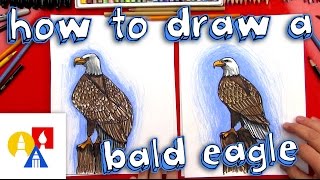
How to Draw a Bald Eagle - Easy Drawing Tutorial for Kids #drawingguide
Step 1
Gather your materials and place the eagle reference image next to your paper so you can look at it while you draw.
Step 2
Lightly draw a large oval for the eagle's body and a smaller circle for the head connected by a short neck line.
Step 3
Draw a small triangle on the head pointing outward to mark where the beak will be.
Step 4
Draw a small circle on the head to mark where the eye will sit.
Step 5
Draw a long curved guideline along the eagle's back to show the top edge of the wing.
Step 6
Sketch a short fan of lines at the rear of the oval to mark the direction and spread of the tail feathers.
Step 7
Draw two short vertical lines under the body to mark where the legs will attach.
Step 8
Trace a smoother outline around the head neck and body shapes to make the eagle’s silhouette.
Step 9
Erase the extra construction lines so only your smooth silhouette and main guides remain.
Step 10
Add short curved strokes across the chest area to create fluffy breast feathers.
Step 11
Add long layered curved strokes along the wing and tail to show overlapping flight feathers.
Step 12
Refine the beak by drawing the upper and lower curved shapes and add a tiny oval nostril on the upper beak.
Step 13
Darken the pupil in the eye and use a small touch of eraser to lift a tiny highlight for a shiny look.
Step 14
Shade the body and wings with pencil values using short overlapping strokes and then color the beak and legs yellow and the feathers brown while keeping the head white.
Step 15
Share your finished bald eagle drawing on DIY.org
Help!?
I don't have yellow or brown colored pencils or an eraser — what can I use instead?
Use crayons, markers, or watercolor for the yellow beak and brown feathers and a clean fingertip, tissue, or soft bread eraser to gently lift light pencil marks after you erase the construction lines in step 9.
My eagle looks out of proportion when I finish the silhouette — how do I fix it?
If proportions are off, lightly redraw the large oval and smaller head circle from step 2 and reposition them using the short neck guideline before tracing your smoother silhouette and erasing extra construction lines in step 9.
How can I adapt this drawing for different ages or skill levels?
For younger kids, have them copy or trace the simple ovals and triangle from steps 2–3 and skip detailed feather strokes, while older kids can add the short overlapping pencil strokes for shading and the layered curved flight feathers described in steps 12–15 for more realism.
What are some ways to enhance or personalize the finished bald eagle drawing?
Add a sky or branch background, experiment with blending pencil values when shading the wings in step 15 and mixed-media color for the beak and feathers in step 16, then photograph and share your finished bald eagle on DIY.org as suggested.
Related videos
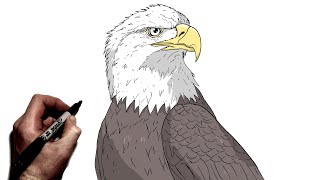
How To Draw A Realistic Bald Eagle
4 Videos
How To Draw A Realistic Bald Eagle

How to Draw a Bald Eagle 🦅| Bald Eagle Drawing Easy Step by Step | Draw the national Bird of USA

How To Draw A Bald Eagle Pixel Art
How To Draw A Bald Eagle | Step BY Step
Fun Facts
🦅 Bald eagles can have a wingspan up to 7.5 feet (about 2.3 meters), so use long, confident strokes for the wings.
👀 Bald eagles have eyesight 4–5 times sharper than humans, which is why studying tiny reference details helps your drawing look realistic.
🧒 Juvenile bald eagles are mottled brown and only develop the white head and tail around 4–5 years old—great to know when picking a photo to copy.
✏️ Artists often start with simple shapes (ovals for the body, circles for the head, triangles for beak) to get proportions right quickly.
🪶 Flight feathers are stiffer and asymmetrical compared with body feathers—adding those feather details makes an eagle look believable.
How do I draw a realistic bald eagle step-by-step?
What materials do I need to draw a realistic bald eagle?
What ages is this drawing activity suitable for?
What are the benefits and variations of drawing a bald eagle?
