How to draw a baby elephant - a free baby elephant drawing guide
Draw a baby elephant step by step using pencil and paper. Practice shapes, proportions, and simple shading to complete your own cute elephant illustration.

Drawing Apps
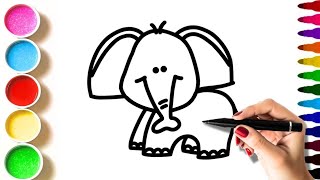
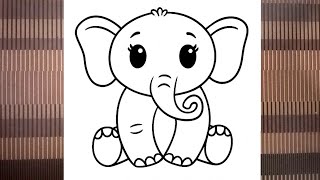
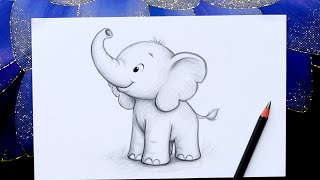
Photos of baby elephant drawing examples


Step-by-step guide to draw a baby elephant
How to Draw a Cute Baby Elephant | Easy Step by Step Tutorial
Step 1
Put your paper pencil and eraser on a flat surface so you are ready to draw.
Step 2
Lightly draw a small circle near the top center of the paper for the baby elephant's head.
Step 3
Draw a larger oval overlapping under the head circle to make the elephant's body.
Step 4
Draw a gentle curved guideline from the bottom of the head pointing down to mark the trunk's center.
Step 5
Draw two big rounded ear shapes one on each side of the head.
Step 6
Draw the trunk by sketching two curved lines along the guideline and finishing with a rounded tip.
Step 7
Draw two small circles for the eyes and add tiny filled pupils to make the face friendly.
Step 8
Draw a short curved line for the mouth and a small circle for a cheek to give your elephant expression.
Step 9
Draw four short thick legs under the body with rounded ends for the feet.
Step 10
Erase extra guidelines and overlapping sketch lines so the elephant shape looks smooth and clean.
Step 11
Add simple details like inner ear lines toenail lines and a few small wrinkles on the trunk then shade under the belly ears and trunk with light pencil strokes.
Step 12
Gently blend the shaded areas with your tissue or cotton swab to make the shading soft.
Step 13
Color your baby elephant if you want using your coloring materials.
Step 14
Share your finished baby elephant drawing on DIY.org
Help!?
What can we use instead of a tissue, cotton swab, or special eraser if we don't have them?
If you don't have a tissue or cotton swab for the 'Gently blend the shaded areas' step, use a clean fingertip, a folded piece of toilet paper or a Q‑tip, and replace the eraser from the 'Put your paper pencil and eraser' step with a kneaded or vinyl eraser and regular printer paper if needed.
My trunk or ears look uneven—what should I do while I'm drawing?
If the trunk doesn't follow your 'gentle curved guideline' or the ears are uneven, keep your initial circles and guideline light, lightly erase and adjust the trunk lines and ear shapes before step 10 erasing so you can smooth overlaps and refine proportions without hard marks.
How can this activity be changed for younger or older kids?
For younger kids, pre‑draw the small head circle and larger body oval from the first drawing steps and let them add big sticker eyes and crayons, while older kids can add the inner ear lines, toenail lines and trunk wrinkles from the 'Add simple details' step and practice the shading and blending in the following steps for realism.
How can we extend or personalize the baby elephant drawing after it's finished?
After coloring in the final step, personalize the drawing by adding a patterned ear design, a simple background like grass or a watering hole, extra baby elephants to make a family, or turn it into a card to share on DIY.org.
Watch videos on how to draw a baby elephant
How to Draw a Cute Baby Elephant 💖🐘 | Very Very Easy Elephant Drawing and Colouring for Kids 🎨
4 Videos
How to Draw a Cute Baby Elephant 💖🐘 | Very Very Easy Elephant Drawing and Colouring for Kids 🎨
Cute Baby Elephant 🐘 Drawing | Easy Pencil Sketch for Beginners
🟢 Baby Elephant Drawing 🐘

How to Draw a Baby Elephant with Pencil Drawing - Step by Step Animal Drawing - Drawing Tutorial
Facts about drawing for kids
🐘 Baby elephants are called calves and usually weigh about 220–250 pounds (100–113 kg) at birth.
👣 Newborn elephant calves can stand and walk within an hour so they can keep up with the herd.
✏️ Drawing tip: many artists begin with simple shapes (circles and ovals) to map out an elephant's body and proportions.
🎨 Shading trick: softer pencils (2B–6B) and gentle strokes or blending help round out the elephant’s trunk and belly.
🧠 Elephants have excellent memories—studying photos or watching real elephants helps you notice unique details to include in your drawing.
How do I draw a baby elephant step by step?
What materials do I need to draw a baby elephant with pencil and paper?
What ages is drawing a baby elephant suitable for?
What are some easy variations or tips to make drawing a baby elephant more fun?
