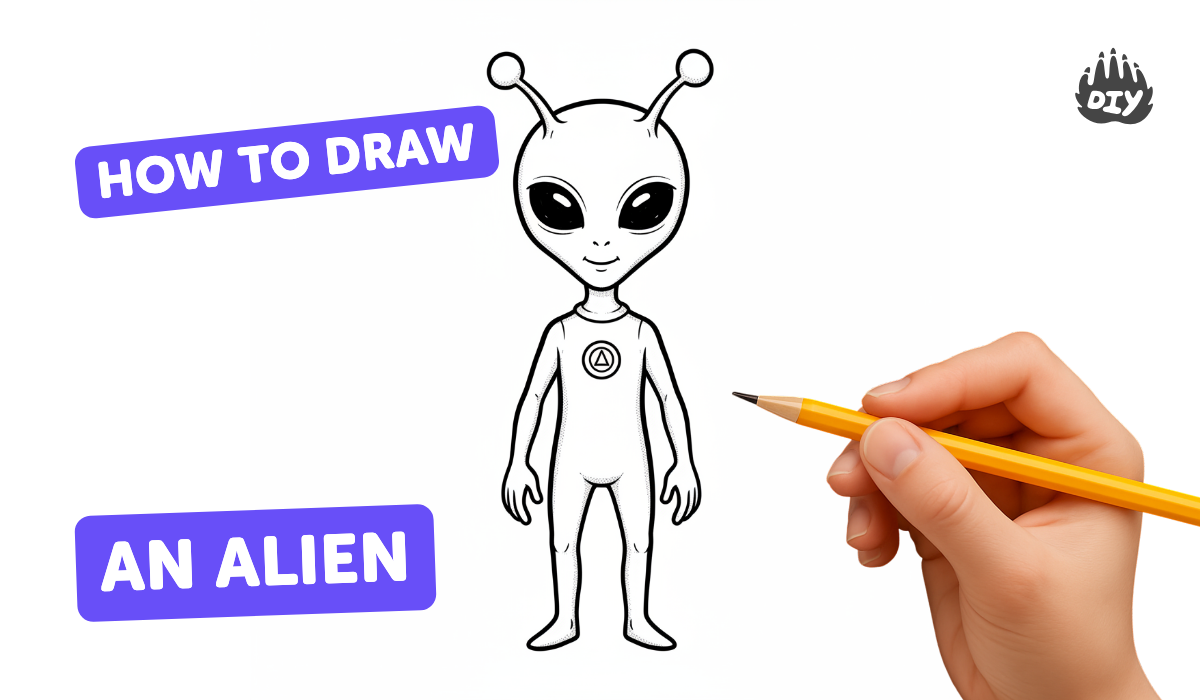
How to draw a alien - a free alien drawing guide
Learn to draw a friendly alien using simple shapes, symmetry, and color. Practice sketching, outlining, and coloring step by step to create your own character.

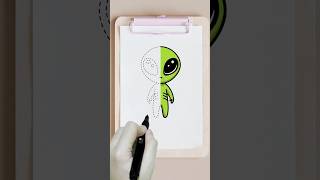
Step-by-step guide to draw a friendly alien
How To Draw A Cool Alien
Step 1
Gather your paper pencil eraser and colouring materials and place them on a flat surface.
Step 2
Draw a large circle in the middle of the paper for your alien's head.
Step 3
Draw a smaller oval just below the circle touching it to make the alien's body.
Step 4
Lightly draw a straight vertical line down the center to help keep both sides symmetrical.
Step 5
Sketch two big round eyes on each side of the center line inside the head.
Step 6
Draw a smiling mouth centered below the eyes.
Step 7
Draw two antennae on top of the head using simple lines.
Step 8
Draw two arms and two legs attached to the body using tubes or stick shapes.
Step 9
Add fun details like spots stripes tiny fingers or extra eyes to make your alien unique.
Step 10
Trace over the final pencil lines with your black marker or pen to outline the alien.
Step 11
Let the marker or pen dry completely before touching the drawing.
Step 12
Gently erase the pencil guidelines and extra sketch marks.
Step 13
Colour your alien using your colouring materials staying inside the outlines.
Step 14
Give your alien a fun name and write it neatly near your drawing.
Step 15
Share your finished alien on DIY.org
Help!?
What can I use if I don't have a black marker or pen to trace the alien?
Use a dark fine-tip crayon, colored pencil, or a permanent marker like a Sharpie to carefully trace over your final pencil lines in place of the black marker or pen (step 8).
My pencil guidelines won't erase cleanly after I outline the drawing—what should I do?
If the pencil guidelines smudge after inking, make sure you used light pencil strokes, wait until the marker or pen is completely dry (step 8), and then gently erase the guidelines with your eraser (step 9).
How can I adapt this alien activity for different ages?
For younger children, pre-draw the large circle head and oval body for them to color and add simple antennae, while older kids can add extra eyes, detailed spots or stripes, shading, and more complex arm and leg shapes before tracing and coloring (steps 2–7, 11–12).
How can we extend or personalize the finished alien beyond coloring and naming?
After coloring and writing your alien's name (steps 12–13), glue on googly eyes or textured paper for spots, add glitter or stickers for extra details, write a short alien backstory, and then share a photo on DIY.org (step 13).
Watch videos on how to draw a friendly alien
How to Draw An Alien Step by Step | easy drawing and painting tutorial for kids | #gdbkidsart
4 Videos
How to Draw An Alien Step by Step | easy drawing and painting tutorial for kids | #gdbkidsart
How to draw an ALIEN step by step, EASY
How To Draw An Alien (Easy Drawing Tutorial)
Alien drawing tutorial | Easy to follow Step by step drawing
Facts about drawing for kids
👽 The word 'extraterrestrial' comes from Latin: extra ('outside') + terra ('Earth'), so aliens = beings from outside Earth!
✏️ Many artists build characters from simple shapes—circles, squares, and triangles—because they're super easy to sketch and tweak.
🎨 Color choices change how a character feels: warm colors feel energetic and friendly, cool colors feel calm and mysterious.
🔁 Symmetry makes faces and bodies look balanced and familiar, which helps kids draw friendly-looking characters more easily.
🌈 Mix just 5 head shapes × 4 eye styles × 6 colors × 3 antenna types and you get 360 unique alien combos—imagine how many more with extra features!
How do you draw a friendly alien step by step?
What materials do I need to draw a friendly alien?
What ages is drawing a friendly alien suitable for?
What are the benefits of drawing aliens and how can I vary the activity?
