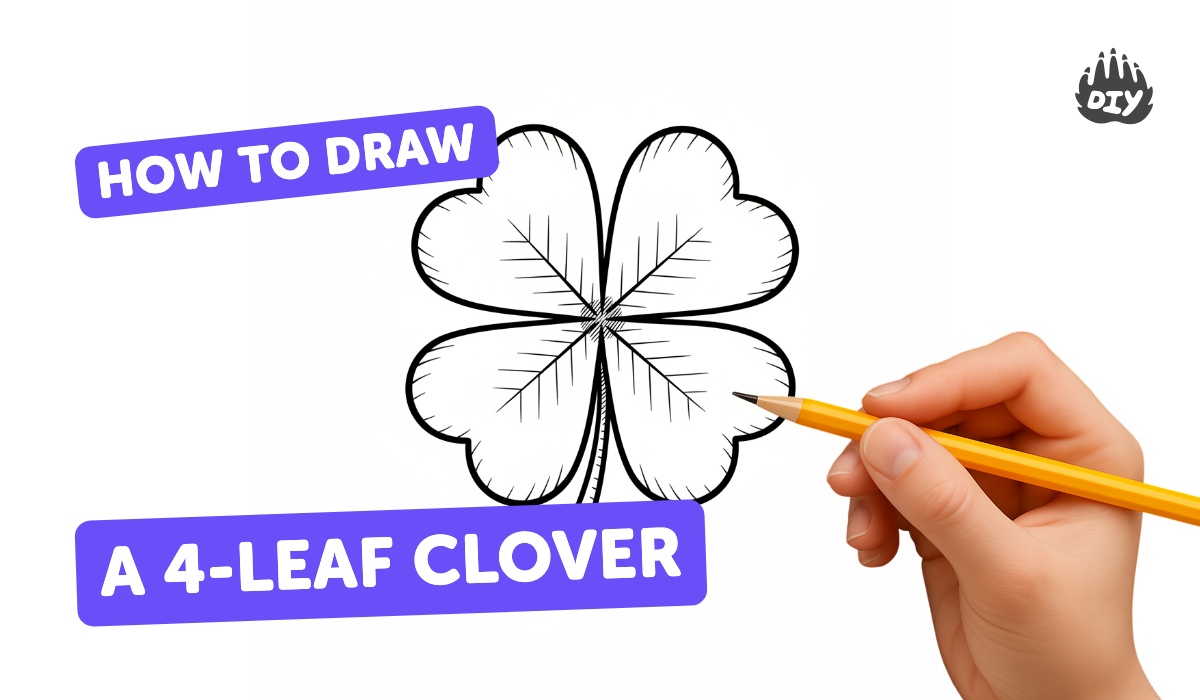
How to draw a 4 leaf clover - a free 4 leaf clover drawing guide
Draw a four-leaf clover using heart-shaped leaves and a stem, practicing symmetry and simple shading. Repeat with different sizes to improve.

Drawing Apps
Photos of four-leaf clover drawings


Step-by-step guide to draw a four-leaf clover
How To Draw A Four-Leaf Clover - Preschool
Step 1
Put your paper and drawing tools on a flat surface so you can work comfortably.
Step 2
Lightly draw a short vertical line and a short horizontal line that cross in the middle of your paper to mark the clover center.
Step 3
Draw one heart shape in the top-right area with the heart point touching the center cross.
Step 4
Draw the same heart shape in the top-left area so it mirrors the top-right heart.
Step 5
Draw the same heart shape in the bottom-left area so it mirrors the top-left heart.
Step 6
Draw the same heart shape in the bottom-right area so it mirrors the bottom-left heart and all hearts meet at the center.
Step 7
Gently erase the cross lines so the four hearts join cleanly at the center.
Step 8
Draw a curved stem from the bottom of the lower heart pointing downward.
Step 9
Go over the final clover outline with a firmer pencil line so the shape looks neat.
Step 10
Add simple shading by lightly shading one side of each heart with short pencil strokes to show depth.
Step 11
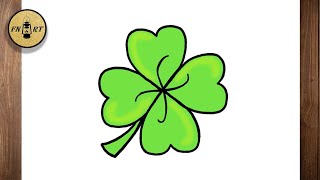
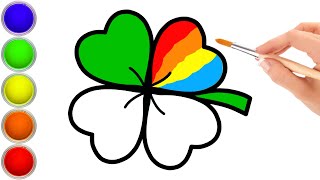
Color your clover leaves green and the stem brown or any colors you like.
Step 12
Draw at least two more four-leaf clovers on the page in different sizes using the same heart-leaf method to practice.
Step 13
Share your finished clovers on DIY.org.
Help!?
What can we use if we don't have colored pencils, an eraser, or drawing paper?
Use markers, crayons, or watercolor for coloring, a kneaded or gum eraser instead of a rubber one, and plain printer paper or a cereal-box cardboard panel as your drawing surface while keeping your pencil pressure light when you draw the center cross in Step 2 to avoid bleed-through.
My heart leaves don't meet neatly at the center — how can I fix that?
Lightly redraw or extend the short vertical and horizontal guide lines from Step 2, rotate the paper so you can mirror each heart more easily for Steps 3–6, then gently erase and refine the center junction before going over the outline in Step 9.
How can I adapt this clover drawing for younger or older kids?
For younger children simplify by tracing a pre-drawn cross and a single heart with thick markers and skipping the shading in Step 10, while older kids can add leaf veins, varied sizes as in Step 12, and more advanced shading or textures during Step 10.
What are some ways to personalize or extend the finished clovers beyond coloring them green?
Add vein lines and tiny patterns inside each heart with a fine pen, experiment with watercolor washes over your penciled outline from Step 9, turn the page into a greeting card, repeat the motif at different sizes per Step 12, and then share the result on DIY.org as suggested in the last step.
Watch videos on how to draw a four-leaf clover
HOW TO DRAW A 4 LEAF CLOVER | Simple and Easy #tutorial
3 Videos
HOW TO DRAW A 4 LEAF CLOVER | Simple and Easy #tutorial
How to draw a four leaf clover step by step EASY
Clover Drawing Easy 🍀 How to Draw a Four leaf Clover Rainbow Colors / Learn to Draw for Kids
Facts about basic drawing and shading
🍀 Four-leaf clovers are rare — about 1 in every 5,000 clovers has four leaves, which is why they're considered lucky.
🧬 Four leaves usually appear because of a genetic mutation or unusual growing conditions, not because the plant plans to be lucky!
🇮🇪 The shamrock (three-leaf clover) is a symbol of Ireland; finding a four-leaf clover is an extra-special surprise.
🔁 A well-drawn four-leaf clover often shows rotational symmetry (each leaf mirrors the others), great for practicing balance.
✏️ Simple shading tricks like hatching or cross-hatching can make your clover look 3D with just a pencil and a few lines.
How do I draw a four-leaf clover using heart-shaped leaves and a stem?
What materials do I need for this four-leaf clover drawing activity?
What ages is this four-leaf clover drawing activity suitable for?
What are the benefits of drawing four-leaf clovers and repeating at different sizes?
