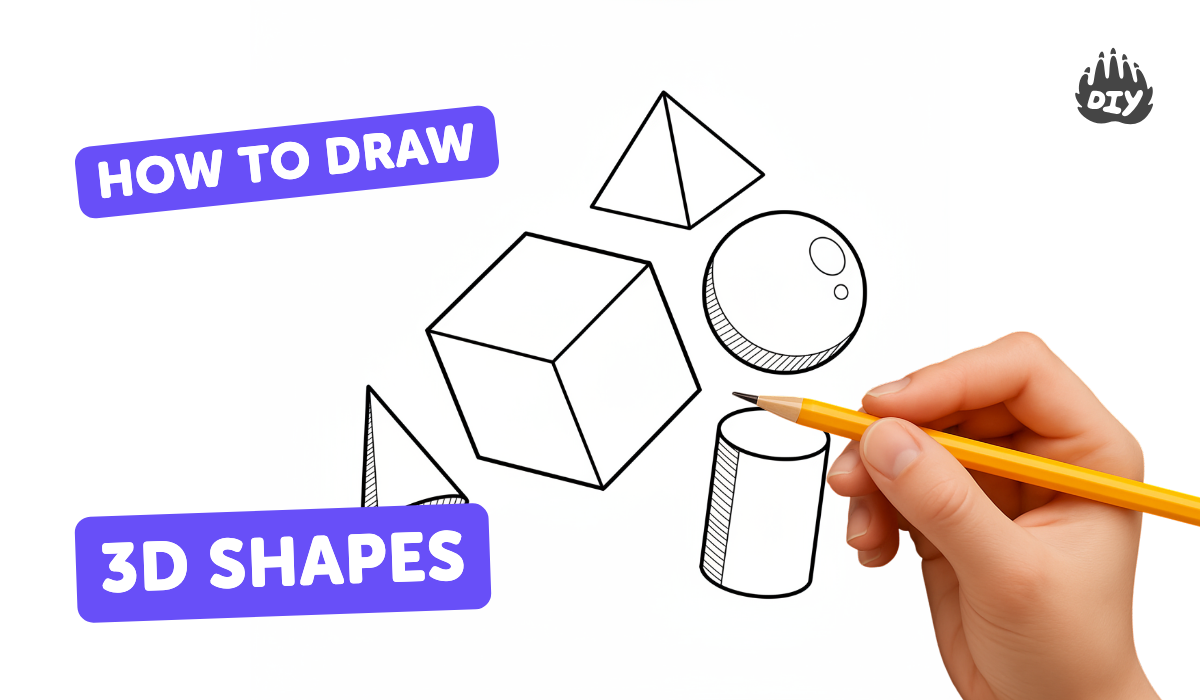
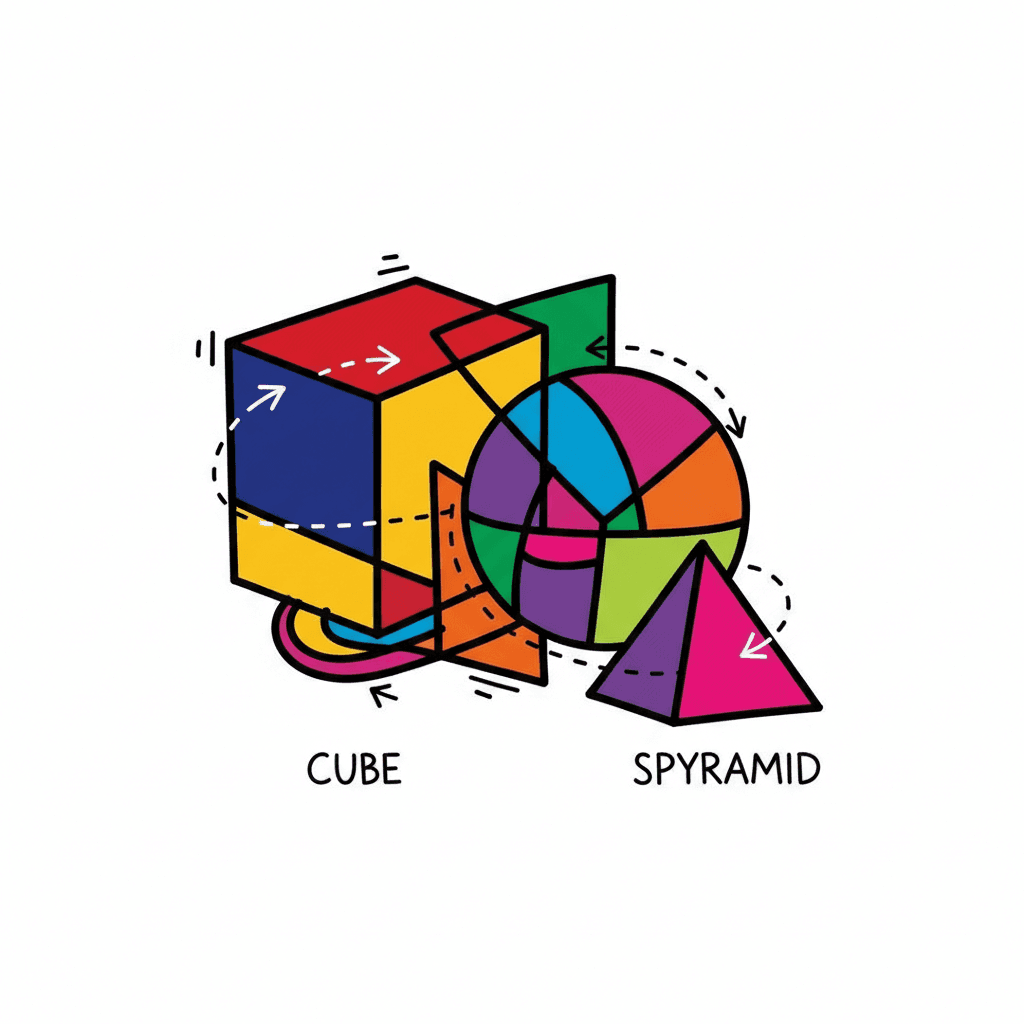
How to draw 3d shapes - a free 3d shapes drawing guide
Learn to draw simple 3D shapes like a cube, cylinder, sphere, and cone using rulers, perspective lines, and basic shading to make them look real.

Drawing Apps
Photos of simple 3D shape drawings


Step-by-step guide to draw simple 3D shapes
3D Shapes Lesson for Children | Classroom Video
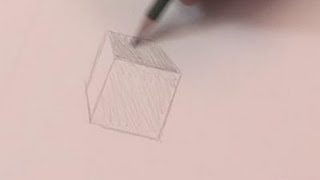
Step 1
Clear a flat workspace and put your paper and tools front and center.
Step 2
Lightly draw a horizontal horizon line across the page to set the eye level.
Step 3
Put one small dot on the horizon line to be your vanishing point.
Step 4
Use your ruler to draw a neat square where you want the cube’s front face to sit.
Step 5
From three visible corners of the square draw light straight guide lines toward the vanishing point.
Step 6
Mark where you want the back corners along those guide lines to choose the cube’s depth.
Step 7
Connect the back-corner marks to form the back face and complete the cube shape.
Step 8
Darken the cube’s final edges with your pencil and gently erase the light guide lines.
Step 9
Draw a light ellipse for the top of a cylinder where you want it and center it on the paper.
Step 10
Draw two straight vertical sides down from the ellipse and finish the cylinder with a matching bottom ellipse.
Step 11
Draw one circle for a sphere and one ellipse for a cone base then add a point above the cone base and connect the ellipse edges to the point to make the cone.
Step 12
Pick a light direction and shade each shape darker on the side away from the light then blend gently with the tissue to make them look round and real.
Step 13
Add simple flat cast shadows for each shape away from the light to ground them on the page.
Step 14
Share your finished 3D shapes drawing on DIY.org
Help!?
What can we use if we don’t have a ruler or tissue?
Use a straight book edge or a piece of cardboard to draw your light guide lines toward the vanishing point and blend shading with a cotton ball or folded scrap paper instead of tissue.
My cube looks twisted and the back face doesn’t line up—what should I check?
Make sure you drew light straight guide lines from the three visible square corners to the single vanishing point and measured where to mark the back corners along those guides before connecting the back face.
How can I adapt this activity for different ages?
For younger kids pre-draw the horizon, vanishing point, and front square for tracing; school-age kids can follow all steps with a ruler and eraser, and older kids can add extra shapes, multiple vanishing points, or more detailed shading and blending.
How can we make the finished drawing more interesting or personal?
Change the light direction and experiment with darker blended shading and patterned textures on each shape, add a simple tabletop background behind the horizon, or color the shapes and then share the finished 3D drawing on DIY.org.
Watch videos on how to draw simple 3D shapes
How to Teach Kids 2D and 3D shapes? | Square, Cube | Easy Way to Learn Faces, Edges, Vertices
4 Videos

How to Teach Kids 2D and 3D shapes? | Square, Cube | Easy Way to Learn Faces, Edges, Vertices

3D Shapes for Kids | Homeschool Pop
How To Sketch 3D Shapes
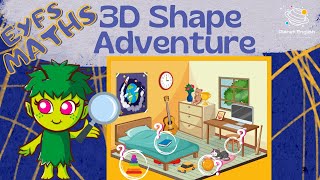
3D Shape Adventure for Kindergarten | EYFS Mathematics Activity
Facts about basic drawing techniques
🧊 A cube has 6 faces, 12 edges, and 8 corners—drawing its edges with perspective makes it look solid.
🔵 Shading a flat circle with a highlight, midtones, and a core shadow instantly turns it into a believable sphere.
📐 One-point perspective sends parallel lines to a single vanishing point; two-point perspective uses two to tilt boxes realistically.
✏️ Using light construction lines and a ruler helps you keep edges straight and proportions correct when building 3D shapes.
🎨 Adding a small cast shadow under a shape is one of the easiest tricks to make it appear to sit on a surface.
How do I teach my child to draw simple 3D shapes like a cube, cylinder, sphere, and cone?
What materials do I need to draw 3D shapes with my child?
What ages are best for learning to draw 3D shapes?
What are the benefits, safety tips, and fun variations for drawing 3D shapes with kids?
