Harvest crops
Harvest vegetables from a small garden or container, learning to identify ripeness, use simple tools safely, and record the harvest.


Step-by-step guide to harvest crops (harvesting vegetables from a small garden or container)
Harvesting vegetables from the garden with kids tractor. Educational how greenhouses work | Kid Crew
Step 1
Put on your gardening gloves to keep your hands clean and safe.
Step 2
Walk to your garden or container and stand where you can comfortably reach the plants.
Step 3
Choose one vegetable plant to inspect.
Step 4
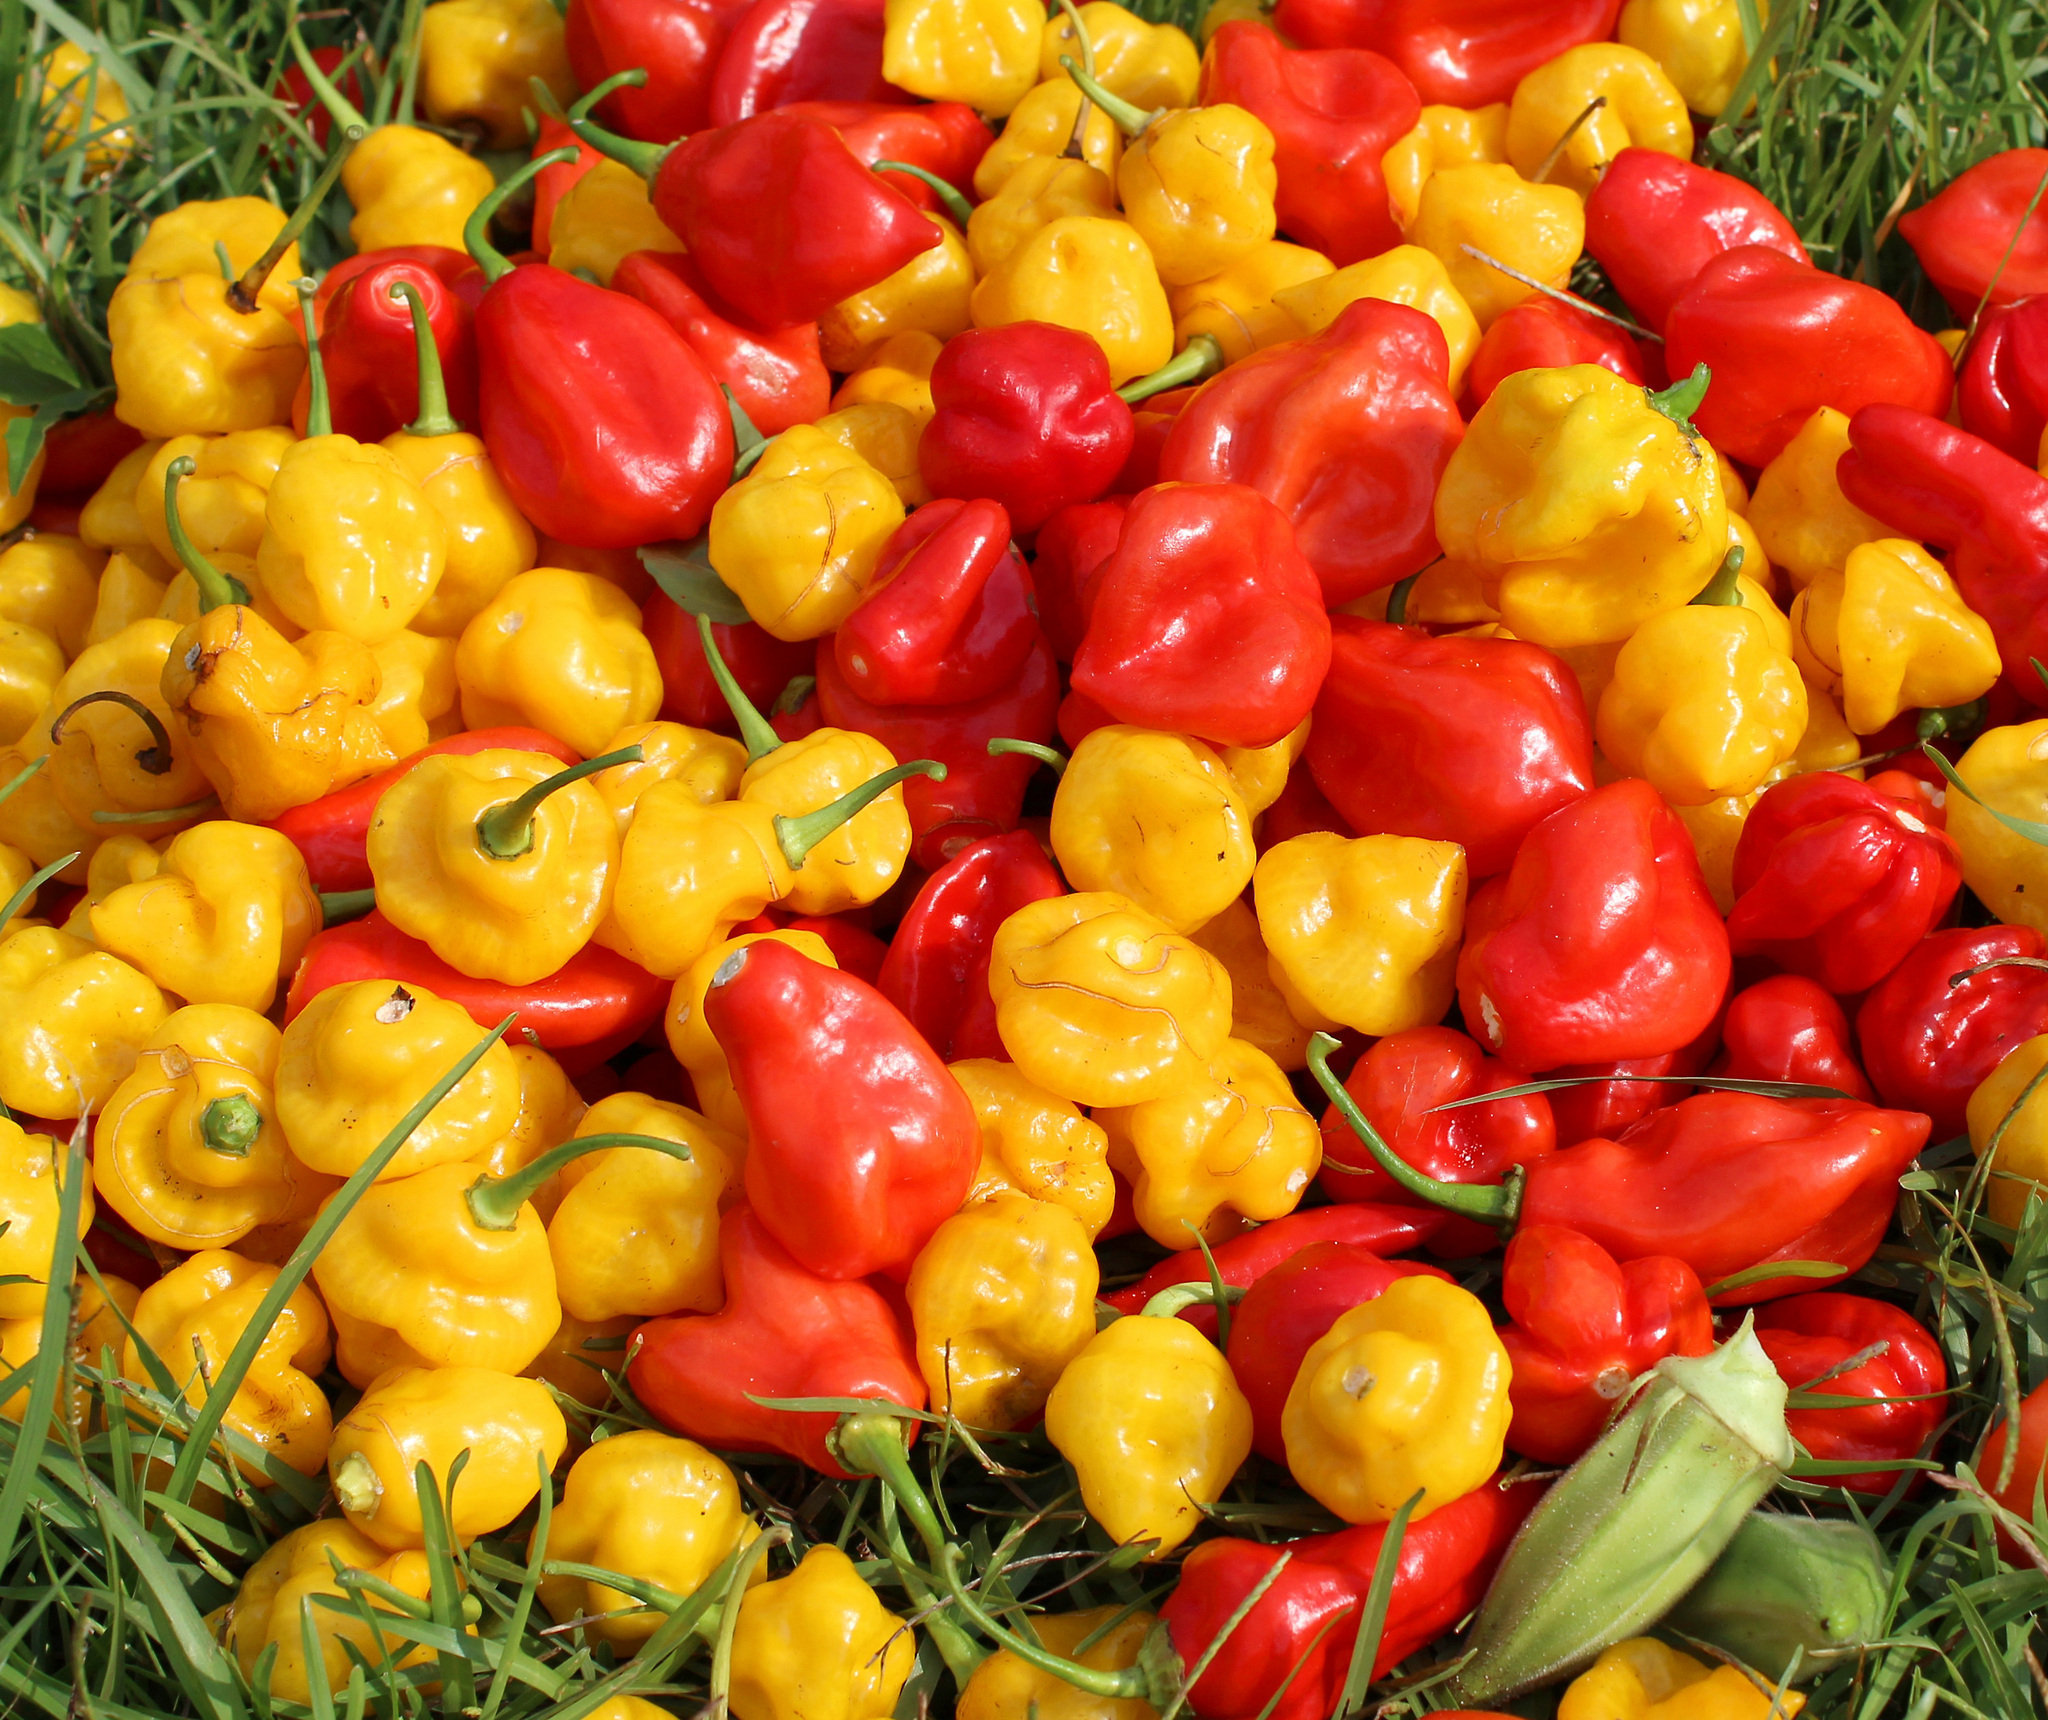
Look at the vegetable and check if its color and size look like a ripe example.
Step 5
Gently press the vegetable to test how firm it feels.
Step 6
Use the ruler or tape measure to measure the vegetable’s length or diameter.
Step 7
Write the measurement in your notebook with your pencil.
Step 8
If the vegetable looks ripe harvest it by cutting or loosening the stem with the small hand trowel or garden scissors.
Step 9
Place the harvested vegetable gently into your basket or container.
Step 10
Put a sticky note on or next to the vegetable with its name and today’s date.
Step 11
Repeat Steps 3 through 10 for each vegetable plant until you have checked them all.
Step 12
Count how many vegetables are in your basket.
Step 13
Write the total number in your notebook.
Step 14
With an adult wash each harvested vegetable under cool running water.
Step 15
Share your finished harvest and your notes on DIY.org.
Help!?
What can we use if we don't have gardening gloves, a ruler, or a small hand trowel?
Use clean kitchen gloves or an old sock for hands (step 1), measure with a piece of string against a household ruler or a printable paper ruler (step 5), and gently twist stems or use kitchen scissors with an adult to harvest instead of the small hand trowel or garden scissors (step 9).
What should we do if a vegetable won't come off or gets bruised when we try to harvest it?
If a vegetable won’t loosen, have an adult steady the plant and use the small hand trowel or garden scissors to cut the stem closer to the plant (step 9), and avoid pressing too hard when you 'gently press the vegetable' in step 4 to prevent bruising.
How can we adapt this activity for toddlers, school-age kids, and teens?
For toddlers let them wear the gloves and place sticky notes while an adult does the cutting and washing (steps 1, 11, 13), for school-age kids have them measure with the ruler and write measurements in the notebook and count the basket (steps 5, 6, 12), and for teens add precise measurements, photographs, and detailed notes to share on DIY.org (step 14).
How can we extend or personalize the harvest activity to make it more engaging?
Add a photo of each vegetable next to its sticky note, keep a dated harvest chart in your notebook with measurements and tasting notes (steps 6 and 11), color-code sticky notes by plant type, and turn the washed produce into a simple recipe to share on DIY.org (steps 13 and 14).
Watch videos on how to harvest crops (identify ripeness and use simple tools safely)
7 Tips to Garden with Kids (Easy Gardening with Children)
4 Videos
7 Tips to Garden with Kids (Easy Gardening with Children)
5 Crops to Grow With Kids
Harvesting crops with kids power wheel tractor & real combine harvester, farm Educational | Kid Crew
Learn Corn for Kids | Learn About Science for Kids
Facts about vegetable gardening for kids
🌱 Some vegetables like radishes and leaf lettuces can be ready to harvest in just 3–6 weeks!
🥕 Root vegetables such as carrots and beets often taste sweeter after cool nights because plants convert starches to sugars.
🍅 Many fruits and veggies (like tomatoes and peppers) show ripeness by changing color and becoming slightly softer—tasting a tiny piece is a quick check!
✂️ Kid-size hand tools (trowels, small pruners) plus an adult nearby make harvesting safer and more fun for kids.
📒 Keeping a simple harvest journal (date, item, amount) helps gardeners learn what worked and plan better next season.
How do I teach my child to harvest vegetables from a small garden or container?
What materials do I need to harvest vegetables with a child?
What ages are suitable for harvesting vegetables with supervision?
What safety tips should I follow when kids harvest vegetables?
