Hack your film gear
Build simple DIY film gear using household supplies: smartphone rig, stabilizer, and colored gels to learn filming basics, creativity, and safe hands-on tinkering.


Step-by-step guide to hack your film gear
How to make a documentary for a school project
Step 1
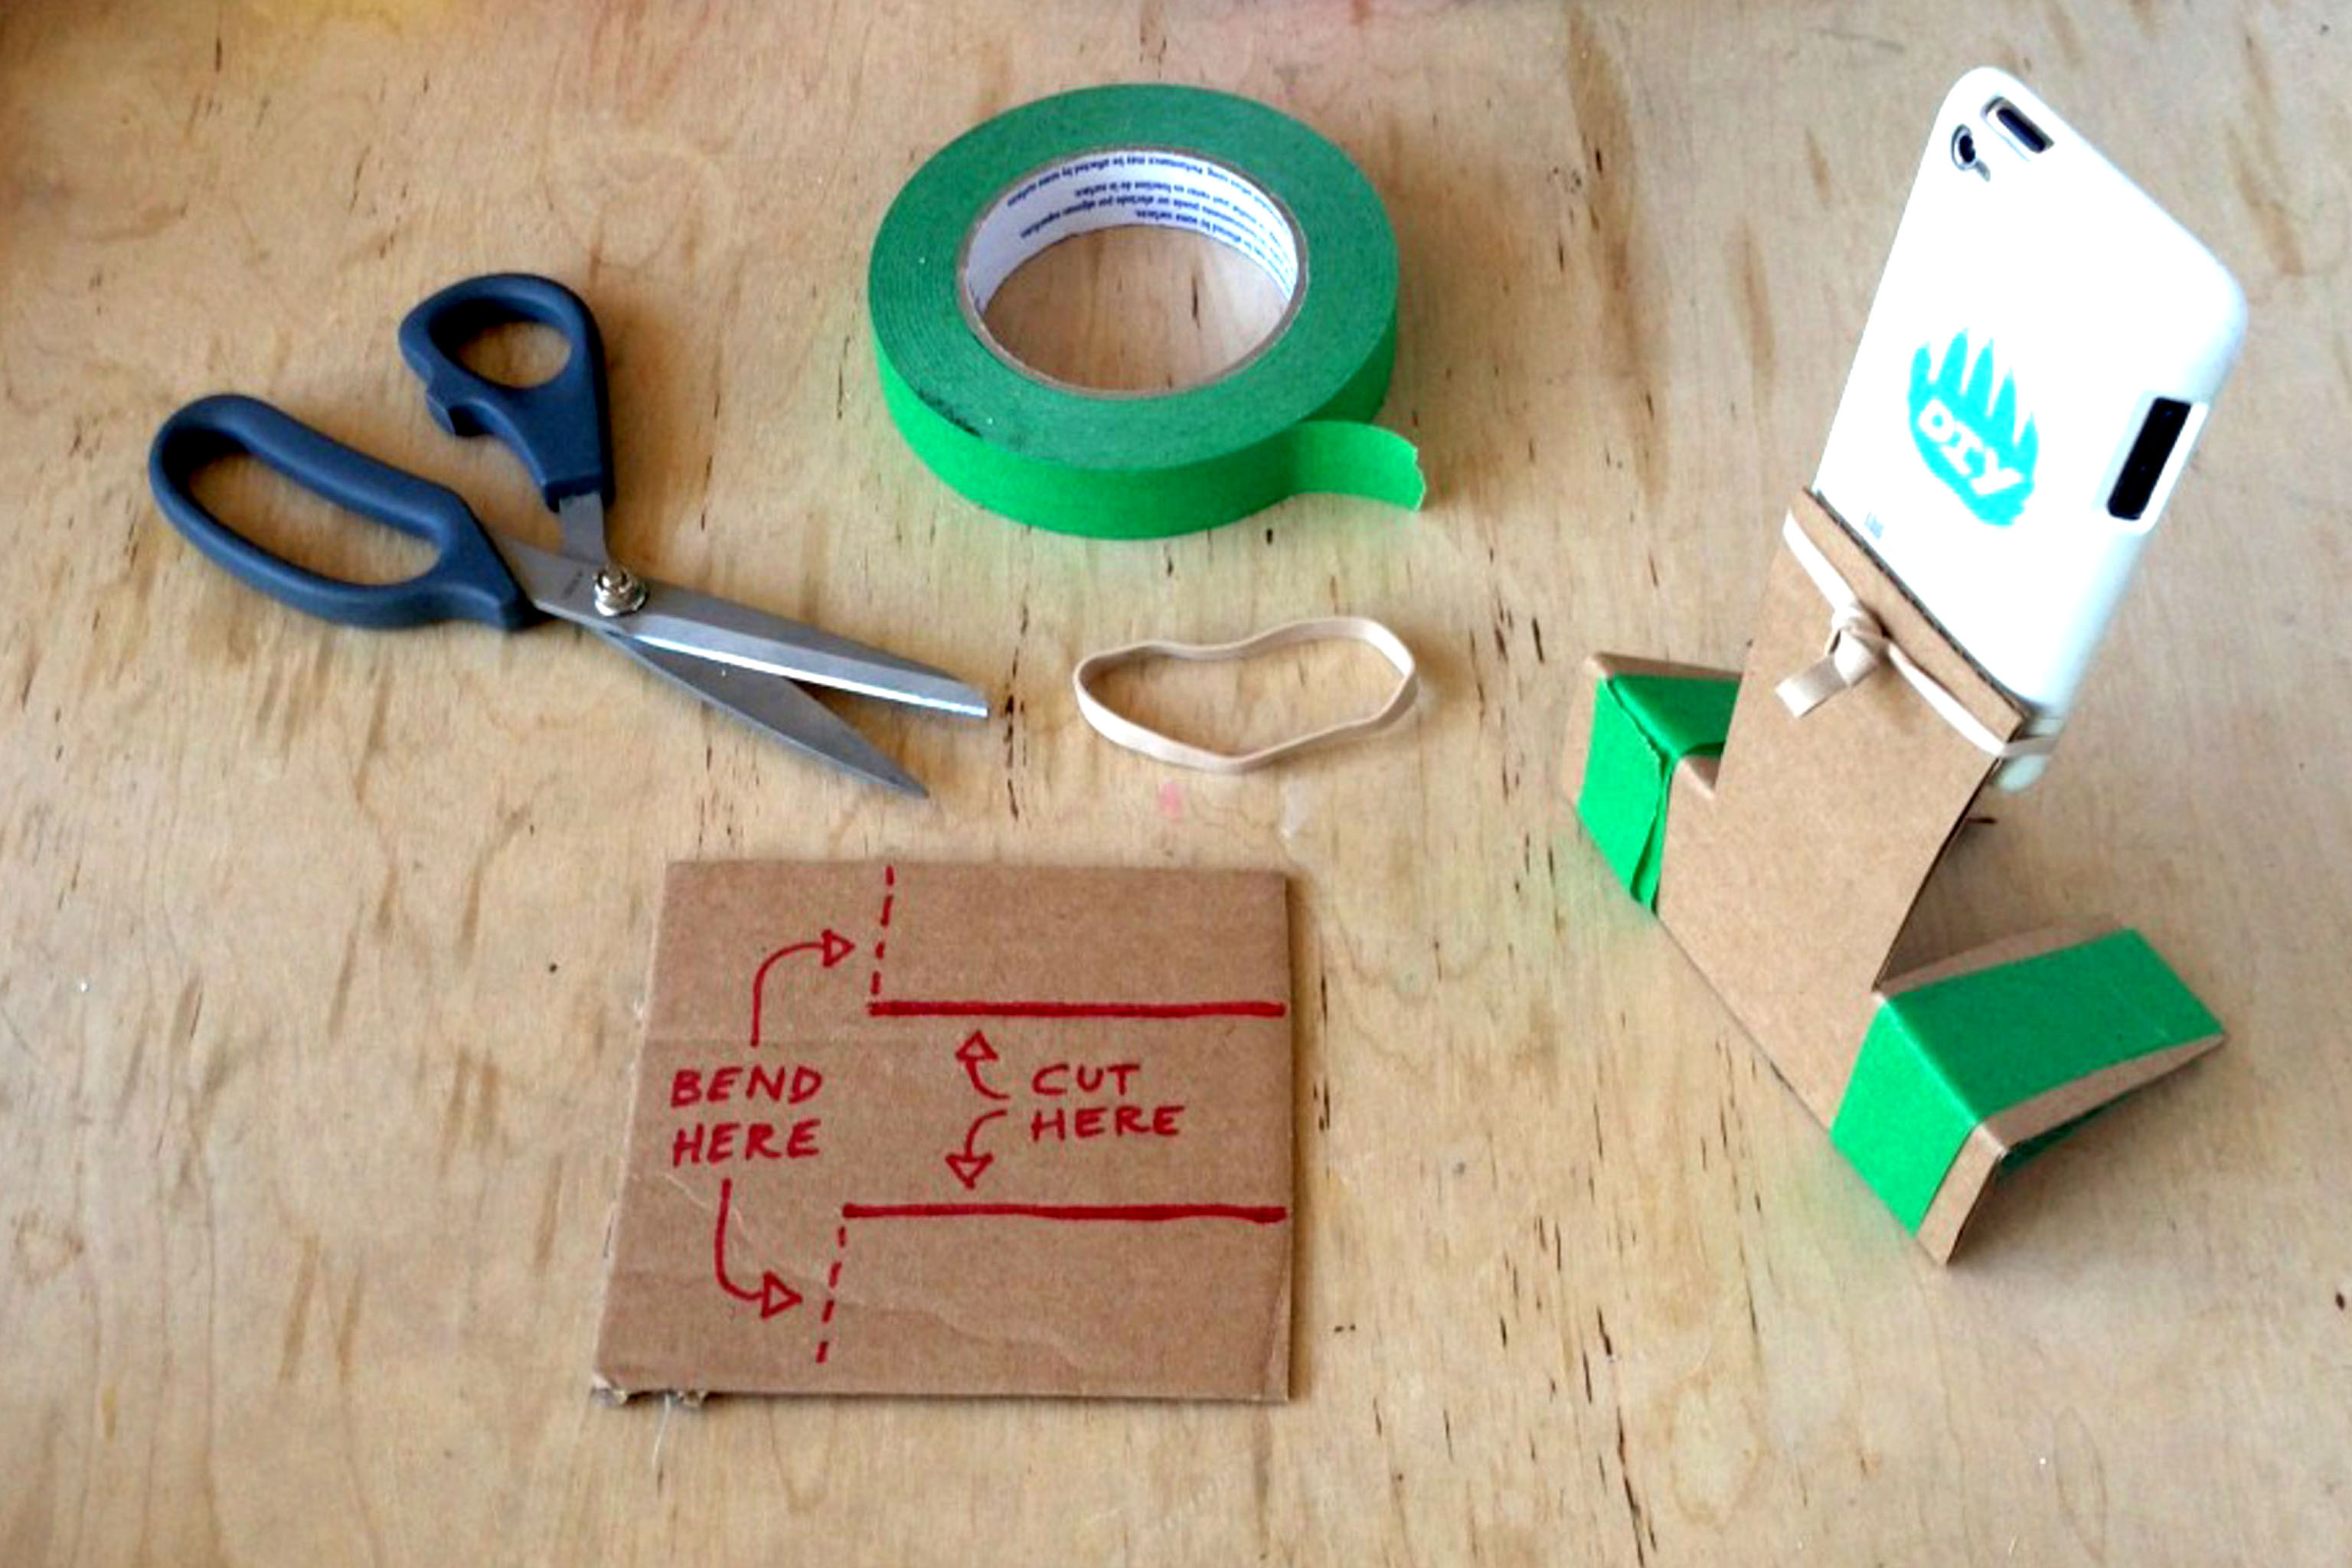
Clear a flat workspace and lay out all your materials where you can reach them.
Step 2
Place your phone face down on the cardboard and draw an outline slightly bigger than the phone with a marker.
Step 3
Cut out the cardboard rectangle along the outline using scissors.
Step 4
Fold up two small tabs at the short ends of the rectangle to make a front and back stop for the phone.
Step 5
Stretch two rubber bands across the top of the cardboard where the phone will sit and tape their ends to the underside so they act like straps.
Step 6
Tape a drinking straw to the center of the cardboard underside so it sticks out as a handle.
Step 7
Poke a hole in the side of the paper cup big enough for the straw to slide through.
Step 8
Slide the cup onto the straw so the cup hangs below the cardboard rig as a counterweight.
Step 9
Drop 4 to 8 small coins or washers into the cup to add weight for stabilization.
Step 10
Slide your phone into the cardboard cradle and pull the rubber band straps over the edges to hold it securely.
Step 11
Cut a small square of transparent coloured plastic to make a gel for the camera lens.
Step 12
Attach the coloured plastic over the phone camera using the clothespin or a binder clip so the colour is in front of the lens.
Step 13
Hold the straw handle and move slowly to check how steady the rig is while filming.
Step 14
Add or remove coins from the cup to fine tune the balance until the camera moves smoothly.
Step 15
Take a short video with your rig and share your finished creation on DIY.org.
Help!?
What can we use instead of hard-to-find items like rubber bands, binder clips, or transparent coloured plastic?
Use elastic hair ties or Velcro strips instead of the rubber bands (step: 'Stretch two rubber bands...'), a clothespin or strong tape in place of a binder clip (step: 'Attach the coloured plastic...'), and cut coloured cellophane from a candy wrapper or a clear plastic folder for the transparent coloured plastic gel (step: 'Cut a small square of transparent coloured plastic').
Why does my phone wobble when I move the straw handle and how do I fix it?
If the rig wobbles when you 'Hold the straw handle and move slowly...', tighten or replace the rubber-band straps and add or remove coins from the cup to rebalance the counterweight (steps: 'pull the rubber band straps...' and 'Add or remove coins...'), and reinforce the straw by taping a second straw alongside it (step: 'Tape a drinking straw...').
How can I adapt this activity for different age groups?
For younger kids, have an adult pre-cut the cardboard and use a toy phone or thicker cardboard with Velcro straps for safety (steps: 'Cut out the cardboard rectangle...' and 'Stretch two rubber bands...'), while older kids can design adjustable straps, experiment with different coin weights, or add a tripod mount to improve footage quality.
How can we enhance or personalize the rig to make more creative videos?
Decorate or paint the cardboard, create multiple coloured gels to clip over the camera with the clothespin (steps: 'Cut a small square of transparent coloured plastic' and 'Attach the coloured plastic...'), add a small LED light to the cardboard edge for lighting, or install a 1/4"-20 tripod screw to the underside to connect to standard tripods for steadier shots.
Watch videos on how to hack your film gear
Safe and Unsafe Situations | Safety Tips for Kids!
4 Videos
Safe and Unsafe Situations | Safety Tips for Kids!
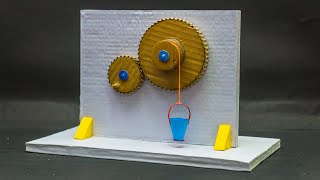
School Science Projects | Gear Working Model

Keeping Safe | Safety at Home | Safety at School | Safety at Playground | Safety Rules For Kids

What is Safeguarding? - Safeguarding in Schools #1 - 2022 Update
Facts about filmmaking for kids
🎥 Garrett Brown invented the Steadicam in 1975, letting operators capture smooth tracking shots without rails.
🤳 Many modern smartphones can record 4K video, turning your pocket into a tiny film studio.
🔧 You can build simple stabilizers at home using PVC, a phone clamp, and a counterweight to cut down shake.
🌈 Color "gels" were originally made from colored gelatin — that’s where the name comes from!
🧭 Mechanical Steadicams use gimbals and counterweights while modern gimbals use motors — both keep shots steady.
How do you hack your film gear and build simple DIY rigs?
What materials do I need to build a smartphone rig, stabilizer, and colored gels?
What ages is this DIY film gear activity suitable for?
What safety tips should parents follow when kids hack film gear?
