Front handspring challenge
Practice progressive steps to learn a front handspring: warm-up, wrist and core drills, handstand holds, wall-assisted spring, using a spotter and soft mat.

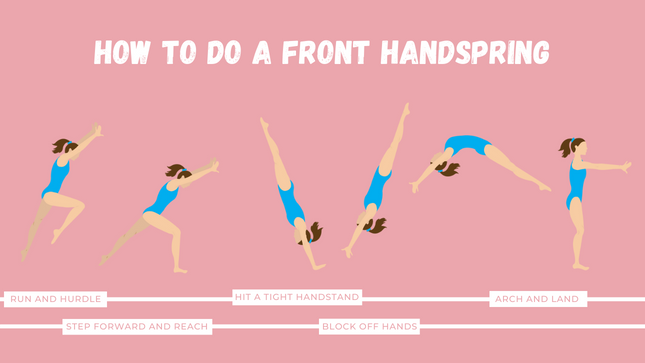

Step-by-step guide to front handspring challenge
Step 1
Lay your soft mat flat in a clear open space so you have a safe landing area.
Step 2
Do a 5 minute warm-up moving your whole body to raise your heart rate and warm your muscles.
Step 3
Stretch your wrists by placing your palms on the mat and gently leaning back for 20 seconds on each hand.
Step 4
Activate your core by holding a hollow body position for 20 seconds with your lower back pressed into the mat.
Step 5
Do five controlled hops where you jump forward and place your hands on the mat into a straight arm plank to practice the entry.
Step 6
Practice a 10 to 20 second handstand hold facing the wall to build shoulder strength and alignment.
Step 7
Have your trained spotter stand behind you and place their hands on your hips ready to support your movement.
Step 8
With your spotter supporting your hips perform five wall-assisted drills where you kick into a handstand near the wall and let the spotter guide your hips over your hands into a small spring onto your feet.
Step 9
Practice five short run approaches of two steps then jump and reach for your hands on the mat with your spotter guiding your hips to help you land on your feet.
Step 10
Rest, drink water, and do one final slow attempt with your spotter to feel the full front handspring movement safely.
Step 11
Share your front handspring progress and a short description of how you practiced on DIY.org
Help!?
What can we use if we don't have a soft mat or a trained spotter?
If you don't have a soft mat, layer two thick yoga mats or a folded moving blanket on carpet and, if you lack a trained spotter, stick to the wall-assisted drills and handstand holds facing the wall until a qualified adult can spot your hip support.
My hips won't travel over my hands during the wall-assisted drills—what should I try?
Focus on the core activation hollow body hold (20 seconds), rehearse the five controlled hops into a straight-arm plank to practice the entry, and have your spotter place hands on your hips to guide them over your hands during the kick-to-handstand wall-assisted drills.
How can we adapt the sequence for younger children or more advanced kids?
For younger children (4–6) shorten the warm-up to 2–3 minutes, reduce hollow holds to 10 seconds and do only wall-assisted drills with full spotter hip support, while advanced kids can increase handstand holds to 30 seconds, extend run approaches to three steps, and attempt additional slow unassisted attempts after mastering the five guided springs.
How can we improve or personalize the practice to track progress and make it more challenging?
Record short videos of each final slow attempt and the five practice runs, mark consistent hand placement on the mat with tape, and gradually decrease spotter hip support across sessions as your landings on your feet become more secure.
Watch videos on how to do a front handspring
How to do a Front Handspring - Beginner Gymnastics Tutorial
4 Videos
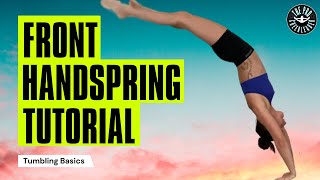
How to do a Front Handspring - Beginner Gymnastics Tutorial

How to learn a Front Hand Spring on the ground | step by step
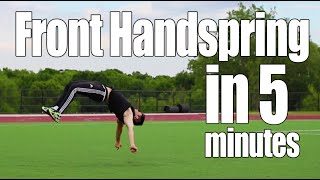
Learn Front Handspring in 5 Minutes | ASAP
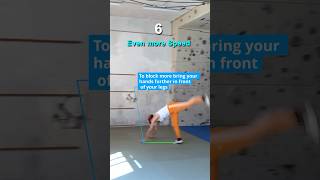
How to Front Handspring - Step by Step!
Facts about gymnastics for kids
🤸 Front handsprings are a common tumbling skill used in gymnastics, cheerleading, and acrobatics.
💪 A successful front handspring depends more on shoulder, wrist, and core strength than just leg power.
🧑🏫 Learning with a trained spotter and soft mats makes practicing new flips much safer.
⏱️ Short, focused practice sessions a few times a week help build skill without overworking muscles.
🧠 Breaking the move into steps—handstand holds, wall-assisted springs, and drills—builds muscle memory fastest.
How do I teach my child to do a front handspring step-by-step?
What materials do I need for a front handspring practice?
What ages is the front handspring challenge suitable for?
What safety precautions should I take when practicing front handsprings?
