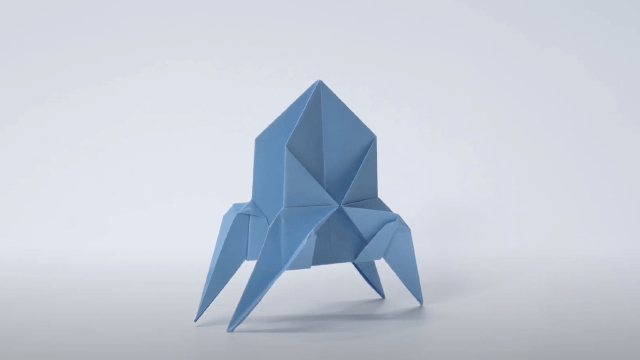
Fly a Rocket
Build and launch a simple cardboard and balloon rocket along a string track. Test how angle and air pressure change distance safely.

Step-by-step guide to fly a rocket
Step 1
Gather all the materials on a clear flat workspace and show an adult so they can help.
Step 2
Tie the string tightly between two sturdy points so it is straight and a little sloped like a slide.
Step 3
Thread the drinking straw onto the string so the straw can slide along the track.
Step 4
Make the rocket body by cutting a rectangle of cardboard then rolling it around the straw and securing it with tape.
Step 5
Cut two small fin shapes from the leftover cardboard.
Step 6
Tape the two fins to the back end of the cardboard tube so they sit flat and help the rocket balance.
Step 7
Decorate the tube with the marker so your rocket looks awesome.
Step 8
Attach the balloon to one end of the straw and wrap tape around the balloon neck and straw to make an airtight seal with the balloon mouth pointing backward.
Step 9
Inflate the balloon to a medium size and clamp the neck closed with the clothespin to hold the air.
Step 10
Place the rocket at the start line on the string so the front of the rocket lines up with your mark.
Step 11
Release the clothespin and let the rocket launch along the string.
Step 12
Measure the distance from the start line to where the rocket stopped and write down the number.
Step 13
Repeat launches while changing only one thing at a time: first try different balloon inflation amounts and record distances then raise the high end of the string to change the angle and repeat launches to compare results.
Step 14
Take photos or notes and share your finished rocket and what you learned about angle and air pressure on DIY.org
Final steps
You're almost there! Complete all the steps, bring your creation to life, post it, and conquer the challenge!

Help!?
What can I substitute if I don't have a drinking straw, clothespin, or clear tape?
If you don't have a drinking straw, thread a thin wooden skewer or straight dowel through the cardboard tube, clamp the balloon neck with a small binder clip or twist-tie instead of a clothespin, and use masking tape or duct tape to make the airtight seal around the balloon and straw.
My rocket doesn't slide or stops immediately after launch—what should I check?
If the rocket doesn't move or stops early, make sure the string from step 2 is tied tightly and sloped like a slide and verify the balloon-to-straw seal in step 8 is airtight by adding more tape around the balloon neck.
How can I adapt this activity for younger kids or make it more challenging for older kids?
For younger children have an adult tie the string and pre-cut and tape the cardboard tube and fins so they can decorate and launch, while older kids can test different fin shapes, balloon sizes, and angles and record distances as described in steps 11–13.
How can we enhance or personalize our rocket to go farther or look cooler?
Improve distance and stability by adding a small clay or paper nose cone to the front of the cardboard tube, experimenting with different fin shapes from leftover cardboard, and decorating the rocket before running the step 11–13 tests and taking photos to compare results.
Watch videos on how to fly a rocket
Flying ride on kids rocket ship to launch satellite in space for eclipse. Educational | Kid Crew
4 Videos
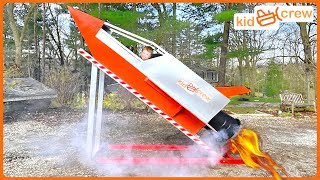
Flying ride on kids rocket ship to launch satellite in space for eclipse. Educational | Kid Crew
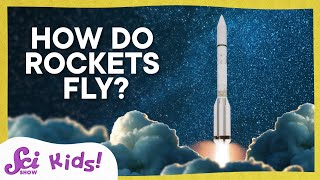
How Do Rockets Fly? | Let's Explore Mars! | SciShow Kids

How Rockets Work? Basic Explanation for Kids. #spaceforkids Kids Academy
Rocket Rules Tornado Safety Video for kids, K to 2nd grade
Facts about aerodynamics and physics experiments for kids
🚀 Balloon rockets show Newton's third law: air pushes backward, the rocket pushes forward!
📐 Changing the string angle changes how gravity and thrust work together — small angles often make your rocket travel farther.
🧱 Corrugated fiberboard (cardboard) is light and strong, which is why it's a great material for kid-built rockets.
🎈 More air in the balloon raises internal pressure — that usually gives a bigger push when you let it go.
🔬 Testing different pressures and angles is real science — you're doing a miniature aerodynamics experiment!
How do I build and launch a cardboard and balloon rocket along a string track?
What materials do I need to make a balloon-powered cardboard rocket?
What ages is the Fly a Rocket activity suitable for?
How can we safely test how angle and air pressure affect the rocket's distance?


One subscription, many ways to play and learn.
Only $6.99 after trial. No credit card required