Flaunt Your Littlest Pet Shop Collection!
Design and build a mini display for your Littlest Pet Shop collection using cardboard, paint, and labels; arrange pets by habitat and photograph it.


Step-by-step guide to design and build a mini display for your Littlest Pet Shop collection
How I Display my LPS!⭐️DIY Display Steps & Stand for Collectors!
Step 1
Gather all the materials listed and set them on a clean table so everything is ready to use.
Step 2
Count your Littlest Pet Shop toys and decide how many habitat groups you want to make.
Step 3
Measure a cardboard base large enough for all the pets and draw the base outline with your ruler and pencil.
Step 4
Draw divider pieces on extra cardboard sized to fit evenly across the base for your habitats.
Step 5
Cut out the base and all divider pieces carefully using scissors.
Step 6
Score any tabs or fold lines on the dividers by pressing the ruler and pencil to make folding easier.
Step 7
Insert the divider pieces into the base slots to create separate compartments for each habitat.
Step 8
Secure the joints and edges with glue or tape so the compartments stay in place.
Step 9
Paint each habitat compartment in colors that match its environment and decorate with stickers if you like.
Step 10
Let the paint dry completely before touching the display.
Step 11
Write habitat names on labels or sticky notes and stick one label to the front of each compartment.
Step 12
Place your Littlest Pet Shop toys into the matching labeled habitats and arrange them how you like.
Step 13
Take a clear photo of your finished mini display from a good angle.
Step 14
Share your finished creation on DIY.org
Help!?
What can we use if we don't have thick cardboard, craft paint, or stickers?
Use flattened cereal boxes or a shoebox for the base and dividers, swap craft paint for washable tempera or diluted food coloring, and replace stickers with cut construction-paper shapes or magazine pictures.
My divider pieces won't stay in the base or the display keeps collapsing — what should I try?
Trim or sand the divider tabs so they fit the base slots snugly, re-score fold lines with your ruler and pencil for cleaner folds, and reinforce joints with extra tape or a dab of glue held in place with clothespins until dry.
How can I adapt this activity for younger children or older kids?
For preschoolers have an adult pre-cut the base and slots and let them paint and place stickers, for elementary kids let them measure, draw, and cut dividers with safety scissors, and for older kids encourage precise measuring, printed labels, detailed painting, and stronger glue or hot-glue assembly.
What are some ways to extend or personalize the habitats before taking the photo and sharing on DIY.org?
Add textured materials like felt or fake moss, glue small props such as pebbles and twigs inside compartments, create a laminated photo background for each habitat, or place battery tea-lights to highlight the display in your final photo.
Watch videos on how to design and build a mini display for your Littlest Pet Shop collection
The ULTIMATE Guide To Collecting Littlest Pet Shop 🌸
3 Videos

The ULTIMATE Guide To Collecting Littlest Pet Shop 🌸
HUGE NEW LPS UNBOXING! Series 3 Littlest Pet Shop Basic Fun G7 review
Littlest Pet Shop Playset
Facts about diorama and display crafts for kids
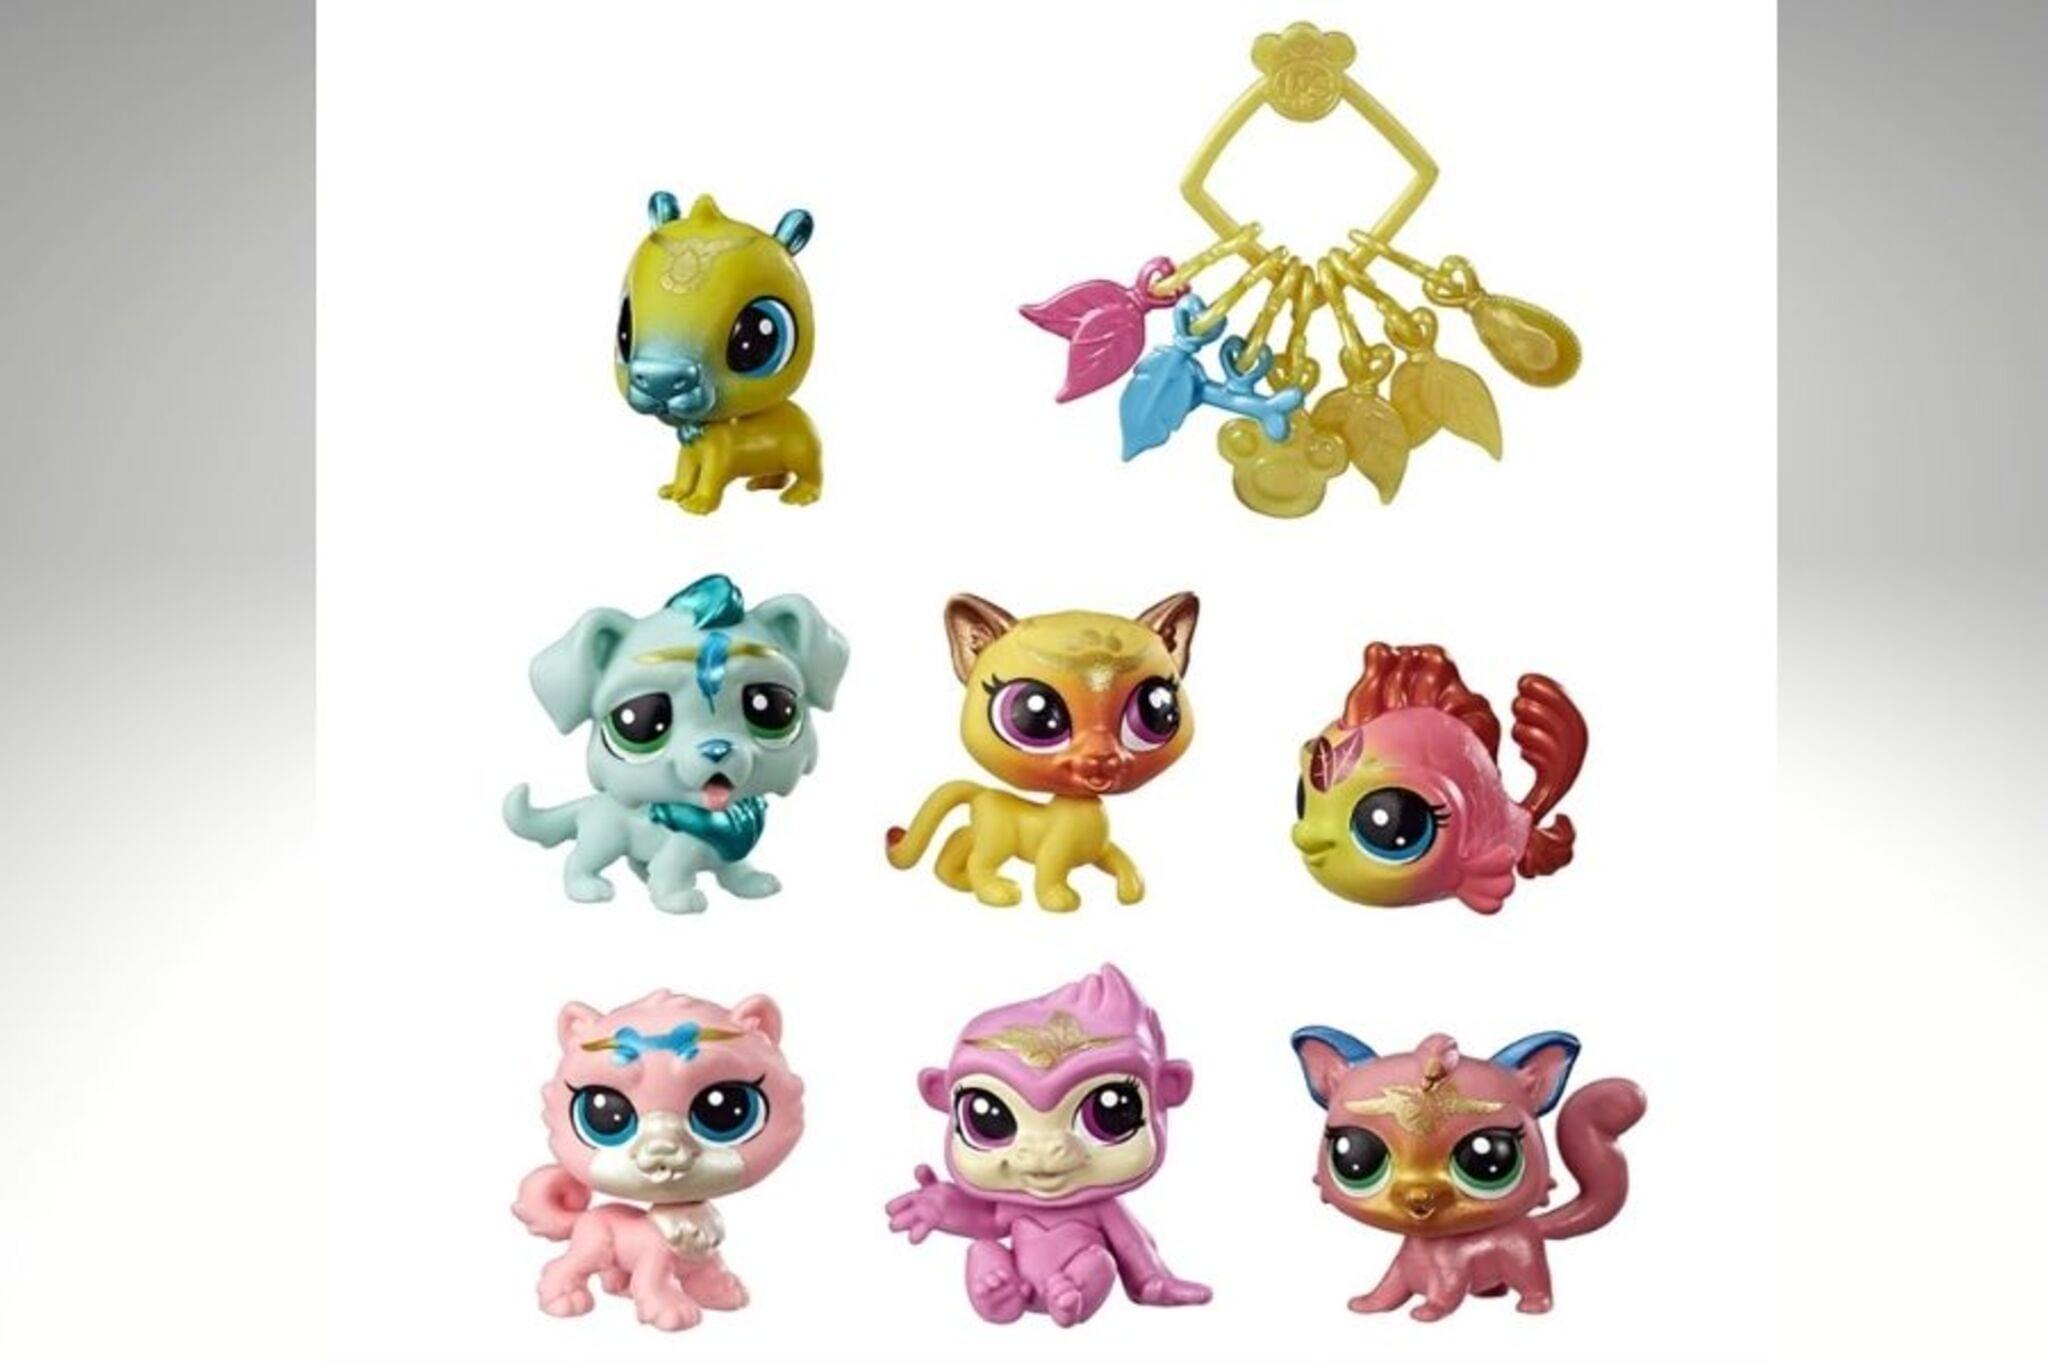
🐾 Littlest Pet Shop toys are tiny collectible figures — some fans collect dozens or even hundreds of pets!
🎨 A little paint and texture tricks can make plain cardboard look like stone, grass, or water for your mini habitats.
📦 Cardboard is recyclable and one of the most kid-friendly materials for upcycling into displays and dioramas.
🏞️ Arranging pets by habitat (forest, desert, arctic, city) helps you tell fun stories and teaches about animals' homes.
📷 Toy photography uses close-ups, low angles, and lighting to make small toys look like they live in a real world — perfect for photographing your display!
How do I design and build a mini Littlest Pet Shop display?
What materials do I need for the mini display?
What ages is this activity suitable for?
What are the benefits of making a mini Littlest Pet Shop display?
