Fit someone for an outfit
Measure a friend with a measuring tape, mark adjustments, use safety pins or baste fabric, and practice simple sewing to make clothing fit properly.


Step-by-step guide to fit someone for an outfit
Clothes Song ♫ Dress Up ♫ Choose Clothes ♫ Kids Songs by The Learning Station
Step 1
Ask a friend or family member to be the model and have them stand straight so you can take measurements.
Step 2
Lay the garment or fabric flat on a table and smooth out any wrinkles with your hands.
Step 3
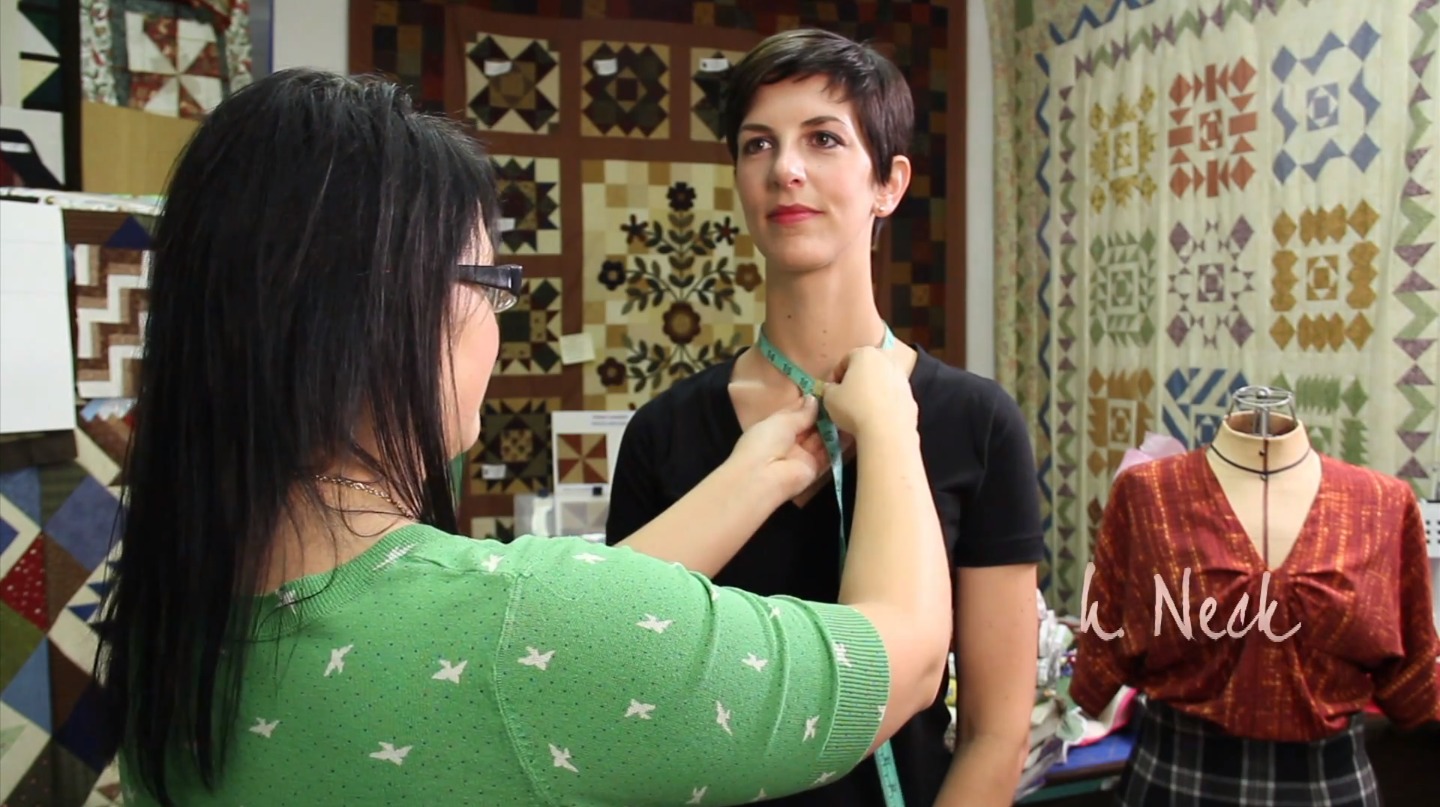
Wrap the measuring tape around the chest at the fullest point and note the measurement.
Step 4
Wrap the measuring tape around the waist at the narrowest point and note the measurement.
Step 5
Wrap the measuring tape around the hips at the fullest point and note the measurement.
Step 6
Measure the desired garment length from shoulder to hem and note where you want the new hem to be.
Step 7
Use tailor's chalk to mark the new seam lines or hem on the fabric at the places you measured.
Step 8
Pin along the chalk lines with safety pins on the inside of the garment to hold the new shape.
Step 9
Baste by hand with long running stitches along the pinned line to temporarily hold the adjustment.
Step 10
Have your friend try on the basted garment in front of a mirror to check the fit.
Step 11
Sew a permanent seam along the basted line using small even stitches with your needle and thread.
Step 12
Trim away excess fabric, leaving a small seam allowance of about 1 centimeter.
Step 13
Finish the raw edges with a simple whipstitch to stop fraying.
Step 14
Have your friend try on the finished garment to make sure it fits comfortably.
Step 15
Take photos and share your finished creation on DIY.org
Help!?
What can we use if we don't have a tailor's chalk or measuring tape?
If you don't have a measuring tape use a non-stretch string measured against a ruler and substitute tailor's chalk with a removable fabric marker, a bar of soap, or even a straight pin to mark seam lines.
My basted line keeps shifting or the fit is wrong when the model tries it on—what should we check?
Smooth the garment flat (step 2), re-mark with tailor's chalk, re-pin along the chalk lines on the inside (step 7), baste more securely with long running stitches (step 8), then have your friend try it on (step 9) and adjust before sewing the permanent seam and trimming to a 1-centimeter seam allowance (steps 11–12).
How can we adapt this activity for younger or older kids?
For younger children let them measure with the measuring tape, smooth fabric (step 2), pin the lines (step 7) and take photos for DIY.org while an adult does the basting and sewing, and for older kids let them baste (step 8), sew the permanent seam (step 11) and finish edges with a whipstitch (step 13) themselves.
How can we personalize or extend the finished garment?
Add trims or embroidery before sewing the permanent seam (step 11), try different hem lengths when you measure and mark (step 5–6), use a decorative whipstitch on the raw edges (step 13), and photograph the result to share on DIY.org (step 14).
Watch videos on how to fit someone for an outfit
Learning clothes FOR KIDS! Lesson 13. Educational video for children (Early childhood development).
4 Videos
Learning clothes FOR KIDS! Lesson 13. Educational video for children (Early childhood development).

Different Types of Clothes | Seasons and Clothes | Clothes We Wear For Children | Kids Clothes

Dressing Skills for Children (Occupational Therapy)
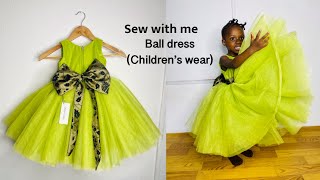
How to sew kiddies ball dress (children pattern and sewing)
Facts about sewing and garment fitting for kids
📏 Basic measurements like chest, waist, hip, and inseam are the same ones tailors use to make clothes fit perfectly.
🧷 The safety pin was invented in 1849 by American mechanic Walter Hunt to fasten garments safely.
🪡 Basting stitches are long, temporary stitches you can remove easily after checking the fit.
🧵 Home sewing machines can sew hundreds of stitches per minute, helping you finish hems and seams faster.
👗 Small changes to the shoulder or waist can transform how comfortable and polished an outfit feels.
How do you fit someone for an outfit?
What materials do I need to fit someone for a garment?
What ages is this fitting and sewing activity suitable for?
What safety tips and benefits should I know about this activity?
