Find A Spot for Your Little Treasures
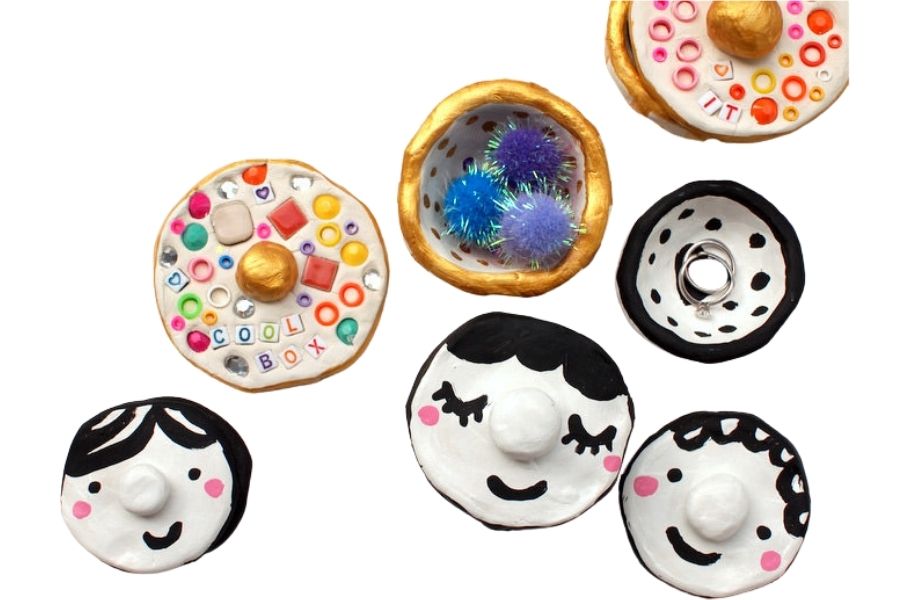
Design and make a small treasure box from recycled materials, decorate it, and choose a secret, safe spot to keep your little treasures.


Step-by-step guide to Find A Spot for Your Little Treasures
Step 1
Gather all the Materials Needed and set them on a clean flat workspace.
Step 2
Choose which small recycled box or tin will become your treasure box.
Step 3
Ask an adult to help you remove any sharp edges labels or old tape from the box.
Step 4
Think about a design idea for your treasure box such as pirate chest garden box or space chest.
Step 5
Make a simple sketch of your chosen design on scrap paper to plan colors and decorations.
Step 6
Use scissors to cut scrap paper or fabric pieces to the sizes you need for the outside of the box.
Step 7
Glue the paper or fabric pieces onto the box to cover it and hold them down until the glue sets.
Step 8
Add stickers buttons ribbon or drawings with your colouring materials to decorate the box the way you planned.
Step 9
Reinforce the box edges and the lid with tape or extra glue so your box is sturdy for keeping treasures.
Step 10
Place a piece of tissue paper or a soft fabric scrap inside the box to protect your treasures.
Step 11
Choose a secret safe spot in your house where only you can find your treasure box.
Step 12
Put the treasure box in that secret spot and check that you can open and close it easily when you need to.
Step 13
Share a photo and a short description of your finished treasure box on DIY.org to show everyone your creation.
Help!?
What can I use if I don't have a small recycled box or tin for my treasure box?
If you don't have a small recycled box or tin, use a clean cardboard shoebox, a small plastic food container, or an empty cereal bar box and follow the step to remove labels and cover it with scrap paper or fabric.
What should I do if the glue won't set or the lid won't close after decorating?
If glue won't set or decorations make the lid hard to close, press glued pieces under a heavy book until dry, trim or relocate bulky buttons or ribbon from the lid, and reinforce edges and the lid with tape or extra glue as instructed.
How can I adapt this activity for different ages?
For younger children have an adult remove sharp edges and pre-cut paper or fabric for gluing, while older kids can sketch more detailed designs, add mixed-media elements like buttons and ribbon, or build a small compartment inside as a challenge.
What are some ways to extend or personalize the treasure box once it's finished?
Enhance your box by adding cardboard dividers glued inside for compartments, painting or using metallic paper for a themed finish, lining the inside with tissue or fabric for protection, and writing a secret code on the lid before sharing a photo on DIY.org.
Watch videos on how to Find A Spot for Your Little Treasures
21 Places to Hide Stuff You’ve Never Thought Of
4 Videos
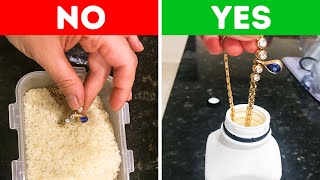
21 Places to Hide Stuff You’ve Never Thought Of
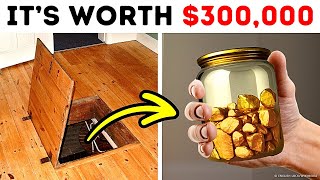
People Who Found Hidden Treasures Under Floorboards
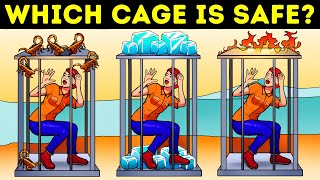
Solve All 18 Riddles to Find Treasures
The Missing Scavenger Hunt Treasure Maps! - PAW Patrol - Toy Pretend Play Rescue for Kids
Facts about recycled crafts for kids
♻️ Upcycling turns trash into treasure — creative reuse reduces waste and sparks imagination.
📦 Boxes and chests have been used for storing valuables for thousands of years, from wooden trunks to tiny jewelry boxes.
🎁 Making your own treasure box makes ordinary objects feel extra special and helps you remember what matters.
🧭 Kids love secret spots — common hiding places include inside shoes, behind books, or taped under shelves for extra mystery!
🌱 Decorating with fabric scraps, bottle caps, and paper teaches eco-friendly habits and looks super cool.
How do I design and make a small treasure box and find a secret spot for it?
What materials do I need to make a recycled treasure box?
What ages is this treasure box activity suitable for?
What are the benefits and safety tips for making a secret treasure box?
