Explore plants microscopically
Prepare simple plant microscope slides using leaves, onion skin, and pond water; observe cells, stomata, and pollen, and sketch your findings.


Step-by-step guide to explore plants microscopically
What do Plant Cells look like under the microscope.
Step 1
Gather all your materials and set the microscope on a stable table near a bright window.
Step 2
Cut the onion and peel a very thin transparent layer of onion skin using tweezers or your fingers.
Step 3
Lay the thin onion skin flat in the center of a clean glass slide.
Step 4
Add one small drop of water onto the onion skin with the dropper to make a wet mount.
Step 5
Carefully lower a cover slip over the water drop so the slide stays flat and without bubbles.
Step 6
Place the onion slide on the microscope stage, start at the lowest magnification, and gently focus until the cells come into view.
Step 7
Sketch the onion cells you see on paper with your pencil and label any parts you notice.
Step 8
Tear a tiny thin piece from a fresh leaf and place it on a new clean slide.
Step 9
Add one drop of water to the leaf piece and gently lower a cover slip to make a wet mount.
Step 10
Put the leaf slide on the stage, focus to find stomata (small openings), and look carefully at the surface patterns.
Step 11
Collect a drop of pond water with the dropper, place it on a clean slide with a cover slip, then observe for pollen grains or tiny organisms and sketch what you find.
Step 12
Share your finished sketches and what you discovered on DIY.org.
Help!?
What can we use if we don't have glass slides, cover slips, tweezers, or a dropper?
Use a clean plastic transparency sheet or a flattened clear sandwich bag as a slide and cover slip substitute, swap tweezers for a clean toothpick or your fingers to peel the onion skin, and use a medicine dropper, pipette, or straw to add water instead of the dropper.
My cover slip keeps making bubbles or I can't focus on the onion cells—what should I do?
Gently lift and lower the cover slip at an angle to push out bubbles, add a little more water with the dropper if the mount is too dry, start at the lowest magnification and slowly refocus the microscope, and make sure the slide and cover slip are clean before remounting.
How can I adapt this activity for different age groups?
For preschoolers, use a hand lens and pre-made slides with adult help and simple shape drawings; for elementary kids, supervise them making their own onion and leaf wet mounts and labeling basic parts; and for older children, have them collect pond water, use higher magnifications, measure cells, and post detailed labeled sketches on DIY.org.
How can we enhance or personalize our observations and sketches?
Stain the onion skin with a drop of iodine to make nuclei and cell walls clearer, compare stomata from different plant leaves, photograph through the eyepiece to include images with your DIY.org post, and add magnification labels and scale bars to your sketches.
Watch videos on how to explore plants microscopically
"Exploring Plant Structures Under a Dissecting Microscope | Up-Close Botanical Wonders"#Microscopy
3 Videos
"Exploring Plant Structures Under a Dissecting Microscope | Up-Close Botanical Wonders"#Microscopy
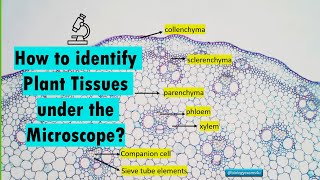
How to Identify Different Plant Tissues under Microscope? Plant Tissues Structure and Function
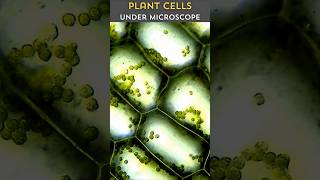
Watch These Plant Cells Come Alive Under 1000x Magnification
Facts about plant cells and microscopy
🔬 In 1665 Robert Hooke looked at cork under a microscope and coined the word “cell” after tiny room-like boxes he saw.
🧅 Onion epidermis is a classroom favorite because its cells are large, transparent, and easy to peel and view.
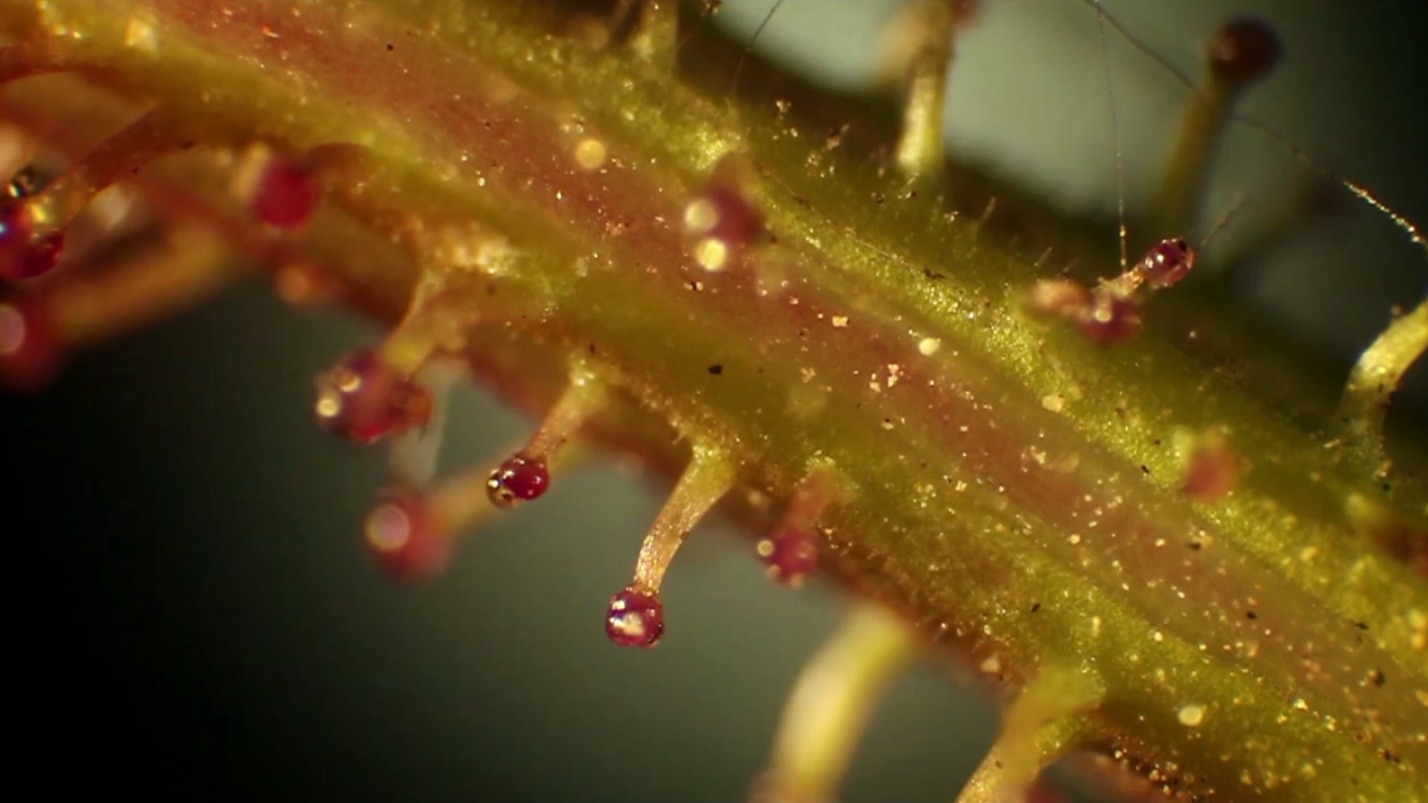
🌿 Some leaves can have thousands of stomata per square centimeter—tiny pores that open and close to let plants 'breathe' and lose water.
🌸 A single flower can release thousands to millions of pollen grains, and each grain often has a unique surface pattern under high magnification.
💧 A drop of pond water can contain thousands of living microbes—algae, protozoa, and tiny animals you can watch swimming under a microscope.
How do I prepare and observe simple plant microscope slides step-by-step?
What materials do I need to prepare plant microscope slides?
What ages is exploring plants microscopically suitable for?
What safety tips and fun variations should I know for this microscope activity?
