Experiment with density
Make a colorful liquid density column using household liquids and small objects to observe floating and sinking, recording layers and explaining results.

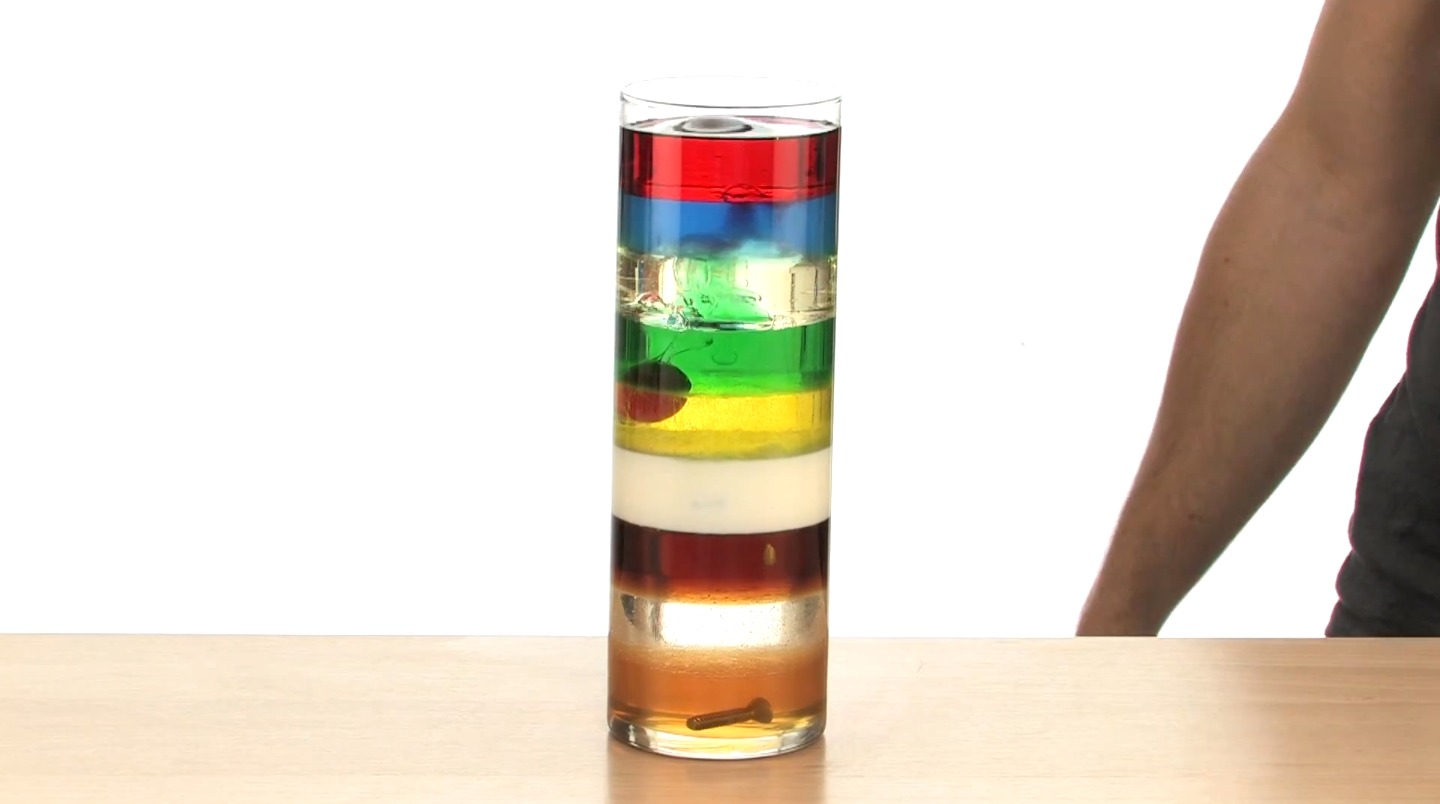

Step-by-step guide to make a colorful liquid density column
Sink or Float Density Experiment for kids
Step 1
Gather all materials and put them on a towel on a table where you can work safely.
Step 2
Pour about 1/4 cup of honey or corn syrup into the bottom of the jar to make the first layer.
Step 3
Slowly pour a layer of dish soap down the inside wall of the jar so it forms a separate layer above the honey.
Step 4
Put some water in a cup and add 1–3 drops of food coloring and stir to make colored water.
Step 5
Slowly pour the colored water down the inside wall of the jar so it forms the next layer.
Step 6
Slowly pour vegetable oil down the inside wall of the jar to make the oil layer above the water.
Step 7
Measure a small amount of rubbing alcohol into a cup.
Step 8
Add 1 drop of food coloring to the rubbing alcohol and stir gently so the color mixes.
Step 9
Slowly pour the colored rubbing alcohol down the inside wall of the jar so it becomes the top layer.
Step 10
Wait 2–5 minutes and watch until all the liquids settle into clear separate layers.
Step 11
Choose three small objects to test one at a time and bring your paper and pencil ready to write.
Step 12
Gently drop one object into the jar and watch where it stops in the layers.
Step 13
Write which layer each object stopped in and draw a labeled picture of the layers and objects to explain why some floated and some sank.
Step 14
Share a photo of your finished colorful liquid density column and your notes on what you discovered on DIY.org.
Help!?
What can we use if we don't have corn syrup, rubbing alcohol, or food coloring?
If you don't have corn syrup use honey for the bottom layer (step 2), 70% isopropyl alcohol can substitute for the rubbing alcohol in the top layer (step 7), and powdered drink mix or a tiny pinch of washable paint can color the water in step 3 instead of liquid food coloring.
My layers are mixing—what went wrong and how do I fix it?
If layers mix when pouring the colored water, oil, or alcohol (steps 4–7), pour very slowly down the inside wall or use a spoon or pipette to slow the flow and then wait the full 2–5 minutes for the liquids to settle.
How can I adapt this activity for different age groups?
For preschoolers have an adult pre-pour the honey and dish soap (steps 2–3) and let them drop large, safe objects and draw results, while older kids can measure masses and volumes of the three test objects to calculate density before testing.
How can we extend or personalize the density column after finishing the basic experiment?
You can dissolve salt into the colored water in step 3 to change its density and see how object positions change, or personalize the jar by adding glitter, small waterproof toys, or labeled stickers for each layer before photographing your finished column.
Watch videos on how to make a colorful liquid density column
Sink or Float Density Tower Science Experiments for Kids!!!
4 Videos
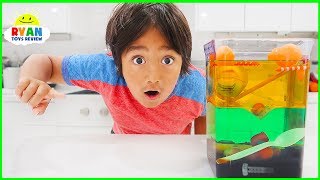
Sink or Float Density Tower Science Experiments for Kids!!!
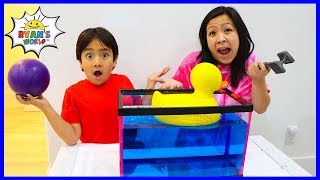
Science Video for Kids learning Sink or Float Experiment!
Sink or Float Learn About Density With Elizabeth and Briceida
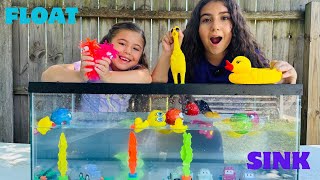
Easy Science Experiment/ Sink & Float Concept/ Quick Density STEM Activity #densityexperiment #stem
Facts about liquid density and buoyancy for kids
🧪 Honey is denser than water — it sinks and often makes a neat bottom layer in density columns.
🥄 Dissolving salt in water increases its density so objects (or even an egg) can float higher.
🫙 Oil floats on water because it's less dense and the two liquids don't mix (they're immiscible).
🔬 Lava lamps use changing density from heating and cooling to make blobs rise and fall.
💎 Gold is super dense — a tiny gold nugget weighs more than many larger-looking materials.
How do I make a colorful liquid density column at home?
What materials do I need to build a density column with kids?
What ages is a liquid density column activity suitable for?
What safety tips should parents follow when doing density column experiments?
