Dress Your Pets in a Quirky Costume!
Design and make a lightweight, safe quirky costume for your pet using fabric, elastic, and decorations; measure for comfort and get adult supervision.


Step-by-step guide to design and make a quirky costume for your pet
DIY Pet Halloween Costumes | DIY Halloween Costumes
Step 1
Pick which pet you will dress and decide one quirky costume idea like a cape hat or bowtie.
Step 2
Use the measuring tape to measure your pet's neck circumference and write the number down.
Step 3
Use the measuring tape to measure your pet's chest girth at the widest point and write the number down.
Step 4
Use the measuring tape to measure your pet's back length from the base of the neck to the base of the tail and write the number down.
Step 5
Lay the fabric flat and use your measurements to draw a simple pattern for the costume with marker or chalk.
Step 6
Cut the fabric carefully along the pattern lines with scissors.
Step 7
Fold the fabric edges about 1 cm and secure them with fabric glue or by sewing to stop fraying.
Step 8
Measure and cut a piece of elastic for the neck or belly strap that will hold the costume gently in place.
Step 9
Attach the elastic to the fabric ends by sewing or using strong fabric glue so it forms a secure strap.
Step 10
Add decorations by gluing or sewing them onto the costume where your pet cannot reach them.
Step 11
Gently put the costume on your pet with adult help.
Step 12
Watch your pet for five minutes to make sure they can move and breathe comfortably and remove the costume if they seem upset.
Step 13
Make any needed adjustments to straps or decorations so the costume fits safely and comfortably.
Step 14
Take a photo and share your finished quirky pet costume on DIY.org.
Help!?
What can we use if we don't have a measuring tape or fabric glue?
If you don't have a measuring tape or fabric glue, use a piece of string plus a ruler to take the neck, chest, and back measurements and replace fabric glue by sewing the folded 1 cm edges or using iron-on hem tape when securing them.
My pet's costume keeps slipping or the edges fray—what should I do?
If the costume slips or frays, re-measure and adjust the elastic strap length before attaching it (steps: Measure and cut a piece of elastic; Attach the elastic), sew the folded 1 cm edges instead of gluing, and remove or firmly sew down any loose decorations before the five-minute comfort check.
How can I change this activity for younger or older kids?
For younger children, have an adult do the measuring with the measuring tape, cutting with scissors, and sewing the folded edges while the child chooses a quirky cape, hat, or bowtie and helps add decorations, and for older kids let them draw the pattern with marker or chalk, cut the fabric, sew edges, and attach elastic themselves.
How can we make the costume more special or longer lasting?
To personalize and extend the project, hand-sew a small name tag or detachable treat pocket onto the fabric when you add decorations, use sturdy stitches for the elastic attachments, and finish by taking the photo to share on DIY.org as instructed.
Watch videos on how to design and make a quirky costume for your pet
How to make a Kitty Costume for kids, Cat Mask, Gloves and Tail using foamy - Momuscraft
4 Videos
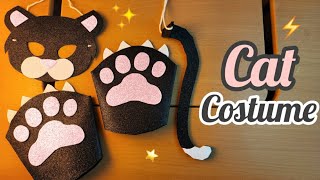
How to make a Kitty Costume for kids, Cat Mask, Gloves and Tail using foamy - Momuscraft
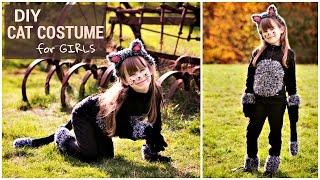
DIY Cat Costume for Kids
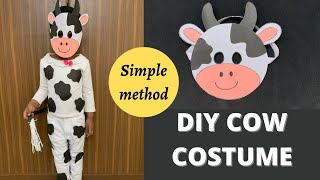
DIY Animal Costume for kids | Fancy dress competition ideas for kids | DIY Halloween costume ideas
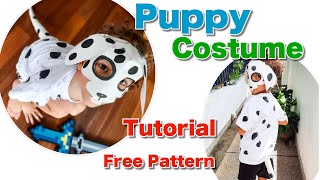
How to make a Dog Costume/DIY Puppy Costume and Mask/
Facts about sewing and pet safety for kids
🐶 Many pets can wear costumes — but most prefer lightweight, loose designs and always need adult supervision when dressing up.
🧵 You can make a comfy costume with just soft fabric, a little elastic, and simple hand stitching — no fancy tools required.
🎨 Bright colors or a small reflective patch make pets easier to spot on evening walks, adding both fun and safety.
📏 Measuring your pet's neck, chest, and back length before you cut fabric helps prevent tight or restrictive fits.
⚖️ Lightweight decorations like felt shapes or ribbon are safer than heavy beads or metal pieces that could fall off or be chewed.
How do I make a quirky costume for my pet?
What materials do I need to make a safe pet costume?
What ages is this activity suitable for?
What safety tips should I follow when dressing my pet?
