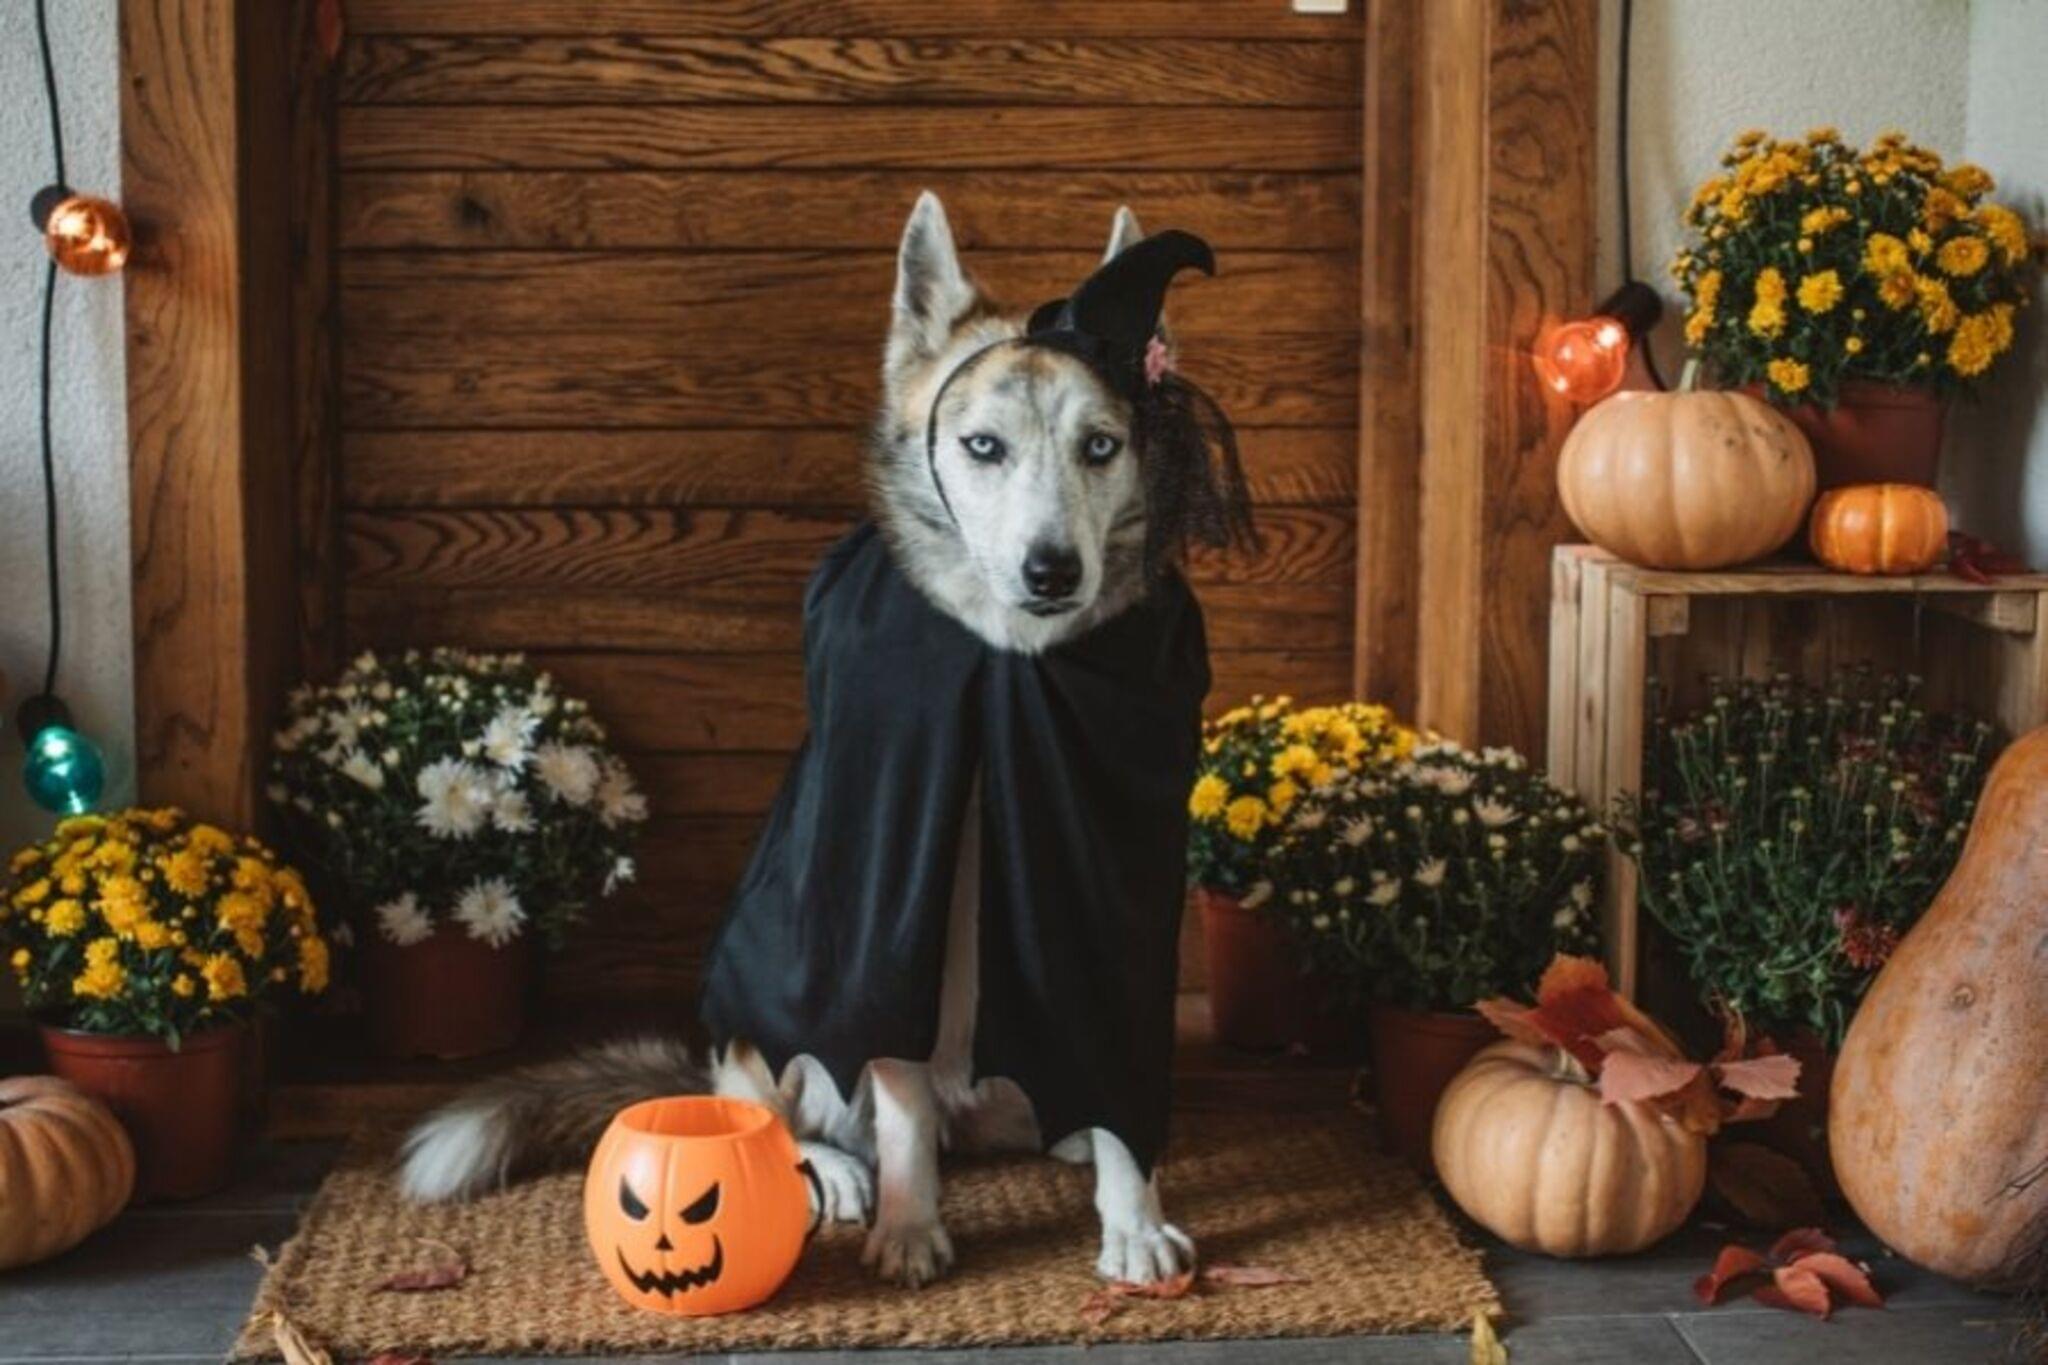
Dress up your pet
Design and make a simple, comfortable costume for your pet using fabric or paper, measure for fit, add safe decorations, and take photos.


Step-by-step guide to dress up your pet
Best HALLOWEEN Pet Costumes | ULTIMATE Compilation
Step 1
Gather all the materials from the list and put them on a clean table.
Step 2
Bring your pet to a quiet space and give them a treat to help them feel calm.
Step 3
Use the measuring tape or string to measure your pet’s neck chest and back length.
Step 4
Lay the fabric flat and smooth it with your hands on the table.
Step 5
Use your measurements and a marker to draw the costume shape on the fabric.
Step 6
Cut out the costume shape carefully along the lines.
Step 7
Attach Velcro strips or tie ribbons to the edges so the costume can fasten around your pet.
Step 8
Decorate the costume with felt shapes or coloring materials using non-toxic fabric glue.
Step 9
Let any glue dry completely before trying the costume on your pet.
Step 10
Gently put the costume on your pet and fasten it with the Velcro or ribbons.
Step 11
Check that your pet can move breathe and see easily while wearing the costume.
Step 12
If the costume fits poorly remove it now so your pet stays safe.
Step 13
Give your pet a treat and take photos of them in their new costume.
Step 14
Share your finished pet costume and photos on DIY.org
Help!?
If I can't find the fabric, Velcro, measuring tape, or non-toxic fabric glue listed, what can I use instead?
Use an old T-shirt, pillowcase, or scarf instead of fabric, use string and a ruler (as suggested) if you don't have a measuring tape, fasten with sewn-on buttons, snaps, or tied ribbons in place of Velcro, and substitute fabric markers or a craft glue labeled non-toxic for the fabric glue.
My pet squirms when I'm trying to measure, cut, or put the costume on—how can I prevent problems?
Follow step 2 by moving to a quiet space and giving treats to calm your pet, measure with string while someone gently holds the pet, pin a paper pattern to the fabric before cutting to avoid mistakes, and only try the costume on once glue is fully dry as the instructions advise.
How can we change the activity for different age groups so it's safe and fun?
For preschoolers have an adult do measuring and cutting while the child chooses felt shapes and glues decorations, for elementary kids let them measure with string, draw and cut the pattern with supervision, and for teens encourage drafting full-size patterns, sewing closures instead of using Velcro, and adding detailed embellishments.
What are simple ways to personalize or extend the pet costume project after following the basic steps?
Customize by adding a sewn-on name patch or reflective tape to the edges, make matching accessories like a bandana or bow tie from leftover fabric, try reversible fabrics for two looks, and create a themed mini photo shoot to share on DIY.org as the final step suggests.
Watch videos on how to dress up your pet
How to make a cute cat costume
3 Videos
How to make a cute cat costume
Epic Halloween Pet Costumes | Tricks or Treats?!

Star Has a New BFF! 🎃 Spooky Dress Up for Halloween 👻 Fun Pet Costumes 🐾 Paris & Pups
Facts about pet costume safety
🐶 Many pets can wear clothes—small or short-haired dogs are the most likely to benefit from cozy outfits.
✂️ The running stitch and whipstitch are two simple hand-sewing stitches perfect for quick pet costumes.
📏 Tailors measure chest, neck, and back length—measuring your pet the same way keeps costumes comfy and safe.
🌡️ Pets can't cool down as well in heavy costumes—panting, drooling, or sluggishness are signs to take it off.
📸 Pet costumes are a social media hit—fun, safe outfits often get thousands of likes and adorable photos!
How do I design and make a simple, comfortable costume for my pet?
What materials do I need to dress up my pet safely?
What ages of children can make pet costumes, and how much supervision is needed?
What safety precautions should I follow when dressing up my pet?
