Drawing with DIY Jr Mod KawaiiSilverWolf
Draw a cute silver wolf character step-by-step using simple shapes, pencils, and markers; learn proportions, shading, and kawaii facial features.

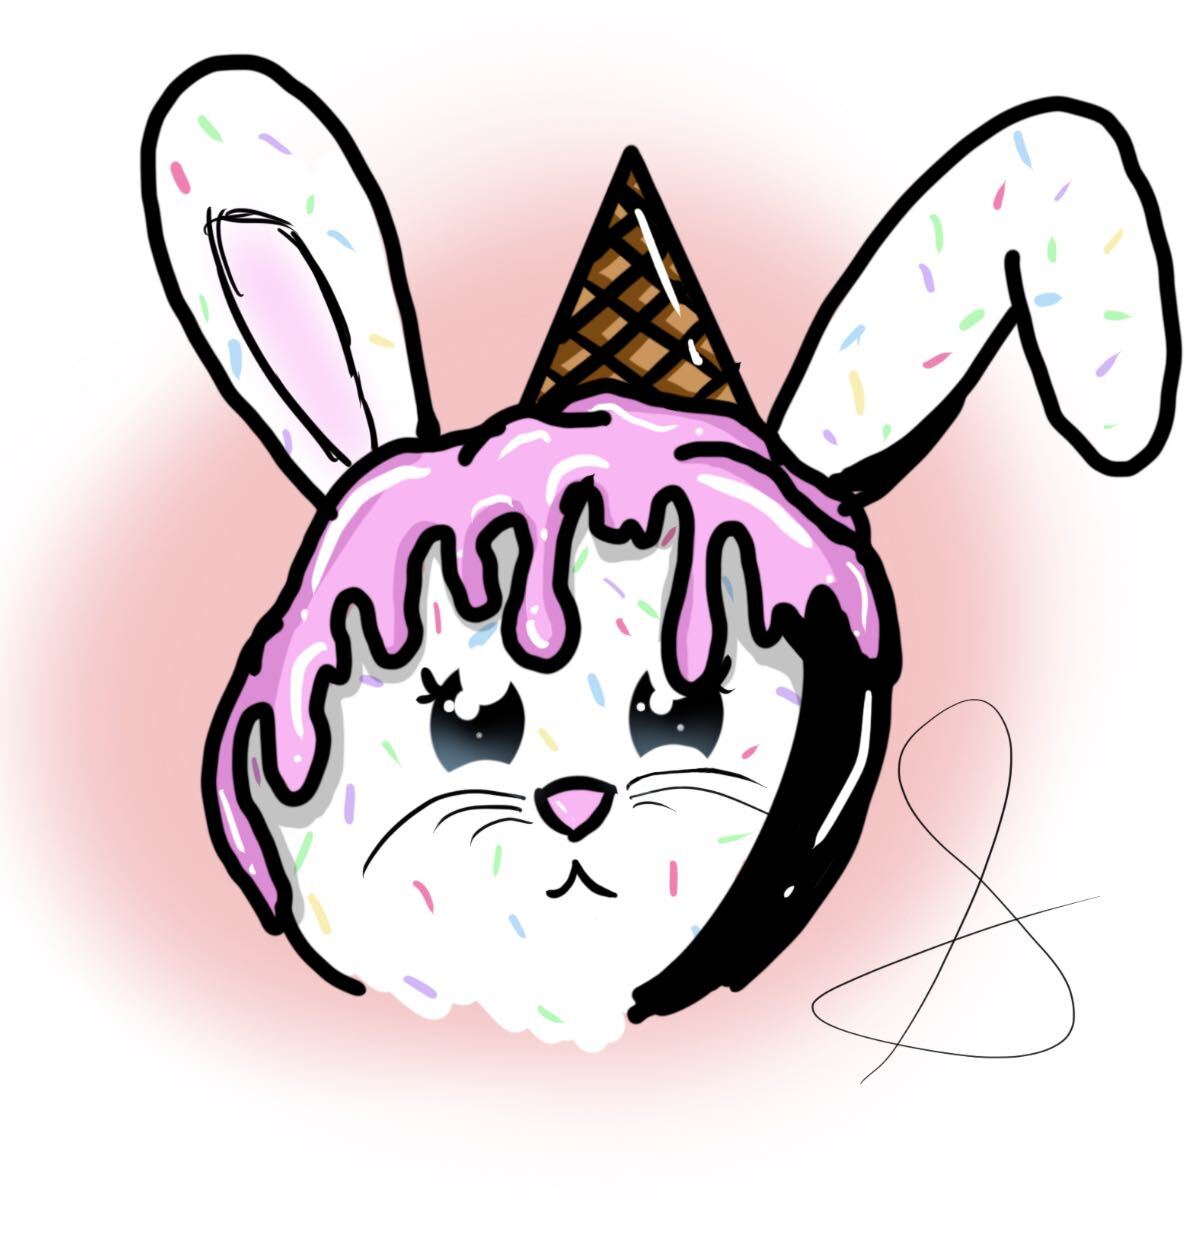

Step-by-step guide to draw a cute silver wolf
Step 1
Gather your materials and find a clean flat workspace to draw on.
Step 2
Lightly draw a large circle in the center of the paper for the wolf's head.
Step 3
Draw a light vertical line through the circle and a horizontal line slightly below center to make face guidelines.
Step 4
Sketch two rounded triangle ears at the top edge of the head circle.
Step 5
Draw a small oval under the head and connect it with two short neck lines for the body.
Step 6
Add simple rounded arms on each side of the body and tiny rounded feet at the bottom.
Step 7
Draw two big round kawaii eyes on the horizontal guide and leave a little white spot in each for a sparkle.
Step 8
Draw a small nose and a tiny smiling mouth below the eyes.
Step 9
Add fluffy cheek tufts and a few inner ear lines for fur detail.
Step 10
Gently erase the pencil face guides and any extra sketch lines you don't need.
Step 11
Carefully trace your final lines with the black marker and let the ink dry.
Step 12
Color the wolf's fur with light gray, leaving small white spots for shiny highlights.
Step 13
Add darker gray shading along one side of the face and under the chin to show depth.
Step 14
Dab a little pink on each cheek to make a cute blush.
Step 15
Take a photo of your finished silver wolf and share your creation on DIY.org.
Help!?
What can I use if I don’t have a black marker or light gray color?
If you don't have the black marker to trace your final lines or a light gray for the fur, substitute a fine-tip black pen or felt-tip permanent pen for tracing and use a regular pencil, gray crayon, or watered-down graphite for the light-gray fur and a pink colored pencil for the cheek dab.
My head circle or face guides look messy and the ink smudged when I erased—how do I fix that?
Draw the large circle and face guidelines very lightly with pencil, let the black marker dry completely after tracing, then gently erase pencil lines with a kneaded eraser and put scrap paper under your hand to avoid smudging.
How can I adapt this activity for different ages?
For younger children, use a printed circle template, thicker paper, and crayons to color and simple sticker eyes, while older kids can add more fur detail, darker gray shading along one side of the face and under the chin, and experiment with expressions before photographing the finished wolf.
What are some ways to personalize or extend the silver wolf drawing?
Enhance the piece by adding accessories like a tiny scarf or hat, using a metallic silver gel pen for shiny fur highlights, creating a background scene, or drawing a series of wolves with different blush colors and sharing the set on DIY.org.
Watch videos on how to draw a cute silver wolf
HOW TO DRAW KAWAII TEDDY BEAR EASY 🧸
4 Videos
HOW TO DRAW KAWAII TEDDY BEAR EASY 🧸
HOW TO DRAW A CUTE KAWAII CAT EASY STEP BY STEP 🐈

HOW TO DRAW A CUTE KAWAII DEER STEP BY STEP 🦌💟
HOW TO DRAW KAWAII TEDDY BEAR EASY AND CUTE 🧸
Facts about drawing and character design for kids
🐺 Wolves have long snouts and big ears, but kawaii art turns those into soft circles and rounded ears to make a wolf look cuddly.
🎨 True metallic silver is tricky with regular markers—artists build a shiny look by layering grays and adding tiny white highlights.
✏️ Start sketches with a harder pencil (like 2H) for light construction lines, then use softer pencils (2B–4B) for shading and texture.
😊 Kawaii faces use oversized eyes, tiny noses, and small mouths—simple changes that make emotions pop even with few lines.
📏 Cartoonists often measure characters in 'heads'—a chibi or kawaii character is usually only 2–3 heads tall to look extra cute.
How do I draw the DIY Jr Mod Kawaii Silver Wolf step-by-step?
What materials do I need to draw a DIY Jr Mod Kawaii Silver Wolf?
What ages is drawing the DIY Jr Mod Kawaii Silver Wolf suitable for?
What are the benefits of drawing the DIY Jr Mod Kawaii Silver Wolf?
