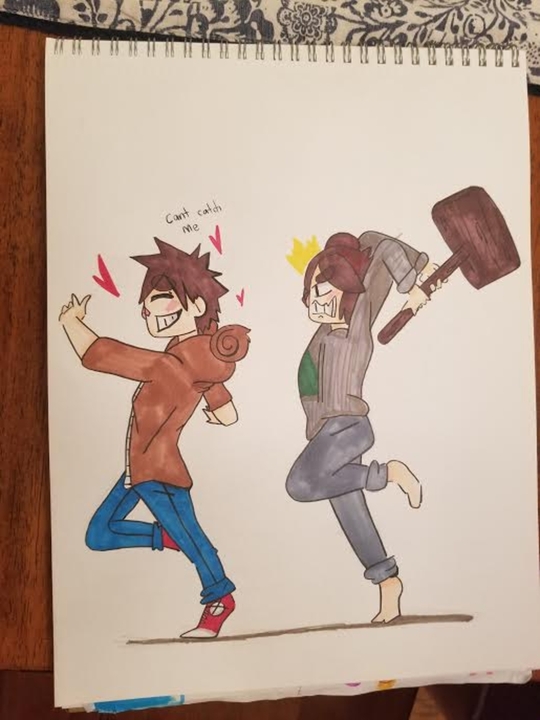
Draw your first day as a ruler
Draw a picture showing your first day as a ruler, designing crown, outfit, throne, and a short caption explaining decisions and feelings.

Drawing Apps
Step-by-step guide to draw your first day as a ruler
How to Use a Ruler | Math Videos for Kids | Data and Measurement | Geometry for Kids | Twinkl USA
Step 1
Gather all your materials and find a clean space to work.
Step 2
Think of three words that describe the kind of ruler you want to be.
Step 3
Lightly sketch the main ruler position in the center of your paper.
Step 4
Lightly draw a small box below the picture for your caption.
Step 5
Draw a crown on the ruler's head with shapes or jewels you like.
Step 6
Draw the outfit on the ruler's body and add one special emblem or pattern.
Step 7
Draw a throne behind or under the ruler showing its basic shape.
Step 8
Draw the ruler's face and body pose to show how they are feeling.
Step 9
Add two or three simple background items that show your kingdom.
Step 10
Trace the lines you want to keep with a black marker or a darker pencil.
Step 11
Erase the light sketch lines and any mistakes you no longer need.
Step 12
Color the crown outfit throne and background using your coloring materials.
Step 13
Add small details like patterns highlights or textures to make things pop.
Step 14
Write a short caption of one or two sentences explaining your design choices and feelings in the caption box and sign your name and date.
Step 15
Share your finished creation on DIY.org.
Help!?
What can we use instead of a black marker, special art paper, or professional coloring supplies listed in the instructions?
If you don't have a black marker for step 10 or fancy coloring materials for step 12, substitute a darker pencil or ballpoint pen to trace, use crayons, colored pencils, or torn magazine collage for color, and plain printer paper or a piece of cereal-box cardboard for your drawing surface.
My light sketch marks keep showing after erasing or the ink smudges—how can I fix this when following steps 3, 10, and 11?
Sketch very lightly in step 3, let any marker ink from step 10 dry completely before you erase in step 11, and if pencil marks persist use a clean or kneaded eraser and always test pens and colors on scrap paper to prevent smudging.
How can I change the activity for younger children or make it more challenging for older kids when they draw the crown, add background items, or write the caption?
For younger children simplify steps 4–9 by using stickers, pre-cut shapes, and chunky crayons with a one-word caption in the caption box, while older kids can add intricate patterns and textures in step 12, more realistic throne perspective in step 6, and expand the caption in step 13 into a two-sentence reflection.
What are some ways to extend or personalize the project after finishing the drawing and caption to make it more creative or displayable?
After coloring and adding details in step 12, personalize the crown with glued-on foil or sequins, make a pop-up throne or mixed-media embellishments, photograph the finished piece to share on DIY.org (step 14), or expand the caption into extra illustrated panels to create a short comic about your ruler's first day.
Watch videos on how to draw your first day as a ruler
How to draw a ruler
4 Videos
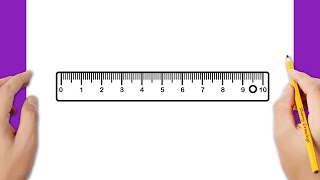
How to draw a ruler
Introduction to Standard Measurement for Kids: Measuring Length in Inches with a Ruler

How to draw a rectangle Using ruler and set square (Step by Step) - Easy steps
How to Draw a Child's Face and Study Proportions - Narrated
Facts about creative drawing and character design for kids
👑 Many royal crowns were heavy — some historic crowns weighed several kilograms, so kings often needed helpers to put them on.
🪑 Thrones were more than chairs: they were made to show power and were sometimes covered in gold, jewels, or carved symbols.
🎨 Purple dye like Tyrian purple was rare and expensive, so purple clothing became a royal color in many cultures.
📜 Coronations often include oaths, rituals, and special garments to show a ruler's duties and promises to their people.
✍️ Rulers used paintings, portraits, or diaries to record important first days; drawing your first-day scene follows a real historical habit of recording leadership moments.
How do you do the 'Draw your first day as a ruler' activity?
What materials do I need for the 'Draw your first day as a ruler' activity?
What ages is this 'Draw your first day as a ruler' activity suitable for?
What are the benefits of the 'Draw your first day as a ruler' activity?
