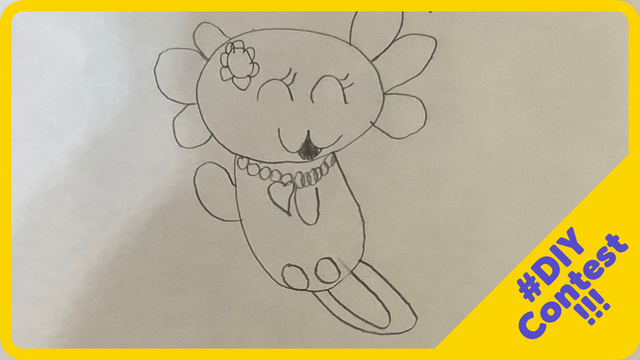
Draw Your Favourite Animal w/ Lacilove
Draw your favourite animal step-by-step with Lacilove, learning shape, proportion, and shading while adding color to create a personalized artwork.

Drawing Apps
Step-by-step guide to draw your favourite animal with Lacilove
Step 1
Choose your favourite animal to draw with Lacilove.
Step 2
Find a clear picture of that animal to use as a reference.
Step 3
Lightly draw simple shapes to map the animal’s body like circles ovals and rectangles.
Step 4
Draw connecting lines to turn the simple shapes into the animal’s basic outline.
Step 5
Add the animal’s main features like eyes nose mouth ears paws or tail using simple shapes.
Step 6
Look at your reference and use your eraser to fix any proportions that seem off.
Step 7
Add small texture marks like fur lines scales or feather shapes with light pencil strokes.
Step 8
Decide where the light comes from and mark the shaded areas on the side away from the light.
Step 9
Shade the marked areas lightly to create a sense of depth.
Step 10
Trace the final outlines with a black pen or a darker pencil if you want a bolder look.
Step 11
Erase the extra construction lines still visible from the first shapes.
Step 12
Colour your animal starting with flat base colours over each area.
Step 13
Add darker tones and highlights on top of the base colours to make your animal look three dimensional.
Step 14
Draw a simple background or ground so your animal has a place to stand and then sign your name.
Step 15
Share your finished creation on DIY.org.
Help!?
What can I use if I don't have a black pen, colored pencils, or a printed reference photo?
Trace the final outlines with a fine-tip marker or dark crayon and use tablet/phone images as your clear reference while substituting markers, watercolour, or regular crayons for the base colours called for in the colouring steps.
My animal's proportions look wrong after I inked the outline—how do I fix it?
Before you trace with a black pen, keep your initial light simple shapes (circles, ovals, rectangles) and use your eraser to correct any proportions as directed in the instructions so you adjust the outline rather than trying to erase ink later.
How can I adapt this drawing activity for different ages or skill levels?
For younger kids simplify shapes on larger paper and use bold markers while skipping detailed texture and shading (steps 3, 6, 7), and for older kids add small texture marks, careful light-source shading, and layered highlights to increase realism (steps 6-12).
How can we make the finished drawing more creative or personal before sharing on DIY.org?
Add unique patterns or extra texture marks when colouring (steps 6 and 11-12), create a detailed background or ground for your animal to stand on (step 13), sign your name, and include a short caption or story about your animal before posting.
Watch videos on how to draw your favourite animal with Lacilove
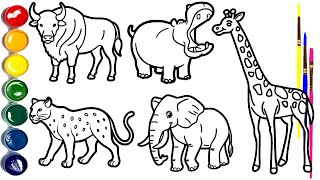
How to Draw Animals for Kids 🦏🦈🐊🦒 | Easy Step-by-Step Drawing Tutorial
4 Videos

How to Draw Animals for Kids 🦏🦈🐊🦒 | Easy Step-by-Step Drawing Tutorial
How to Draw Wild Animals for Kids | Buffalo, Hippo, Leopard , Elephant & Giraffe 🐘🖍️
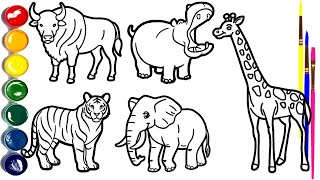
How to Draw Wild Animals for Kids | Buffalo, Hippo, Leopard , Elephant & Giraffe 🐘🖍️
How to Draw Animals for Kids 🦏🦈🐊🦒 | Easy Step-by-Step Drawing Tutorial
Facts about drawing techniques for kids
🎨 Artists often begin animal drawings with simple shapes—circles, ovals, and triangles—to quickly map proportions.
🧠 A handy measuring trick: use the animal's head as a unit (counting 'heads') to size the body and legs correctly.
✏️ Shading techniques like hatching, cross-hatching, and blending turn flat sketches into rounded, 3D forms.
🦴 Many animal illustrators study skeletons and muscles (or reference photos/videos) so poses look realistic.
✨ Drawing from life sharpens observation—kids who sketch animals often spot tiny details and remember scenes better.
How do I draw my favourite animal step-by-step with Lacilove?
What materials do I need to draw my favourite animal with Lacilove?
What ages is drawing your favourite animal with Lacilove suitable for?
What are the benefits of drawing your favourite animal with Lacilove?
