Draw your character in a new world
Design and draw a character, then create and color a new environment for them, exploring shapes, perspective, and storytelling as you work.

Drawing Apps
Step-by-step guide to draw your character in a new world
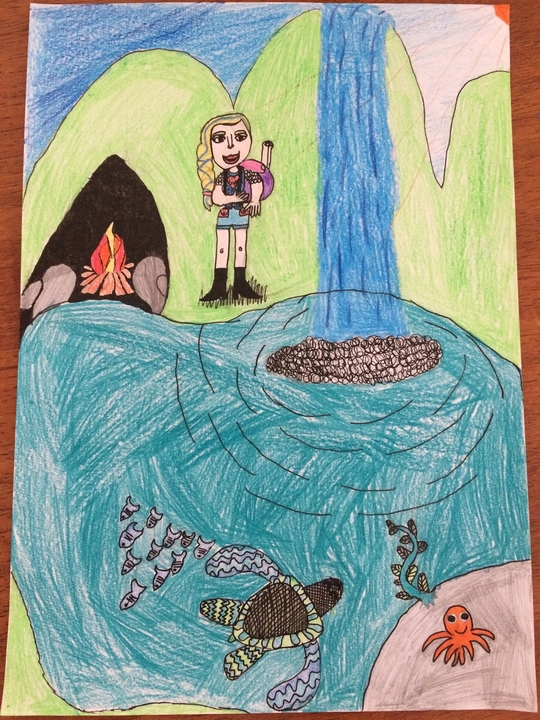
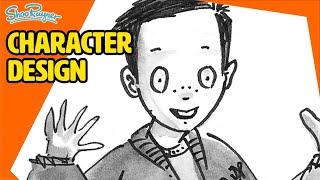
How To Draw Avatar World Character,Easy Drawing,Step by Step
Step 1
Think of your character and decide one special thing about them then say it out loud or whisper it to yourself.
Step 2
Make three tiny thumbnail sketches using simple shapes to try different body types and choose your favorite shape style.
Step 3
Lightly sketch the full-body pose of your chosen thumbnail on your paper using simple shapes and stick-figure lines.
Step 4
Add facial features and basic clothing shapes to your character sketch with light pencil strokes.
Step 5
Write one short sentence that names the new world and one event happening there to give your scene a story.
Step 6
Draw a horizon line across the page and place one or two vanishing points for simple perspective.
Step 7
Sketch large background shapes such as buildings trees hills or big objects using the perspective lines as a guide.
Step 8
Add medium and small environment details like windows pathways plants or clouds to make the world feel real.
Step 9
Erase extra construction lines gently so your main shapes are clear.
Step 10
Darken the final outlines of your character and environment with a black pen or a darker pencil line.
Step 11
Color your character and the environment with your colouring materials using lighter colors where light hits and darker colors for shaded areas.
Step 12
Add finishing touches like patterns highlights small props or clues that tell more about your character’s story.
Step 13
Write a short title or one-sentence caption on the page that explains the scene or what happens next.
Step 14
Share your finished creation on DIY.org
Help!?
What can we use if we don't have a black pen or fancy colouring materials?
For the 'Darken the final outlines' step use a fine-tip marker, gel pen, or a soft dark pencil, and for the 'Color your character' step substitute crayons, colored pencils, markers, or watered-down food coloring with a brush.
If my background looks off, how do I fix the perspective so buildings and paths line up?
Go back to the 'Draw a horizon line' step, lightly redraw one or two vanishing points and their perspective lines with a ruler, then adjust the large background shapes before you 'Erase extra construction lines.'
How can I adapt this activity for younger children or for older kids who want more challenge?
For younger kids simplify Step 2 to make one big thumbnail and use broad shapes and crayons during 'Color your character,' while older kids can add two-point perspective, detailed 'medium and small environment details,' and more complex lighting shifts in the coloring step.
What are simple ways to extend or personalise the scene after finishing the drawing?
Expand the single 'short sentence' that names the world from Step 5 into a short comic, add extra 'finishing touches' like props and hidden clues across multiple pages, or create a themed series to share on DIY.org.
Watch videos on how to draw your character in a new world
How to Draw a Minecraft Character
4 Videos
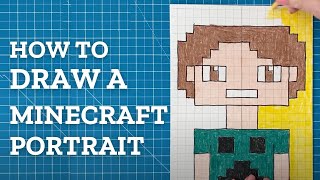
How to Draw a Minecraft Character
How to Draw Children (Cartoons) - Easy to Follow Tutorial
10 TIPS for Drawing Great Characters
How to design characters for children's books - see inside my workbook
Facts about character design and environment drawing
🎭 Character designers use exaggerated shapes (round, spiky, tall) to show personality instantly.
🌎 Worldbuilders often pick one big rule (like floating islands or two suns) to make a setting feel unique.
🎨 Color theory says warm colors (reds, oranges) seem closer while cool colors (blues, greens) seem farther — great for depth!
🧭 Linear perspective uses a vanishing point where parallel lines meet to make 2D drawings look 3D.
✍️ Storyboards and thumbnail sketches are tiny, rough drawings artists use to plan scenes quickly before final art.
How do I guide my child to draw their character in a new world?
What materials do I need to design a character and their environment?
What ages is designing a character and new world suitable for?
What are the benefits of drawing a character in a new environment?
