Draw Lips
Learn to draw realistic lips step by step using simple shapes, light shading, and observation of expressions to practice proportion and detail.

Drawing Apps
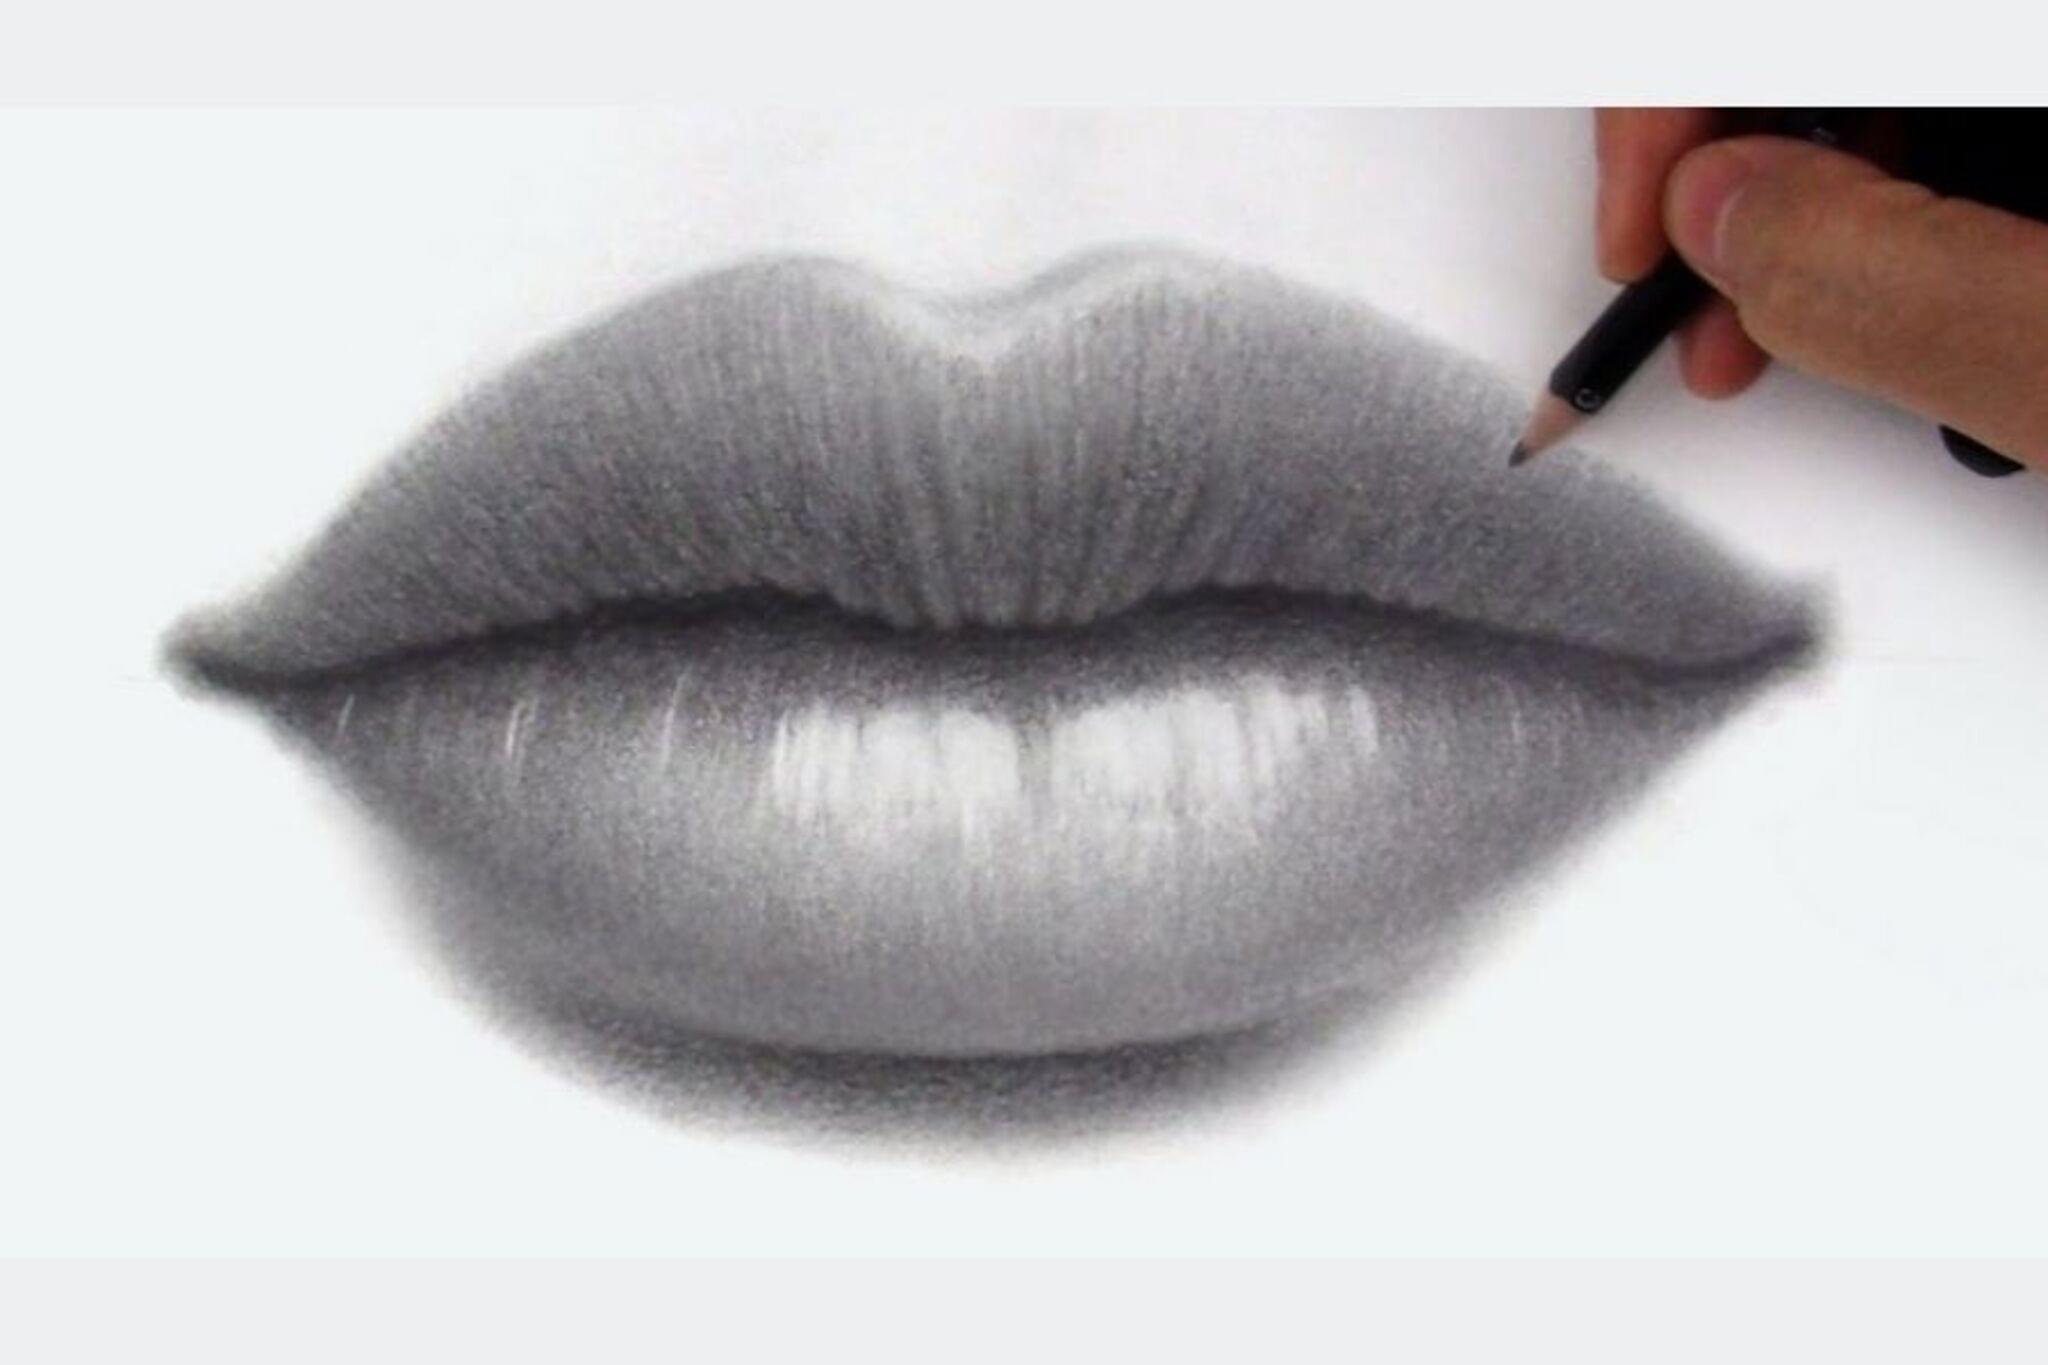
Step-by-step guide to draw realistic lips
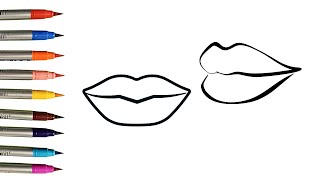
How to Draw Lips and Tongue | Easy Step by Step Drawing Tutorial for Kids
Step 1
Gather your materials and place them where you can reach them easily.
Step 2
Pick a reference photo or look in a mirror and study the lips and the expression carefully.
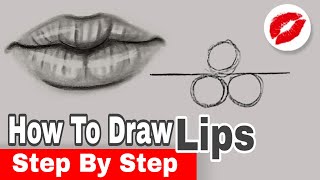
Step 3
Lightly draw a horizontal guideline to show how wide the mouth will be.
Step 4
Lightly draw a short vertical guideline at the center to help keep the lips symmetrical.
Step 5
Sketch the top lip by drawing a soft W shape for the Cupid's bow along the horizontal line.
Step 6
Sketch the bottom lip by drawing a rounded U shape that meets the top lip at the corners.
Step 7
Erase extra sketch lines so only the basic lip shapes remain.
Step 8
Darken the correct lip contours gently to define the top and bottom edges.
Step 9
Add light curved pencil strokes inside the lips following their shape to create soft shading.
Step 10
Blend the shading gently with a tissue or cotton swab to make the lips look smooth.
Step 11
Add darker shading at the mouth corners and under the lower lip to create depth.
Step 12
Draw tiny curved lines along the lips with a sharp pencil to suggest natural texture.
Step 13
Compare both sides using your center guideline and make small tweaks to balance shape and shading.
Step 14
Share your finished drawing of lips on DIY.org.
Help!?
What can I use instead of a tissue or cotton swab for blending if I don't have one?
Use a clean fingertip or a small piece of soft cotton cloth to gently blend the light curved pencil strokes in step 9, just like the tissue or cotton swab would.
My lips look uneven—how do I fix symmetry and shading mistakes?
Lightly erase the problem area, check alignment with the short vertical center guideline from step 4, then re-sketch the top W and bottom U shapes (steps 5–6) before re-darkening contours in step 8.
How can I adapt this activity for younger or older kids?
For younger children, pre-draw the horizontal and center guidelines (steps 3–4) and let them trace the simple W and U shapes with a crayon, while older kids can refine the tiny texture lines (step 11) and practice layered shading and blending (steps 9–10) with a sharp pencil.
What are some ways to make the finished lips drawing more interesting or personal?
Add colored pencils over the blended shading from step 9, lift small highlights with an eraser near the lower lip after step 10, or change the reference photo to capture different expressions before sharing on DIY.org.
Watch videos on how to draw realistic lips
Lips drawing and colouring| how to Draw lips | Made for Kids
4 Videos
Lips drawing and colouring| how to Draw lips | Made for Kids
How To Draw Lips With Teeth 👄 ✏️ | Step By Step Drawing For Beginners | Chiki Doodle
Lips Rainbow drawing /how to draw lips step by step/drawing,coloring&painting for kids/glitter lips
How to draw mouth step by step || Lips tutorial for beginners ✏️
Facts about portrait drawing for kids
👄 Human lip skin is much thinner than the rest of your face, which is why lips feel extra sensitive and dry quickly.
🫦 Lip prints are unique to each person — cheiloscopy is the study that uses them in forensic identification, like tiny fingerprints.
🎨 Artists often start lips with simple shapes (ovals, triangles, a heart for the cupid's bow) to get proportion right before adding detail.
😄 Facial expressions change lip proportions a lot: a smile lifts the corners and alters the visible shape and shadow of the lips.
🖌️ When drawing realistic lips, soft shading and subtle value shifts create volume more convincingly than dark outline lines.
How do I teach a child to draw realistic lips step by step?
What materials do I need to learn drawing realistic lips?
What ages is learning to draw realistic lips suitable for?
What are the benefits and safe variations of practicing realistic lips?
