Draw Fabulous Flowers
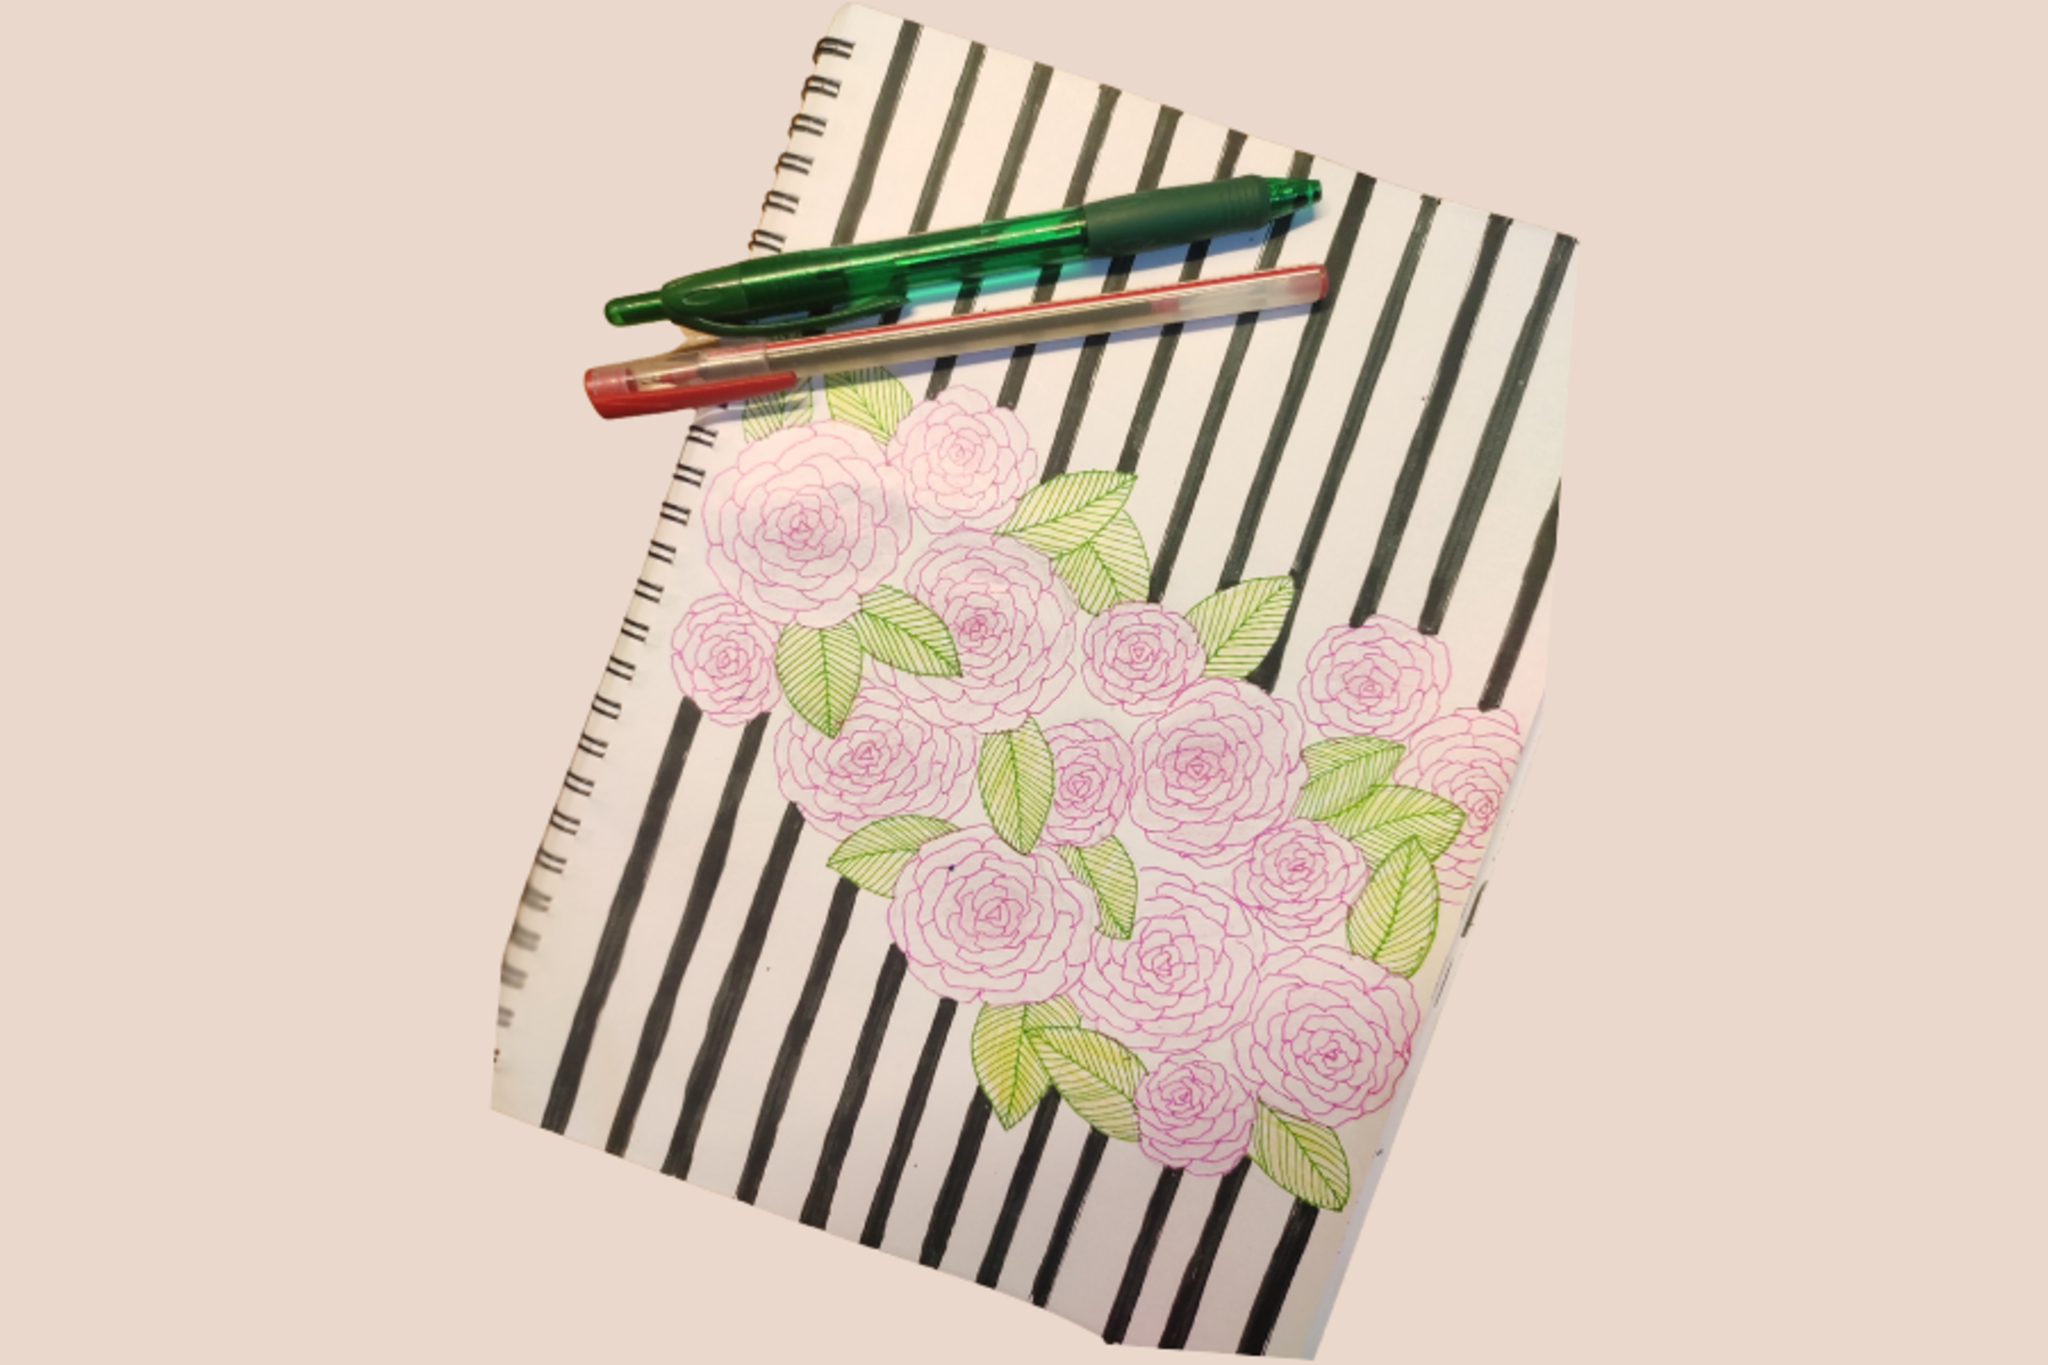
Draw a variety of fabulous flowers using simple shapes, patterns, and color blending; practice symmetry, observation, and creative design with step by step guidance.

Drawing Apps
Step-by-step guide to draw fabulous flowers
Easy Flower Drawing for Kids | How to Draw Flowers Step by Step | Kids Drawing Tutorial
Step 1
Gather your materials and put them where you can reach them easily.
Step 2
Lightly mark 3 to 5 spots across your paper where you want each flower to be.
Step 3
Draw a smooth curved line from each spot down toward the bottom of the page to make stems.
Step 4
Draw one or two oval leaves attached to each stem.
Step 5
Draw a small circle at the top of each stem to make the flower center.
Step 6
Draw petals around each center using simple shapes like circles triangles hearts or teardrops.
Step 7
Add fun patterns inside the petals and centers such as dots stripes or zigzags.
Step 8
Choose two colors for a flower and color the petals with the lighter color using gentle strokes.
Step 9
Add the darker color along the petal edge or near the center of each petal.
Step 10
Blend the two colors by gently smudging with a cotton swab or by layering with colored pencils to make a soft gradient.
Step 11
Trace important outlines with a black marker to make your flowers pop.
Step 12
Draw small background details like grass clouds or a sun to finish the scene.
Step 13
Sign your name and add the date in a corner of your artwork.
Step 14
Share your finished fabulous flowers on DIY.org.
Help!?
Can I substitute the cotton swab, black marker, or colored pencils if I don't have them?
Yes—use a clean finger or folded tissue to smudge the two chosen colors when blending, a dark crayon or fine-tip pen instead of the black marker for tracing important outlines, and crayons or washable markers in place of colored pencils to color the petals.
What should I do if my colors don't blend smoothly or my marker smudges?
Try applying the lighter color with gentle strokes, layer the darker color along the petal edge and blend with a cotton swab or tissue (or by layering colored pencils), let the paper settle briefly, and only trace important outlines with the black marker after the colors look set to avoid smudging.
How can I adapt this activity for different ages?
For younger children simplify to 1–3 large flowers with basic circle or heart petals and crayons or stickers, while older kids can add 3–5 detailed flowers with complex petal shapes, intricate patterns inside petals, soft gradients using colored pencils, and bold black-marker outlines.
How can we extend or personalize our fabulous flowers?
Personalize the scene by adding mixed-media touches like glued-on patterned paper petals or glitter glue, drawing a vase or labeled plant names in the background details, and finish by signing and sharing your artwork on DIY.org.
Watch videos on how to draw fabulous flowers
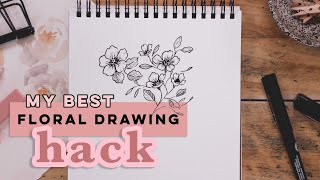
6 Simple but Realistic Flowers You Can Draw Right Now (Beginner Friendly Guide)
4 Videos

6 Simple but Realistic Flowers You Can Draw Right Now (Beginner Friendly Guide)
Drawing Flowers for Beginners
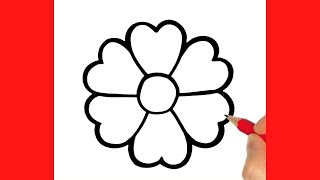
How to Draw a Beautiful Flower Step by Step 🌸 Easy Tutorial for Beginners
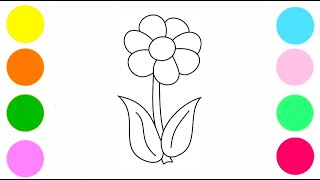
How to Draw a Flower Drawing Step by Step for Kids
Facts about flower drawing and basic art techniques
🌸 Bees can see ultraviolet patterns on petals that humans can't — flowers use these like runway lights to guide pollinators!
🎨 Layering translucent colors (like watercolor glazes or light pencil strokes) makes smooth blends without turning colors muddy.
🔁 Most flowers have radial symmetry (think starbursts), but some like orchids show bilateral symmetry — like a face with a left and right side.
🧭 Botanical illustrators often measure petal lengths and angles to capture plants accurately — art and science together!
🌼 You can create dozens of different flowers by combining a few simple shapes: circles, ovals, teardrops, and scalloped edges.
How do I guide my child to draw fabulous flowers step by step?
What materials do I need to draw fabulous flowers with my child?
What ages is this Draw Fabulous Flowers activity suitable for?
What are the benefits and variations of drawing fabulous flowers?
