Draw Ears
Learn how to draw different types of ears step by step using simple shapes, observe ear anatomy, practice shading, and compare sizes and angles.

Step-by-step guide to draw ears
Step 1
Gather your materials and place them on a clear table so you can reach everything easily.
Step 2
Put a mirror or a printed photo of an ear in front of you and sit comfortably.
Step 3
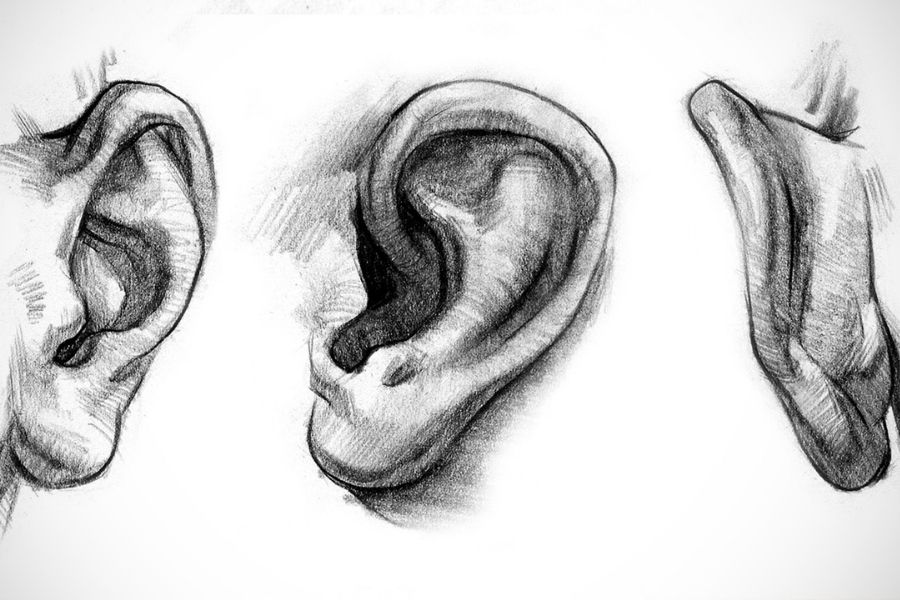
Look carefully at the ear and notice the outer curve the inner ridge and the lobe.
Step 4
Lightly draw a simple head guideline by sketching a circle and a jawline where the ear will sit.
Step 5
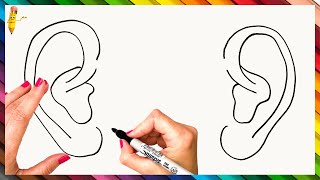
Draw a light outer ear shape using a big C or oval to make the helix.
Step 6
Add the inner ridge by drawing a gentle S-shaped curve inside the outer shape.
Step 7
Draw the small details like the tragus and the lobe with tiny curved lines.
Step 8
Sketch three quick ear outlines of different sizes on the same page to compare small medium and large.
Step 9
Draw the same ear once at a steeper angle using a slanted guideline to show tilt.
Step 10
Draw the same ear again at a shallower angle using a different slanted guideline to compare.
Step 11
Shade the inner parts lightly with short pencil strokes to show depth.
Step 12
Smooth your shading by blending gently with your finger or a blending tool.
Step 13
Erase the construction guidelines and tidy your final ear lines so they look clean.
Step 14
Label the parts of the ear on your best drawing and write which size and angle you like most.
Step 15
Share a photo of your finished ear drawings on DIY.org to show what you learned.
Final steps
You're almost there! Complete all the steps, bring your creation to life, post it, and conquer the challenge!


Help!?
I don't have a mirror or a printed photo of an ear—what can I use instead, and what if I don't have a blending tool?
Use your phone's camera (selfie or a photo of a family member's ear) or a magazine image instead of a mirror/printed photo, and substitute a tissue, cotton swab, or your fingertip for a blending tool.
My ear keeps looking out of proportion or my shading looks messy—what steps from the instructions should I redo to fix it?
Go back to sketching light construction lines (the circle and jawline and the big C/oval for the helix), practice the inner S-shaped ridge on scrap paper, use short light pencil strokes for shading and blend gently with your finger or a tissue, then erase the construction guidelines to tidy the final lines.
How can I adapt this Draw Ears activity for younger children or older kids who want more challenge?
For younger children simplify to tracing a large C/oval for the outer ear and drawing a single lobe, while older kids can add precise tragus and inner S-shaped ridges, create three size and angle studies, and practice subtle shading and labeling as in the instructions.
What are some ways to extend or personalize the ear drawings after finishing the basic steps?
Compare and draw ears from several family members on one page, add skin tones or texture with colored pencils, make the three angle studies into a mini-portfolio, and label your favorite drawing before sharing a photo on DIY.org.
Watch videos on how to draw ears
How to Draw Ear : Step by Step - Front, Side and Back view
4 Videos
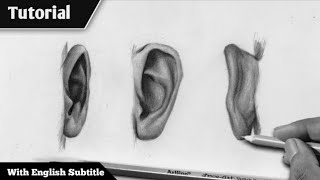
How to Draw Ear : Step by Step - Front, Side and Back view
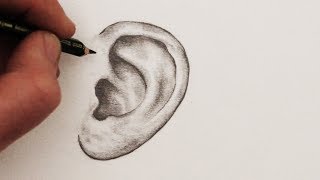
How to Draw Ears: Step by Step
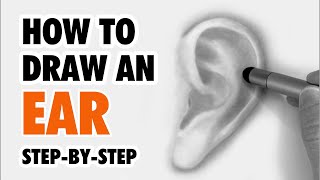
How to Draw an Ear Easy Step-by-Step for Beginners
How To Draw Ears Step By Step 👂👂 Ears Drawing Easy
Facts about ear anatomy and drawing
✏️ Artists like Leonardo da Vinci studied ear anatomy to make lifelike portraits; simple shapes plus shading work wonders.
👂 Ears are almost as unique as fingerprints — the folds and ridges vary a lot between people, great for practice.
📐 From a profile, the ear usually sits about 20–30° off the head, so tilt it slightly when drawing side views.
🧭 The outer ear (pinna) is made of cartilage, so it keeps changing shape as kids grow — useful when comparing ages.
🎯 The top of the ear lines up with the eyebrow and the bottom lines up with the base of the nose — a handy portrait rule.
How do I draw different types of ears step by step?
What materials do I need to practice drawing ears?
What ages is drawing ears suitable for?
What are the benefits of practicing ear drawing and safe variations to try?


One subscription, many ways to play and learn.
Only $6.99 after trial. No credit card required