Draw Different Types Of Dresses
Draw and design different types of dresses—casual, formal, and party—practicing proportions, patterns, and coloring using pencils and markers to explore styles.

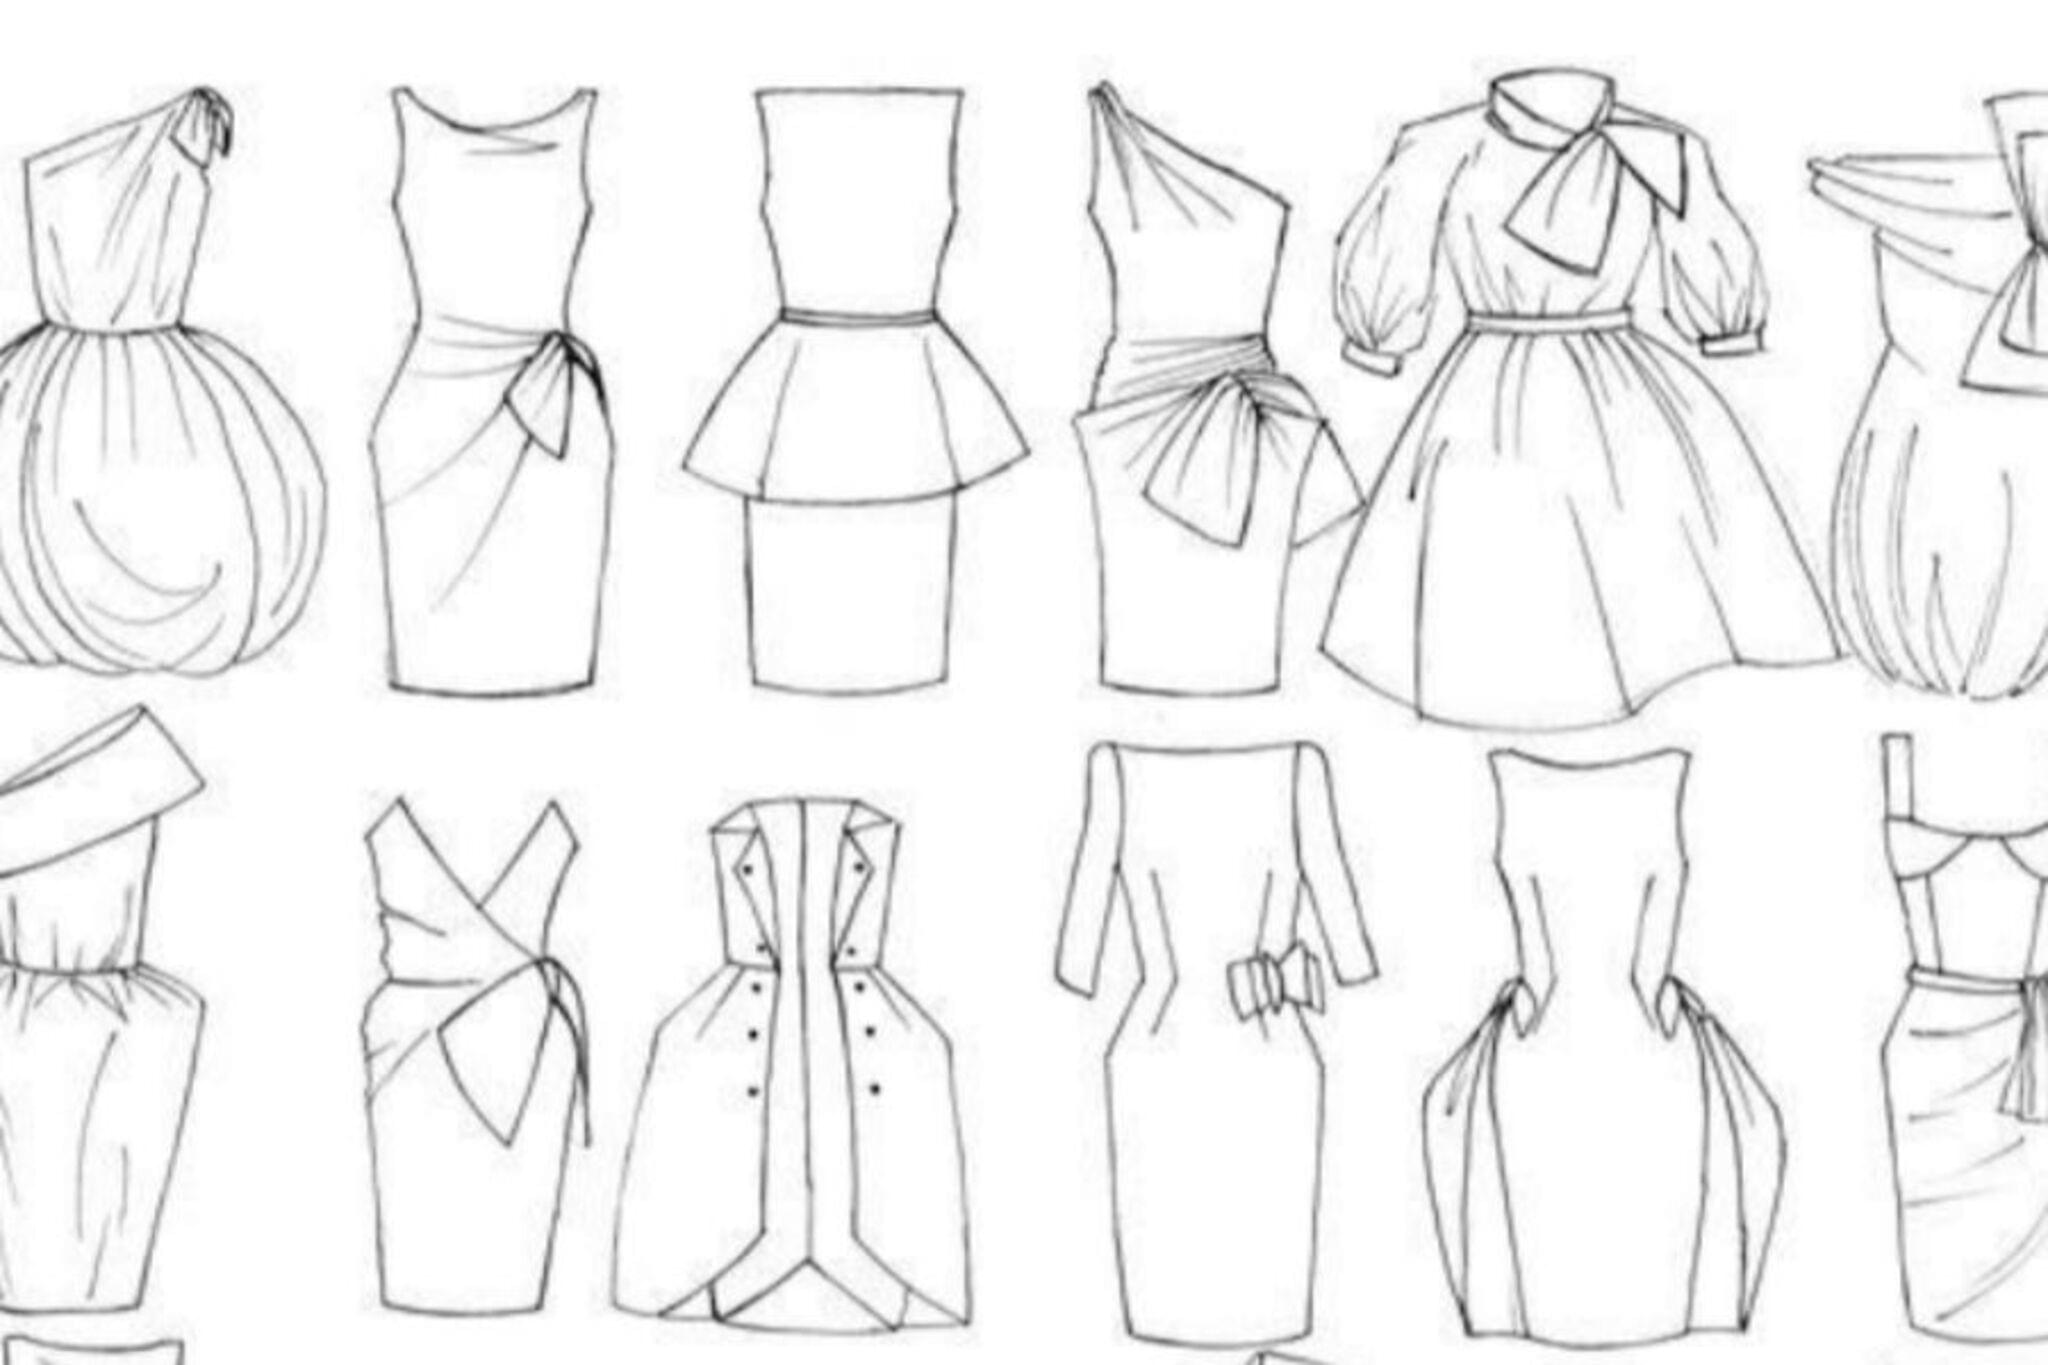

Step-by-step guide to draw different types of dresses
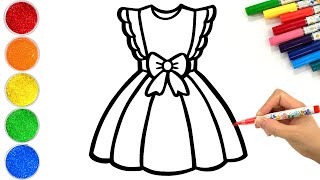
How to Draw a Dress Step by Step | Easy Clothes Drawing for Kids and Beginners | Draw with Mila
Step 1
Clear a flat workspace and place your sketch paper and materials where you can reach them easily.
Step 2
Lightly draw three simple fashion croquis (mannequins) side by side using your pencil to practice proportions.
Step 3
On the left croquis draw the main shape of a casual dress like a T‑shirt dress or jumper.
Step 4
On the middle croquis draw the main shape of a formal dress like a long gown with a defined waist.
Step 5
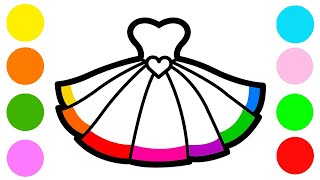
On the right croquis draw the main shape of a party dress like a short flared or sparkly skirted dress.
Step 6
Add defining details to each dress such as necklines sleeves waistlines hems and pockets.
Step 7
Sketch different fabric patterns on each dress like stripes polka dots floral or lace textures.
Step 8
Use the thin black marker to carefully trace the final outlines of each dress and the croquis lines you want to keep.
Step 9
Wait a minute for the ink to dry then gently erase any remaining pencil guidelines.
Step 10
Color each dress with your markers and colored pencils to show fabric colors shading and highlights.
Step 11
Draw small accessories like belts shoes or jewelry next to each croquis to complete the outfits.
Step 12
Share your finished dress designs and a short description of each style on DIY.org
Help!?
What can I use if I don't have a thin black marker for the tracing step?
If you don't have the thin black marker called for in the "Use the thin black marker to carefully trace" step, substitute a black fineliner, a sharp black gel pen, or a fine felt-tip pen and allow the ink to dry before erasing pencil lines.
My proportions look off or the pencil won't erase after tracing — what should I do?
To fix proportion problems and avoid smudging, redraw your three croquis with lighter pencil strokes to practice proportions, wait 2–3 minutes (longer than the single minute) for the marker ink to dry after tracing, and remove remaining pencil with a soft kneaded eraser.
How can I adapt this drawing activity for different ages or skill levels?
For younger children, give pre-drawn croquis templates and thick markers so they can trace and fill in simple dress shapes, while older kids can draw slimmer croquis, add detailed necklines, fabric patterns, shading with colored pencils, and more intricate accessories before tracing.
How can we extend or personalize the finished dress designs beyond coloring and accessories?
Enhance the outfits by gluing on small fabric scraps or sequins to the party dress skirt, sewing or gluing ribbon belts near the accessories step, and photographing the final designs with short style descriptions to share on DIY.org.
Watch videos on how to draw different types of dresses
How to Draw Cute Dresses | Easy Step by Step Tutorial | Made for Kids
4 Videos
How to Draw Cute Dresses | Easy Step by Step Tutorial | Made for Kids

How to Draw a Beautiful Dress Step by Step for Kids
How to Draw a Simple Dress Step by Step for Kids

How To Draw a Beautiful Dress Step by Step for Kids
Facts about fashion drawing for kids
🎨 Fashion magazines used hand-drawn fashion plates for centuries—illustrations were the main way to show new styles before photography became common in the early 1900s.
👗 Fashion croquis are often drawn about 9 heads tall to make garments look elongated and elegant on the page.
✍️ Alcohol-based markers are a favorite for fashion sketches because they blend smoothly and give bright, even color quickly.
🔁 Aligning repeating patterns (like stripes or plaids) across seams makes garments look professional—this trick also makes drawn designs look real.
🖤 The "little black dress" was popularized by Coco Chanel in 1926 and became a timeless, versatile party staple.
How do I teach my child to draw different types of dresses (casual, formal, party)?
What materials do I need to draw and design different dresses?
What ages is this dress-drawing activity suitable for?
What are the benefits of drawing and designing different types of dresses?
