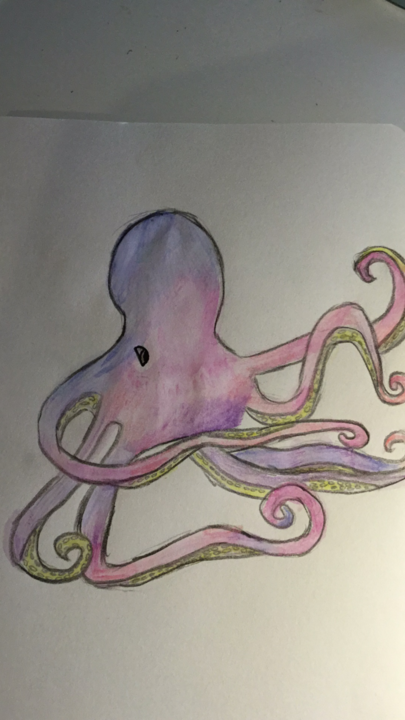
Draw an underwater animal
Draw an underwater animal using pencils and colors, observe reference photos, sketch shapes, add details and habitat to learn about marine adaptations.

Drawing Apps
Step-by-step guide to draw an underwater animal
Learn To Draw Underwater Animals | Step By Step Drawing Lesson for Kids
Step 1
Gather all your materials and place them on a flat workspace where you can see everything easily.
Step 2
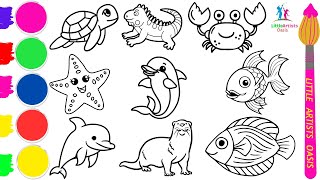
Look through the reference images and pick one underwater animal you want to draw.
Step 3
Study the chosen animal and notice its main body shapes and special adaptations like fins gills or camouflage.
Step 4
Lightly sketch basic shapes (circles ovals rectangles) to map the animal’s body and position on the paper.
Step 5
Turn the basic shapes into a clearer outline of the animal by joining and smoothing the shapes.
Step 6
Erase extra guide lines so the animal’s outline is neat and easy to see.
Step 7
Add the animal’s details like eyes mouth fins gills scales or tentacles using short confident lines.
Step 8
Draw habitat elements around the animal such as seaweed rocks coral sand or bubbles to show where it lives.
Step 9
Choose the colours and decide where patterns camouflage or bright markings will go on your animal.
Step 10
Colour the animal carefully staying inside the lines and following the patterns you planned.
Step 11
Add shading and small highlights to show light coming from one direction and make your animal look 3D.
Step 12
Write your name and the date in a corner to sign your artwork.
Step 13
Share your finished underwater animal on DIY.org so others can see your creation.
Help!?
I don’t have colored pencils, an eraser, or printed reference images; what can I use instead so I can still follow the activity?
Gather crayons, washable markers, or cut colored paper for the "choose the colours" step, use a soft bread-crumb-free kneaded eraser or simply redraw on a fresh sheet instead of "erase extra guide lines", and view reference images on a phone or tablet while you "look through the reference images".
My animal looks distorted when I try to turn the basic shapes into an outline or my shading smudges—how can I fix that?
Keep your initial lines very light during the "lightly sketch basic shapes" step so proportions are easy to adjust before you "turn the basic shapes into a clearer outline", and prevent smudging during the "add shading and small highlights" step by letting layers dry, resting a clean paper under your hand, or using short confident strokes instead of heavy rubbing.
How can I adapt this drawing activity for different ages so it’s not too easy or too hard?
For toddlers or preschoolers simplify the "basic shapes" step with large stickers or stencils and let them use crayons to "colour the animal", for elementary kids follow all steps adding simple "habitat elements", and for older kids challenge them to research real fin and gill placement, practise realistic "shading and small highlights", or create a detailed species series to "share on DIY.org".
What are some creative ways to extend or personalize the finished underwater animal beyond the basic instructions?
Enhance your piece by adding textured materials like glued sand for the "sand" habitat, sequins or glossy gel for shiny scales when you "choose the colours and decide where patterns" go, build a cardboard diorama around the picture to show the full "habitat elements", and then "write your name and the date" and upload a short story about the animal to "share on DIY.org".
Watch videos on how to draw an underwater animal
How to Draw a Dolphin Underwater for kids and Beginners
4 Videos
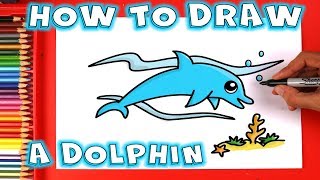
How to Draw a Dolphin Underwater for kids and Beginners
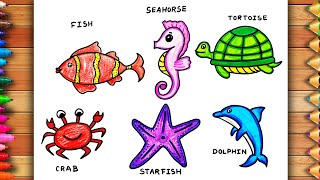
How to draw Water Animals Easily | Aquatic Animals Drawing For Beginners | Fish Drawing | Dolphin
How to Draw Sea Animals - Easy & Fun Tutorial! 🐠🐙🌊
How To Draw Sea Underwater Animals for beginners🐙🦀🐢🐡🦪🦑 | Easy Step-by-Step Tutorial for Beginners
Facts about marine adaptations
🐙 Octopuses can change color and even texture using special skin cells called chromatophores and papillae to hide or communicate.
🐠 Many reef fish wear bright colors — some use them to blend in with coral, others to warn or attract friends.
🐋 The sperm whale can hold its breath for over 90 minutes while diving deep for food — marine animals have amazing breathing tricks!
🌊 Coral reefs cover less than 0.1% of the ocean but are home to about 25% of all marine species.
✏️ Observational sketching helps you notice tiny details like fin shape, scale patterns, and how an animal's body suits its habitat.
How do I guide my child to draw an underwater animal step-by-step?
What materials do I need to draw an underwater animal?
What ages is drawing underwater animals suitable for?
What are the benefits of drawing underwater animals?
