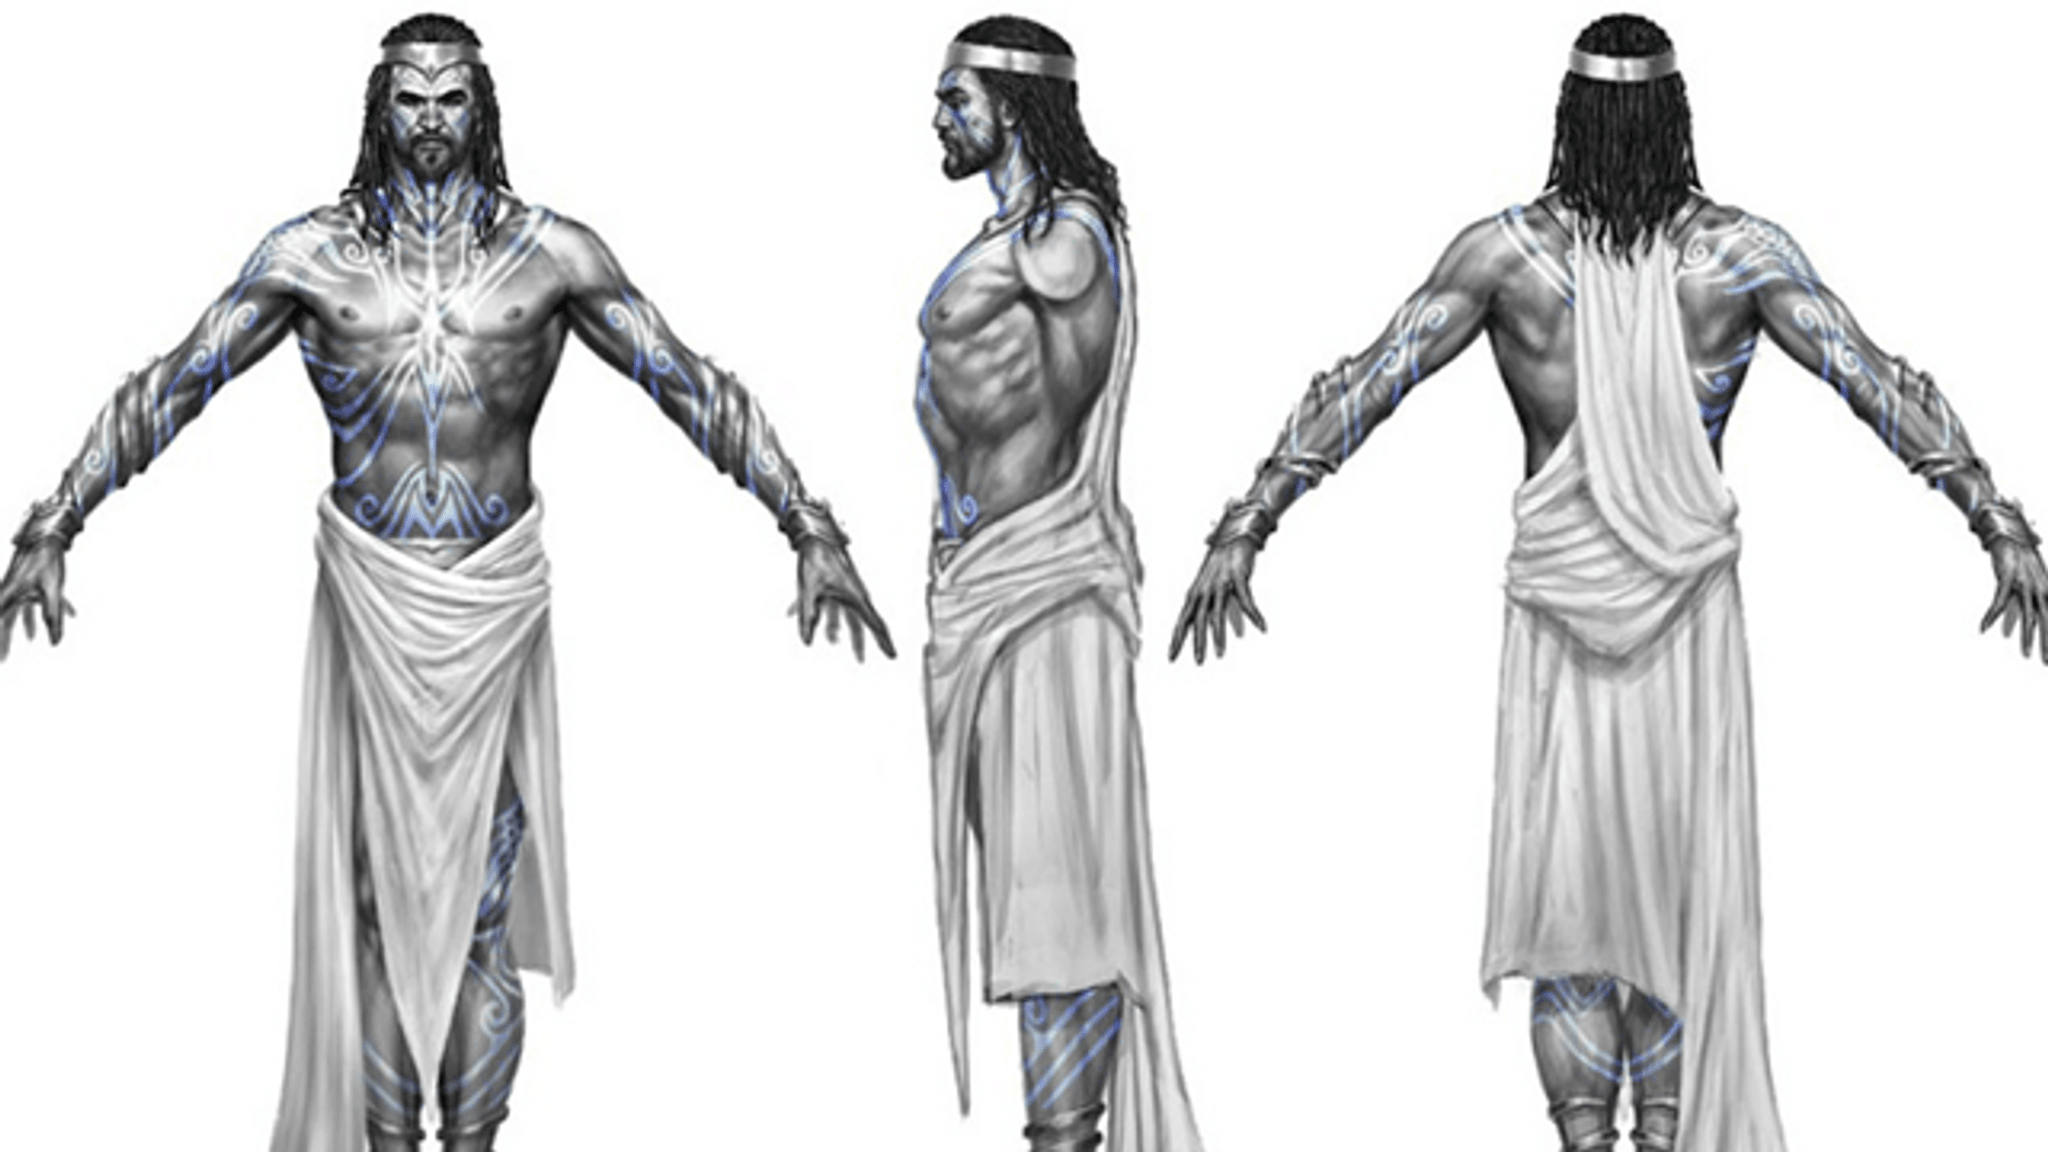
Draw an outfit from historical times
Draw a historical outfit from a chosen time period, research authentic details, sketch the clothing, add color, and label materials and features.

Drawing Apps
Step-by-step guide to draw a historical outfit
Draw a Tudor Lady - easy step by step spoke tutorial
Step 1
Choose a historical time period you find cool and write the name at the top of your paper.
Step 2
Look through 2 or 3 picture references from that time to study how people dressed.
Step 3
Write three authentic clothing details on sticky notes such as fabric type silhouette or fastenings.
Step 4
Lightly draw a simple body outline (mannequin) in the middle of your paper.
Step 5
Sketch the main garment shapes on the outline like a dress coat or trousers.
Step 6
Add the authentic details from your sticky notes onto the sketch like trims buttons or collars.
Step 7
Use arrows to label each feature and write the material name next to it.
Step 8
Check proportions and gently erase or adjust any lines that look wrong.
Step 9
Darken your final lines with a pen or a darker pencil to make the drawing clear.
Step 10
Color the outfit using your coloring materials and match colors to the fabrics you researched.
Step 11
Add shading and small texture marks to show if the fabric is heavy light shiny or patterned.
Step 12
Write a short caption with the time period and one sentence about who would wear this outfit.
Step 13
Share your finished creation on DIY.org
Help!?
If I don't have sticky notes or a darker pencil/pen, what can I substitute for steps 3 and 8?
Cut small squares from scrap paper or use masking tape to write your three authentic clothing details for step 3, and use a fine-tip marker, felt-tip pen, or a darker crayon in step 8 to darken your final lines.
My mannequin or proportions look wrong—how can I fix them when following steps 4 and 7?
Draw the body as simple shapes (ovals and rectangles), measure head-to-body ratios with your pencil, lightly sketch so you can gently erase and adjust lines as instructed in step 7, or trace a printed silhouette for guidance.
How can I adapt this activity for different ages using the steps and materials given?
For younger kids use a pre-printed mannequin, one picture reference, and stickers to mark the three details from step 3, while older kids can research extra references, add glued fabric swatches, do detailed shading (step 11), and write a longer caption before sharing on DIY.org.
How can we enhance or personalize the finished outfit beyond coloring and the caption?
Glue small fabric swatches next to the labeled arrows from step 6, add extra texture marks and shading from step 11, create a mini-series of outfits from the same period, and photograph the finished piece to upload to DIY.org.
Watch videos on how to draw a historical outfit
How To Draw The Statue Of Liberty🗽
4 Videos
How To Draw The Statue Of Liberty🗽
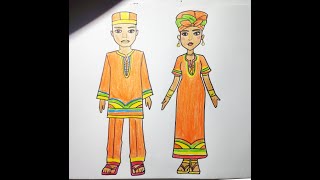
HOW TO DRAW AFRICAN TRADITIONAL CLOTHES | EASY DRAWING TUTORIAL
How To Draw The Liberty Bell
How to Draw King Tut in a Few Easy Steps: Drawing Tutorial for Beginner Artists
Facts about historical clothing
👗 In many eras people owned only a few outfits—clothes were mended and reused, so every garment was extra special.
🧵 Before sewing machines arrived, every stitch was made by hand; elaborate dresses could take weeks to finish.
🎨 Luxury dyes like Tyrian purple and cochineal red were rare and often signaled wealth or royalty.
🏺 Ancient Egyptians preferred linen from flax because it stayed cool in the desert and could be woven very sheer.
⚒️ Early buttons were often ornamental status symbols long before they became practical fasteners.
How do you draw a historical outfit from a chosen time period?
What materials do I need to draw a historical outfit with my child?
What ages is drawing historical outfits suitable for?
What are the benefits of drawing historical outfits for kids?
